Knives & Cutting
Carving Board (Juice Groove)
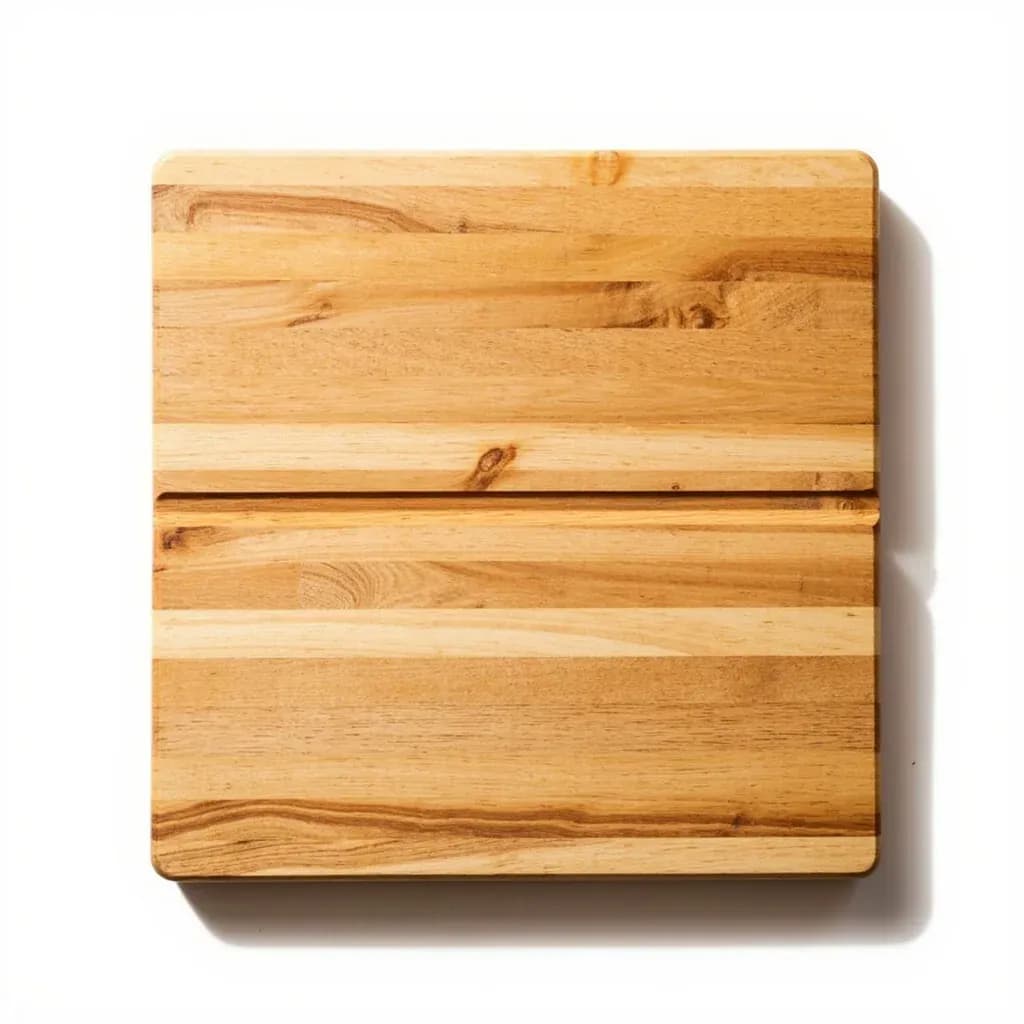
A heavy cutting board with a perimeter trench that catches juices when slicing roasted meat.
A carving board is a large, sturdy board with a channel cut around its edge, and often a sloped well, to capture the juices that run out when slicing roasts, poultry or steak. The groove keeps the counter clean and lets you pour the collected juices back over the meat or into a sauce. Many have a reverse side that is flat for general chopping.
A carving board with a juice groove is a heavy, oversized cutting board — typically 16 to 22 inches wide, 12 to 18 inches deep, and 1 to 2 inches thick — with a continuous channel routed around the working surface. That channel, usually ¼ to ½ inch wide and deep, follows the perimeter and catches drippings before they can reach the counter. The point is simple: when a roast gives up its juice under the knife, the liquid has somewhere to go other than your countertop, your shirt, or the floor.
The board does more than catch drips, though. It anchors carving as a deliberate act. The mass — often 6 to 14 pounds in hardwood — keeps the surface stable while you work a long slicer through a whole turkey or standing rib roast, and many boards are fitted with rubber or silicone feet for extra grip. Many are reversible, with the groove on one face and a flat surface on the other, so the same board handles everyday prep. The pooled juices are a resource, not waste: baste with them, deglaze the roasting pan with them, or stir them straight into a pan sauce or gravy as you carve.
Construction runs from dense hardwoods (maple, walnut, cherry, beech, teak) to laminated bamboo and HDPE plastic. End-grain boards are gentlest on knife edges but heavy and expensive; edge-grain is the workhorse standard; plastic is the commercial-kitchen choice for sanitation. A carving board earns its place on a holiday table as a presentation surface, but its real job is to keep the cook organized, the counter clean, and the pan juices recoverable from the moment the first slice falls.
Alternatives
Types & varieties
The workhorse standard — pale, dense, affordable, and gentle on knife edges
Dark, dense hardwood with a presentation-grade look; favored for table-side carving
Warm reddish tone that darkens with age; moderately hard
Self-healing surface, gentlest on knife edges, heaviest and most expensive option
Harder than many hardwoods and sustainable, but can dull blades faster; technically a grass, not a wood
Dishwasher-safe and non-porous; the commercial-kitchen choice and easily sanitized between raw and cooked use
Naturally water- and rot-resistant from its high oil content; popular for wet service and outdoor carving
Adds a deeper reservoir at one corner for basting, sauce work, or holding a larger volume of drippings; common on premium boards
Two work surfaces in one — groove for carving, flat for general prep
Recessed handholds at the ends for safe two-handed transport of a loaded, juice-covered board
Care & Maintenance
A wooden carving board will outlast a plastic one if you treat it right, but it will also punish neglect faster than you expect. The juice groove is the part that fails first: dried residue accumulates in the channel, the wood around it dries out faster than the rest of the surface, and any crack in the groove wall becomes a place for bacteria to lodge. A consistent oiling routine and careful storage will keep the channel smooth and sanitary for years.
- Oil with food-grade mineral oil only — never vegetable or olive oil, which oxidize and turn rancid inside the wood. Apply a generous coat, let it soak for 20–30 minutes, then wipe off the excess.
- Treat the board to a coat of board butter (mineral oil melted with a small amount of food-grade beeswax) once a season for extra moisture resistance, especially if the groove walls look dry or pale.
- Wash by hand with hot water and a little dish soap, rinse, and towel dry. Stand the board on its long edge so air circulates on both faces and water drains out of the groove rather than pooling in it.
- Never soak a wooden board and never put it in the dishwasher — the prolonged water exposure and heat will warp the board and can split the groove walls.
- If the groove clogs with dried residue, scrub it with a paste of coarse kosher salt and a cut half-lemon, then rinse and dry upright. The salt is abrasive enough to lift residue without scoring the wood.
- Deep scratches or small cracks in the groove should be sanded smooth with 220-grit sandpaper and re-oiled immediately; these are the spots where bacteria take hold.
Common uses
Tips & pitfalls
- Place a damp kitchen towel or a sheet of non-slip shelf liner under the board before you start carving; even with rubber feet, a loaded board will creep on a smooth counter.
- Always rest the roast 15–30 minutes before carving so the juices reabsorb into the meat — the groove is for the juice that still escapes, not the juice you drove out by cutting hot meat.
- Carve across the grain for tenderness, using a long slicing knife with the tip angled slightly down into the well of the groove so juice runs the right direction; use a carving fork in the other hand to steady the meat.
- Decant the pooled juices frequently with a baster or small ladle so they don't overflow the channel and run onto the counter mid-carve.
- Keep a separate board for cooked meats — never carve a finished bird on the same surface that held the raw bird; cross-contamination defeats the purpose of even the cleanest groove.
- Store the board on its long edge so air circulates on both faces and moisture doesn't sit in the channel overnight.
- Buy the largest board your counter and sink can accommodate; cramped carving is unsafe carving, and a small groove overflows faster than a generous one.
- If your priority is knife edge retention over budget, choose end-grain; if you want the best value, edge-grain maple performs nearly as well for most home cooks.
Good to know
- Category
- Knives & Cutting — Carving Surfaces
- Primary materials
- Hardwood (maple, walnut, cherry, beech, teak); laminated bamboo; HDPE plastic; composites such as Richlite or Paperstone
- Typical dimensions
- 16–22 in wide × 12–18 in deep; thickness 1–2 in
- Juice groove
- Perimeter channel roughly ¼–½ in (6–13 mm) wide and deep
- Weight
- Hardwood boards 6–14 lb; bamboo and plastic noticeably lighter
- Construction
- Edge-grain (standard), end-grain (gentlest on edges, premium), or face-grain
- Care (wood)
- Hand wash only, towel dry standing upright; condition with food-grade mineral oil every 2–4 weeks
- Reversibility
- Many boards are two-sided: juice groove on one face, flat surface on the other
Also called
Meat Carving Board · Juice Groove Board
Related

Knife
The fundamental cutting tool every kitchen is built around

Chef's Knife
The do-everything blade for chopping, slicing, and mincing

Paring Knife
Small, nimble blade for peeling and detailed in-hand work

Serrated Knife
Saw-toothed blade that slices crusty bread without crushing

Cleaver
Heavy broad blade for chopping through bone and bulk prep

Cutting Board
The stable surface every cut starts on

Mandoline
Adjustable blade for paper-thin, perfectly even slices

Kitchen Shears
Heavy-duty scissors for poultry, herbs, and packaging