Baking & Pastry
Chocolate Dipping Fork
A thin-tined dipping fork for coating truffles and confections in tempered chocolate.
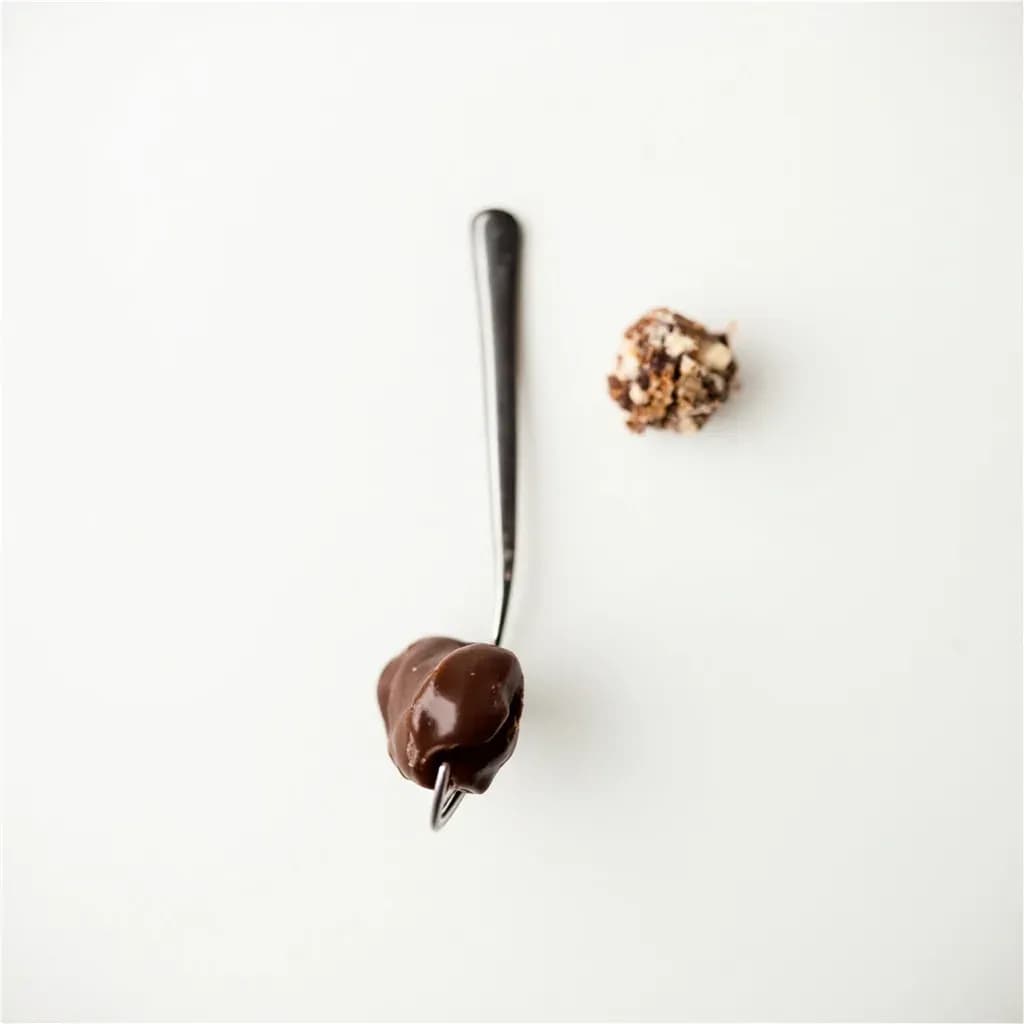
A chocolate dipping fork has long, narrow tines for submerging candy centers into melted chocolate and lifting them out so excess drips off cleanly. Confectioners use it to enrobe truffles, caramels, and dried fruit with an even shell and minimal marks. Round-loop and straight-tine versions handle different shapes, from balls to bars.
A chocolate dipping fork is a slim, two- or three-tined hand tool designed to hold a small confection while it is submerged in melted chocolate, then release it cleanly onto a setting surface. Its defining feature is the very thin gauge of the tines — typically around 1 to 1.5 mm — which leaves only a pair of pinpoint holes in the finished coat and minimizes the amount of chocolate that clings to the tool and drags back into the bowl. The tool is around 15–20 cm (6–8 in) long overall, with a handle long enough to keep the cook's hand clear of warm chocolate and to allow fine, controlled motion; the tines are always stainless steel, while handles may be stainless steel, wood, or food-grade plastic depending on the maker and the use case.
In use, the fork works in concert with a deep, narrow dipping vessel — the geometry matters as much as the tool itself. A tall, slim cup lets the confection be fully submerged in a small volume of chocolate, which keeps the working bowl at a stable temperature and reduces waste. The cook spears or cradles the item, dunks it in one motion, taps the wrist against the bowl's rim to shed excess, and then slides the piece off onto parchment or a silicone mat. The fork essentially replaces the fingers for a process that would otherwise be hot, messy, and inconsistent, and it produces a noticeably smoother, thinner coat than hand-rolling or pouring.
The tool evolved in late 19th- and early 20th-century French and Swiss chocolate workshops as truffle and bonbon production shifted from hand-rolling to small-batch assembly work, and it remains standard equipment on every chocolatier's dipping station today. A regular cocktail fork can stand in for occasional home use, but its shorter, thicker tines leave larger holes, hold more chocolate on the way out, and give the cook less control — which is why serious confectioners keep a dedicated dipping fork within reach.
Alternatives
Types & varieties
The classic version; two long thin tines cradle round truffles and bonbons, leaving the smallest possible footprint in the finished coat.
Sturdier hold for larger or heavier items such as whole strawberries, figs, or marshmallows, at the cost of slightly more visible puncture marks.
A longer, slimmer fork with finer tines used for very delicate work, small bonbons, and fine chocolate decoration.
Tines are slightly curved or hooked to grip irregular shapes like candied ginger, dates, or chunks of dried fruit.
Handle stays cooler and more comfortable during long dipping sessions; the stainless tines still do the work.
Inexpensive versions suited to home or classroom use; not as precise, but adequate for casual batches.
Choosing the right bowl and chocolate depth
The fork only does half the job; the vessel it dips into matters as much as the tool itself. A narrow, deep cup — a tempered-glass measuring jug, a small metal pitcher, or a dedicated chocolate-tempering cup — keeps the working volume of chocolate small enough to stay within its working temperature range, and lets the item be fully submerged with little chocolate movement. Wide, shallow bowls force the cook to tip the item, which causes an uneven coat and drags the fork through cooling chocolate on the surface.
Why thin tines matter
The visible footprint of a dipped truffle is the strongest signal of a careful hand. Thicker tines leave obvious craters that fill with a small pool of chocolate as the piece sets, and that pool can crack or pull away from the body of the truffle. Tines in the 1–1.5 mm range leave holes small enough to be closed by the surface tension of well-tempered chocolate as it sets, so the finished piece reads as a clean sphere rather than a pierced one.
Common uses
Tips & pitfalls
- Always temper the chocolate first; untempered chocolate will streak, bloom, or stick stubbornly to the fork instead of releasing cleanly.
- Use a deep, narrow bowl or cup so the item can be fully submerged in a small volume of chocolate — this keeps the temperature stable and reduces waste.
- Dip and lift in one smooth motion; never push the item down or off the tines while it is in the chocolate, as this traps air pockets that mark the surface.
- Tap the wrist gently against the rim of the bowl to shake off excess chocolate and produce an even coat; two or three light taps are usually enough.
- Slide the dipped item off the fork onto parchment or a silicone mat using the tine of another fork or a toothpick — pulling straight up can tear a still-soft coat.
- Wipe the tines clean and dry between dips; even a trace of water will seize the chocolate on contact and ruin the next piece.
- If chocolate begins to set on the fork mid-batch, briefly warm the tines under hot water, dry them completely, and resume — moisture is the enemy.
- For a clean base on round truffles, mark the bottom lightly with the fork while the chocolate is still fluid, then set the truffle bottom-down on parchment so the mark becomes the hidden foot.
- Don't overload the tines; two small items sit side by side more easily than one oversized piece, and they finish coating more evenly.
- Reserve the dipping fork for thin, tempered coatings; thick ganache meant to be piped or spooned is a different job for a different tool.
Good to know
- Type
- Two- or three-tined hand tool for dipping confections into melted chocolate
- Other names
- Truffle fork, chocolate fork, dipping prong, confectionery fork
- Material
- Stainless steel tines; handles are often stainless steel, wood, or food-grade plastic
- Typical length
- Approximately 15–20 cm (6–8 in) total
- Tine count
- Usually 2 (round items) or 3 (larger or flatter items); some Marcel-style models have 4
- Tine thickness
- Thin (around 1–1.5 mm) to minimize puncture marks and chocolate waste
- Companion equipment
- Tempered chocolate in a narrow, deep container; parchment or silicone mat for setting
- Best for
- Round or uniform items such as truffles, strawberries, marshmallows, dried fruit, candied peel
- Difficulty
- Beginner-friendly with practice; technique improves finish
- Care
- Hand-wash and dry thoroughly; chocolate residue can be removed by briefly warming the tines
- Origin
- Evolved from standard table forks in 19th-century European confectionery; the slim-tined truffle fork became a distinct tool in French and Swiss chocolate workshops
Also called
dipping fork · chocolate fork · truffle dipping fork
Related

Muffin Pan
Multi-cup pan for muffins, cupcakes, and egg bites

Bundt Pan
Fluted ring mold for showstopping cakes with a center hole

Springform Pan
Latch-release pan that frees delicate cakes without flipping

Pie Dish
Sloped round dish for crisp-bottomed pies and quiches

Tart Pan
Fluted pan with a pop-out base for clean-edged tarts

Rolling Pin
Rolls dough into even sheets for pastry and bread

Pastry Brush
Brushes on egg wash, glaze, butter, and marinades

Bench Scraper
Flat blade that divides dough and clears your work surface