Baking & Pastry
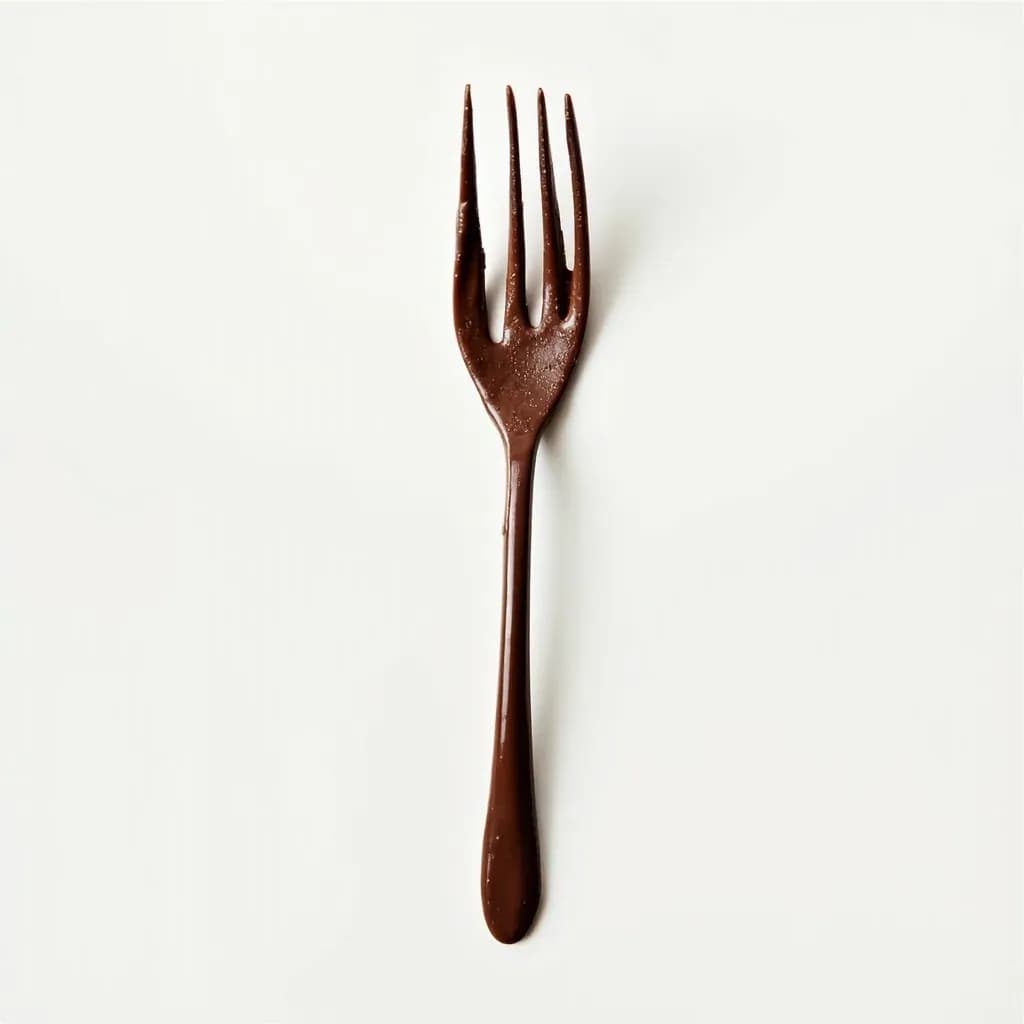
Chocolate Dipping Fork
A thin two- or three-tined fork for dipping and lifting truffles out of melted chocolate.
A chocolate dipping fork is a slender fork with widely spaced tines used to submerge truffle centers, fruit, or candies into melted chocolate and lift them out cleanly. The thin tines let excess chocolate drip away and leave minimal marks for a smooth coating. Chocolatiers keep several shapes on hand to handle round, square, and irregular pieces.
A chocolate dipping fork is a small, specialized utensil — typically two or three thin tines on a slim handle — designed for one job: lifting delicate items in and out of a bowl of melted chocolate without coating your fingers. It matters because a clean, even shell is the signature of a well-made truffle or bonbon, and the only way to achieve that finish is to control how each piece enters and leaves the chocolate bath. The thin tines pierce just enough of the item to hold it securely while leaving a tiny footprint that can be sealed or trimmed away afterward.
In practice, the fork's tines do the work of a hand without the mess. You spear the truffle, lower it into tempered chocolate, lift it, and let the excess drip back into the bowl. The tines create the "foot" — the small pool of chocolate at the base where the fork punctured the shell — which is later trimmed for a polished finish. Most professional forks are stainless steel, with handles that are either straight (for tapping against the bowl to shed excess) or slightly cranked (so the fork can rest on the rim between dips).
Good dipping forks aren't expensive, but they make a noticeable difference in the finished product. A wobbly, thick-tined kitchen fork tears the chocolate coating and leaves ragged holes; a proper dipping fork pierces cleanly, holds the item steady while you rotate it, and releases it onto parchment without fingerprints. For anyone making more than a handful of truffles, it is the one tool that pays for itself the first time you use it.
Alternatives
Types & varieties
Traditional European style with long, slender tines; favored for fine truffles and small bonbons where a minimal puncture is desired
More common in U.S. pastry kitchens; the extra tine gives more grip on larger or heavier items like candied fruit and marshmallows
Handle offset from the tines so the fork can perch on the bowl rim between dips, keeping the bench cleaner and the chocolate at the ready
Workhorse professional style; rigid, balanced, and easy to tap sharply against the bowl to shed excess chocolate
Budget option for home cooks; lighter and cheaper but less precise, and harder to clean once chocolate sets into the tines
Sold as part of a truffle-making kit alongside scraper combs, dipping tools, and small tempering bowls
Two tines versus three tines
The number of tines is mostly a question of tradition and grip, not quality. French chocolatiers tend to favor the two-tine version because it leaves a smaller puncture, which is easier to seal and produces a more refined foot on delicate ganache centers. American pastry kitchens often reach for three-tine forks because the extra support makes it easier to lift heavier or irregularly shaped items — candied ginger, large marshmallows, or dense pralines — without them swinging on the tines. For a home cook making round truffles, either works; choose the two-tine if presentation matters most, the three-tine if your dipped items are heavy or oddly shaped.
Straight versus cranked handles
A straight handle lets you snap the fork firmly against the side of the bowl to flick off excess chocolate — a motion professional chocolatiers use to produce thin, even shells. A cranked or bent handle offsets the tines below the grip so the fork can rest on the rim of the bowl, holding the dipped item suspended above the chocolate between coats. The crank style is friendlier to beginners and to anyone who wants to keep their bench tidy; the straight style is faster once you learn the tap-and-lift rhythm.
Working with tempered chocolate
The dipping fork only does its job well if the chocolate is properly tempered. Untempered chocolate will streak, bloom, never set with a snap, and can refuse to release cleanly from the tines. Aim for a working temperature of about 31–32°C (88–90°F) for dark, 29–30°C (84–86°F) for milk, and 27–28°C (81–82°F) for white. Keep the chocolate moving with a scraper or spatula so it stays fluid, and re-temper if it thickens or starts to set on the surface. The fork and the chocolate are a partnership: dull, cool tines will cause the shell to clump; too-warm chocolate will run off before it sets.
Common uses
Tips & pitfalls
- Temper the chocolate before dipping — untempered chocolate will streak, bloom, and never set with a clean snap, no matter how good the fork is
- Tap the fork gently against the side of the bowl after lifting to shed excess chocolate; do not scrape or drag the tines along the bowl edge, which thins the coating and leaves bare patches
- Do not fully submerge the item — slide it in just deep enough for the chocolate to meet itself across the top, then lift and twist slightly to seal the seam where the chocolate closed over the truffle
- If chocolate begins to set on the tines between dips, wipe them clean and warm the fork briefly under hot water; buildup causes thick, lumpy, uneven coatings and is the most common dipping mistake
- Rest a cranked-handle fork on the bowl rim between dips to keep the work surface clean and your hands free, and to keep the dipped item from dripping onto the bench
- For very small or soft truffles, spear them with the fork first and chill for a few minutes so they firm up on the tines, then dip — this gives far more control than trying to handle a floppy ganache ball
- Use separate forks (or wipe them thoroughly) when switching between dark, milk, and white chocolate; even trace amounts of dark chocolate will muddy the color of white or milk
- Stainless steel conducts heat, so in a warm kitchen the chocolate on the fork can thin too quickly between dips; work in short batches, return the bowl to a cool surface between sessions, and re-temper as needed
- After the chocolate has fully set, trim the small pooled "foot" at the base of each piece with a paring knife dipped in hot water and dried — this is the finishing touch that distinguishes a homemade truffle from a professional one
Good to know
- Also known as
- truffle fork, praline fork, bonbon fork; French 'fourchette à tremper,' German 'Pralinengabel,' Italian 'forchetta per cioccolato'
- Material
- Stainless steel is standard; food-grade plastic and nylon versions exist for casual home use
- Tine count
- Two or three thin tines; two-tine is the traditional French/continental style, three-tine is more common in U.S. pastry kitchens
- Tine length
- Roughly 2–3 cm (about 1 in) of piercing surface
- Overall length
- 14–18 cm (5.5–7 in) typical; longer versions exist for deeper chocolate pots
- Handle design
- Often slightly bent or cranked so the tool rests on the rim of the chocolate bowl without touching the bench
- Cost
- A single stainless fork runs $5–$20; full truffle-making sets with combs and scoops run $25–$60
- Care
- Hand-wash and dry immediately; stubborn chocolate residue releases after a few minutes of simmering in water
- Skill level
- Beginner-friendly for casual dipping; producing even, blemish-free coatings on bonbons takes practice
Also called
chocolate fork · candy dipping fork · truffle fork
Related

Muffin Pan
Multi-cup pan for muffins, cupcakes, and egg bites

Bundt Pan
Fluted ring mold for showstopping cakes with a center hole

Springform Pan
Latch-release pan that frees delicate cakes without flipping

Pie Dish
Sloped round dish for crisp-bottomed pies and quiches

Tart Pan
Fluted pan with a pop-out base for clean-edged tarts

Rolling Pin
Rolls dough into even sheets for pastry and bread

Pastry Brush
Brushes on egg wash, glaze, butter, and marinades

Bench Scraper
Flat blade that divides dough and clears your work surface