Baking & Pastry
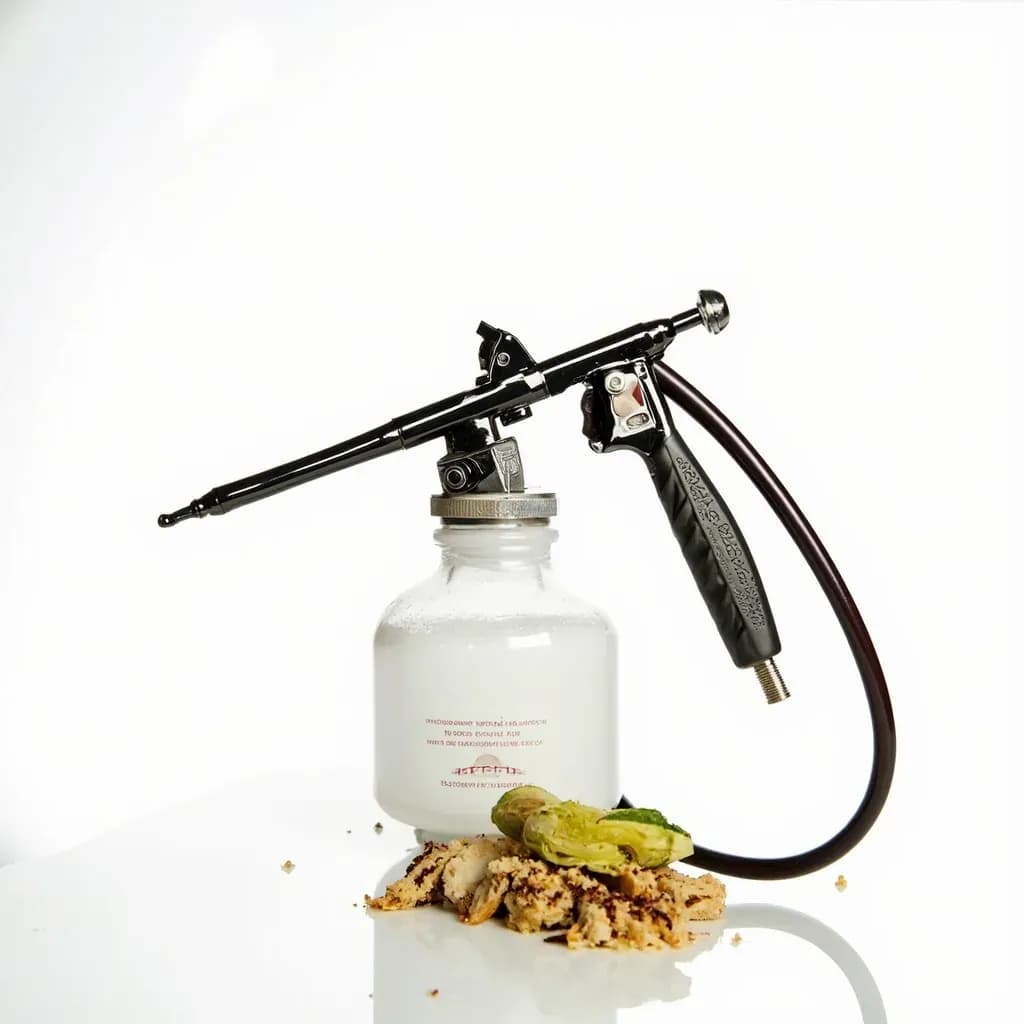
Food Airbrush
An air-powered sprayer that mists edible color and luster onto cakes, chocolates, and pastry.
A food airbrush atomizes edible coloring, cocoa butter, or luster dust with compressed air to lay down smooth gradients and fine detail. Pastry chefs use it to shade cakes, add sheen to chocolate bonbons, and create airbrushed designs that brushwork cannot match. The fine, even spray gives professional finishes with controllable color intensity.
A food airbrush is a small pneumatic atomizer — essentially a miniature paint sprayer — adapted to spray edible color onto cakes, chocolates, and confections. A diaphragm or piston compressor pushes air through a hose to a handheld gun, where a fine needle draws liquid color from a cup or bottle and breaks it into a soft mist at the nozzle. Unlike a brush, the airbrush deposits pigment in microns-thick layers, which is what gives a finished cake that distinctive soft-focus, almost airbrushed-photograph quality.
What makes the airbrush genuinely useful is the control it offers over gradient, depth, and color density. Pull the trigger back further and more color flows; press down for more air, less pigment, and the spray becomes a near-transparent haze. That independent control — only available on dual-action guns — is the difference between flat, blotchy color and the smooth shading seen on sugar flowers, sculpted figures, and tiered celebration cakes. Holding still, however, is death to a good finish: the gun must move constantly, laying down overlapping passes that build into a soft, even tone.
The other half of the craft is the media. Water- and alcohol-based liquid food colors are thinned with clear extract or vodka and used on fondant, buttercream, and royal icing. Cocoa-butter-based colors adhere to chocolate without beading or streaking. Pearl, luster, and petal dusts — usually dry powders — must first be mixed into a liquid carrier before they will pass through the nozzle. Knowing which medium suits which surface, and how to thin each to roughly the consistency of milk, is what separates a clean mist from a spitting, clogged mess.
Alternatives
Types & varieties
One trigger moves airflow and color together; simpler and cheaper, good for broad shading but lacking precision
The standard tool in cake decorating — top-mounted color cup, independent air and pigment control, fine atomization for detail
Bottle beneath the gun holds a larger color load and allows quick swaps; favored for broad coverage on large cakes
Internal-mix (air and color combine inside the nozzle) is the norm for food work; external-mix is rarely used for edible media
Bundled compressor-plus-gun-plus-color sets aimed at home sugarcrafters, usually entry-level single-action units
Separate compressor with moisture trap and regulator paired with a dual-action gun; standard in patisserie and competition cake work
Manufacturers offer liquid food colors, cocoa-butter colors for chocolate, and metallic/pearl bases specifically formulated for airbrush use
Color media: the three families
Choosing the right color medium for the surface is as important as choosing the gun. Each family behaves differently and requires its own thinning and cleaning approach.
- Water- and alcohol-based liquid food colors are the everyday workhorses for fondant, gum paste, buttercream, royal icing, and wafer paper. Thin with clear vanilla or lemon extract, or with high-proof vodka when you want a neutral flavor and faster drying.
- Cocoa-butter-based colors (sometimes called candy colors or colored cocoa butter) are fat-soluble and made specifically for chocolate. They adhere to the cocoa fat on the surface of a bonbon or molded piece without beading, streaking, or seizing the chocolate the way water-based colors would.
- Pearl, luster, and petal dusts are dry powders that must be reconstituted in a liquid carrier — clear extract, vodka, or a dedicated airbrush medium — before they can pass through the nozzle. Once mixed, they produce soft metallic and shimmer effects that brush application cannot match.
Setup, cleaning, and care
An airbrush is a precision instrument, and a few minutes of care at the start and end of a session make the difference between a clean mist and a clogged, spitting tool.
- Always strain color through a fine mesh or coffee filter before pouring it into the cup — even small particles will clog a 0.3 mm nozzle.
- Between color changes, spray cleaner through the gun into a waste container until the mist runs clear; a quick back-blow (triggering air only) clears residual drops that would otherwise spit onto the work.
- After a session, fully disassemble the needle, nozzle, and cap and soak them in airbrush cleaner. Wipe the needle only with a soft cloth — abrasive material will scratch it and ruin the seal.
- Keep the compressor's air intake well away from sugar dust, flour, and steam, and drain the tank regularly on piston models. Moisture in the air line is the most common cause of spattering and uneven color.
- Protect the workspace with parchment or newsprint around the cake — overspray travels surprisingly far and will stain countertops, walls, and nearby fabrics.
Common uses
Tips & pitfalls
- Always confirm pigments are labeled food-grade or edible — never repurpose non-toxic craft airbrush colors onto food.
- Thin colors to roughly the consistency of whole milk (about 1:1 with clear extract or vodka) to avoid spatter and clogging.
- Hold the gun 6–8 inches from the surface for broad shading; move in to 3–4 inches for tighter detail.
- Keep the gun moving in light, overlapping passes — holding still creates dark blotches and pooling, the most common beginner mistake.
- Build color in thin layers; multiple light coats give a smoother finish than one heavy coat.
- Start at lower PSI (15–20) and increase only as needed — too much pressure atomizes pigment into the air and wastes color.
- Use clear vanilla or lemon extract as a thinner when flavor matters; reach for vodka when you want a neutral carrier and faster drying.
- For sharp edges and geometric patterns, use frisket film or laser-cut stencils rather than freehand — much more reliable and repeatable.
- Practice on parchment or a scrap fondant panel before working on a finished cake, and mask off any areas you want to keep clean.
Good to know
- Tool type
- Pneumatic (air-powered) atomizing sprayer adapted for edible media
- Primary components
- Air compressor with regulator, airbrush gun (single- or dual-action), color cup or bottle, hose
- Typical operating pressure
- 15–40 PSI; 15–20 PSI for fine detail and dusting, higher for broader coverage
- Common gun types
- Gravity-feed (cup on top), siphon-feed (bottle below), side-feed
- Action type
- Single-action controls airflow and color together; dual-action controls them independently
- Nozzle size for food use
- 0.3–0.5 mm is standard; 0.2 mm for fine detail, 0.5 mm+ for chocolate and broad coverage
- Typical thinners
- Clear vanilla extract, lemon extract, high-proof vodka, or dedicated airbrush thinner
- Power source
- Electric diaphragm or piston compressor; small oil-less models are standard for food work
- Food-safety note
- Only media explicitly labeled food-grade or edible may contact the finished product — craft airbrush paints are not safe for ingestion
Also called
culinary airbrush · cake airbrush
Related

Muffin Pan
Multi-cup pan for muffins, cupcakes, and egg bites

Bundt Pan
Fluted ring mold for showstopping cakes with a center hole

Springform Pan
Latch-release pan that frees delicate cakes without flipping

Pie Dish
Sloped round dish for crisp-bottomed pies and quiches

Tart Pan
Fluted pan with a pop-out base for clean-edged tarts

Rolling Pin
Rolls dough into even sheets for pastry and bread

Pastry Brush
Brushes on egg wash, glaze, butter, and marinades

Bench Scraper
Flat blade that divides dough and clears your work surface