Baking & Pastry
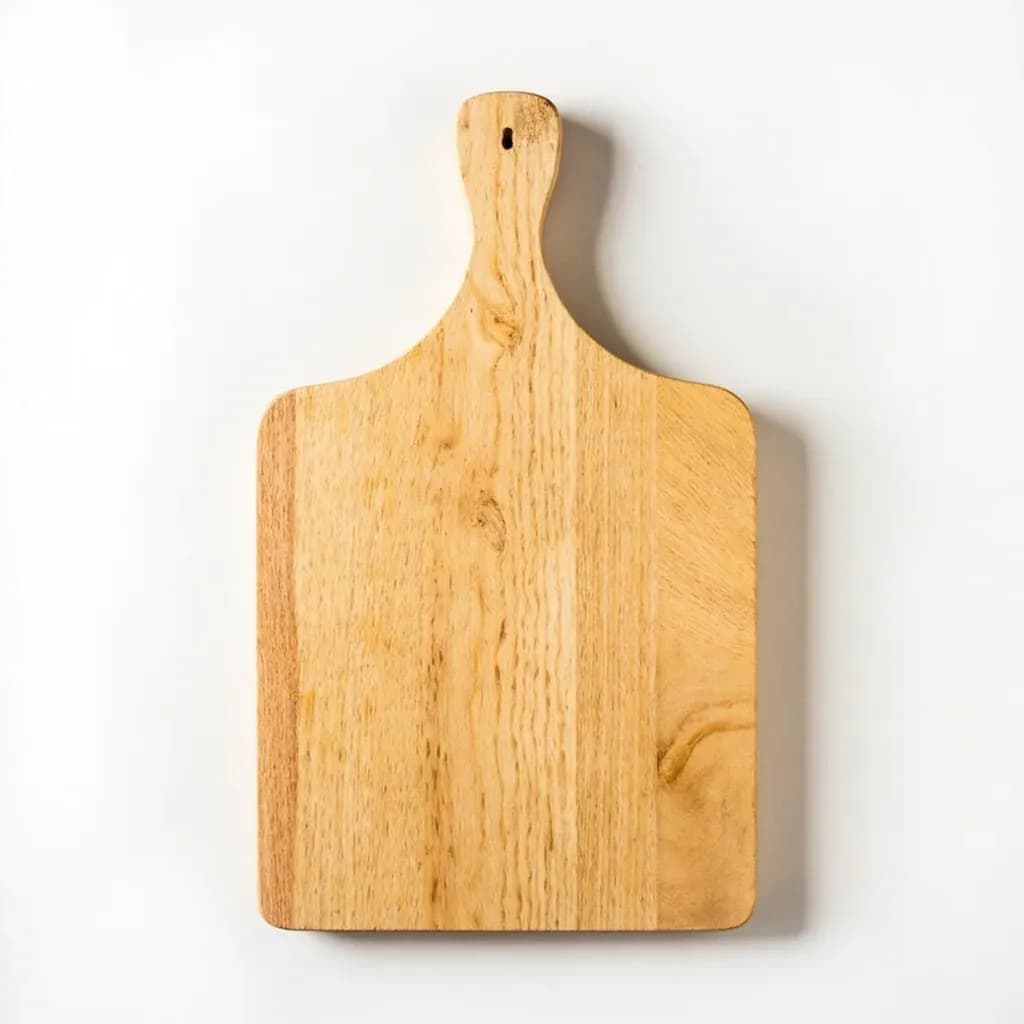
Gnocchi Ridging Board
A small grooved wooden paddle that presses ridges into gnocchi and pasta to hold sauce.
A gnocchi board is a ridged wooden paddle over which a piece of dough is rolled with the thumb to form curled, grooved gnocchi. The ridges and the thumb hollow create texture that grips sauce and helps the pieces cook evenly. The same board is used to shape cavatelli and other ridged pasta shapes.
The gnocchi ridging board — sometimes called a gnocchi board, in Italian a tavola per gnocchi — is a small rectangular paddle of hardwood, most commonly beech, maple, or hornbeam, with parallel grooves carved across one face. It is pressed against a thumb-indented piece of dough to imprint deep, even ridges on one side of each gnocco while leaving a shallow cup on the reverse. That dual texture is the whole point of the tool: the ridges give butter, oil, and chunky sauces something to grip, while the thumb cavity pools liquid sauces so a forkful is never dry.
Italian home cooks traditionally reach for one of three implements to texture gnocchi — the back of a fork, the small rolling gnocchi paddle (rigagnocchi), and the ridging board. The board produces the deepest, most uniform ridges and the cleanest cup, and it works equally well on potato dough, ricotta gnocchi, semolina, and small hand-rolled pasta shapes such as cavatelli. Because the tool does the shaping rather than the cook, it is forgiving for beginners and fast enough for restaurant prep.
A good board is small enough to cradle in one hand (roughly 20–25 cm long by 8–10 cm wide), heavy enough not to skate across the bench, and seasoned lightly with food-safe oil so dough releases cleanly. Crucially, it is pressed against the dough rather than rolled across it — that motion is what distinguishes it from the curved gnocchi paddle so often confused with it.
Alternatives
Types & varieties
The most traditional form; grooves hand- or machine-carved into a solid beech block, affordable and forgiving on dough.
A flat board onto which a patterned rolling pin has been pressed to create uniform ridges.
A harder, denser Mediterranean variant prized for its grain and durability.
Modern metal version with stamped ridges; dishwasher-safe and hygienic but heavier, colder on the dough, and less forgiving if the dough is too soft.
Budget option that is lightweight and easy to find; can be harder to release dough from and lacks the longevity and feel of wood.
Boards with two groove widths on opposite faces, one for classic potato gnocchi and a finer one for small gnocchetti.
Board, paddle, or fork: choosing the right texturing tool
Italian cookery uses three traditional texturing methods and they are not interchangeable. Pick the one that suits your dough, sauce, and presentation.
- Gnocchi ridging board: pressed against the dough with the thumb, it produces the deepest ridges and the cleanest cup. Best for soft potato, ricotta, or semolina dough and for sauces that need to cling — brown butter and sage, ragù, pesto.
- Gnocchi paddle (rigagnocchi): a small curved ridged paddle you roll dough across. Faster for high-volume prep and good for firmer doughs, but the ridges are shallower and there is no thumb cavity.
- Fork (back of): the household stand-in. Roll a dough ball down the tines with your thumb. Light ridges only, and inconsistent — fine for casual weeknight gnocchi but not for presentation.
Care and maintenance
A wooden ridging board lasts decades if treated like a wooden spoon — washed quickly, dried immediately, and kept away from standing water. The grooves need a little more attention than a flat board because dried starch can pack into them and dull the impression.
- Hand-wash in warm water within a minute of finishing, towel dry at once, and stand upright so air circulates on both faces.
- Never soak, never run through a dishwasher — the wood swells, the grooves distort, and the board can crack along the grain.
- Between batches, scrape packed dough from the grooves with a bench scraper or the edge of a knife, then brush with a dry pastry brush.
- Once a month, rub a thin coat of food-safe mineral oil into the surface and let it absorb overnight; this keeps the wood sealed and helps dough release cleanly.
- If grooves become worn or clogged with starch, refresh by sanding very lightly along the grain with fine sandpaper, then re-oil before next use.
Common uses
Tips & pitfalls
- Keep the dough soft and pliable but not sticky — a wet dough smears into the grooves instead of releasing cleanly and ruins the impression.
- Dust the board very lightly with flour only when dough starts to stick; too much flour prevents a clean print and dries out the surface of the gnocchi.
- Hold the board steady on the bench, or angle it in your non-dominant hand, and press each piece with the thumb in one smooth, firm motion — hesitating tears the surface.
- Aim for ridges on one face and a clean thumbprint concavity on the other; the pocket pools sauce, the ridges grip it.
- Wipe the grooves with a dry brush or scrape them clean with a bench scraper between batches; do not soak the board or the wood will swell and crack.
- If grooves feel worn or packed with starch, refresh the surface by sanding lightly along the grain and re-oiling with food-safe mineral oil.
- Avoid pressing so hard that the thumb breaks through the dough — ridges should sit proud of the surface, not cut into it.
- Work over a lightly floured tray or sheet pan so shaped gnocchi can be slid off without re-handling, which would smooth the ridges you just made.
Good to know
- Also known as
- Gnocchi board, rigagnocchi (board form), tavola per gnocchi
- Origin
- Italy, traditionally associated with northern and central regions where potato gnocchi is a staple
- Material
- Hardwood, most commonly beech, maple, or hornbeam; occasionally olive wood
- Typical size
- Roughly 20–25 cm long by 8–10 cm wide, sized to fit in one hand
- Working surface
- Carved or moulded parallel grooves, usually about 2–3 mm wide and a few mm deep, running across the short axis
- Form
- Rectangular flat paddle with grooves on one face; sometimes with a small handle or shaped edge
- Function
- Imparts ridges on one face and a shallow thumbprint cavity on the other so sauce clings and pools
- Care
- Hand-wash only, towel dry immediately, oil occasionally; never soak or put in a dishwasher
- Skill level
- Beginner-friendly; the tool does most of the shaping work
Also called
Gnocchi Paddle · Cavarola Board · Pasta Ridging Board
Related

Muffin Pan
Multi-cup pan for muffins, cupcakes, and egg bites

Bundt Pan
Fluted ring mold for showstopping cakes with a center hole

Springform Pan
Latch-release pan that frees delicate cakes without flipping

Pie Dish
Sloped round dish for crisp-bottomed pies and quiches

Tart Pan
Fluted pan with a pop-out base for clean-edged tarts

Rolling Pin
Rolls dough into even sheets for pastry and bread

Pastry Brush
Brushes on egg wash, glaze, butter, and marinades

Bench Scraper
Flat blade that divides dough and clears your work surface