Storage & Containers
Bottle Label
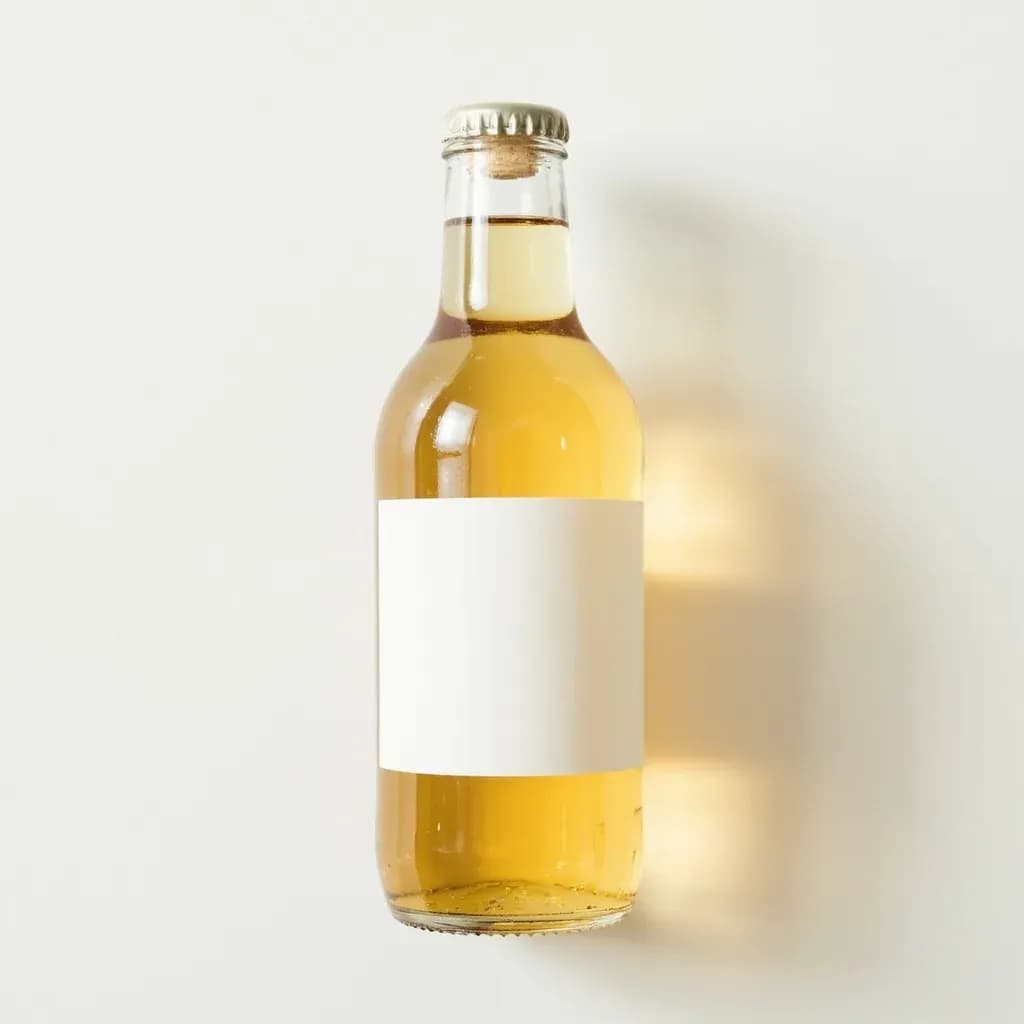
An adhesive label for identifying and dating bottled oils, sauces, and preserves.
Bottle labels are stick-on tags used to name, date, and describe the contents of bottled goods like infused oils, vinegars, sauces, and home-canned drinks. They keep a pantry or cellar organized and help track batches and expiry. Waterproof and freezer-grade versions hold up to condensation and chilling.
A bottle label is the small but essential piece of kitchen infrastructure that turns a mystery jar into a known quantity. In a serious home pantry — and especially one stocked with homemade preserves, infused oils, ferments, and frozen stocks — labels carry the information that prevents waste, foodborne illness, and the guessing game of which jar holds the kraut and which holds the kimchi. They are also the only practical way to track batches, note peak fermentation windows, and disclose allergens when food leaves your kitchen as a gift or market product.
The behavior of a label is determined by the face stock (the visible material), the adhesive, and the ink. Paper labels print beautifully and cost almost nothing, but they absorb moisture, wrinkle under condensation, and let ink bleed within days of refrigeration. Synthetic films — vinyl, polyester, polypropylene — survive oil, cold, and water, but cost more and need flexible stock to hug curved bottles. The right combination matters more than graphic design: a pretty paper label on a refrigerator-door hot sauce will be illegible in a week.
A useful label is a five-piece system: a clear content name, the date made, a batch or lot code, key allergens, and either a best-by or expected peak date. Match the adhesive to the storage environment (freezer, fridge, pantry, cellar), and apply the label to a clean, room-temperature bottle. Cured adhesion takes roughly 24 hours, so labeling before filling is the surest path to a label that stays put.
Alternatives
Types & varieties
Synthetic face stock with acrylic adhesive rated for sub-zero storage; standard for ferments and frozen stock
Polyester or polypropylene that resists smearing from oils and vinegar; common for infused oils and salad dressings
Paper-style label that dissolves in warm water within seconds; used for jars destined for reuse or return programs
Vinyl face stock with matte black or chalkboard coating; used with chalk or liquid chalk markers for reusable pantry jars
Continuous or die-cut rolls for desktop label printers (Brother QL series, Dymo LabelWriter); convenient for batch dating
Standard letter or A4 sheets with die-cut labels for home printers; good for custom designs and gift labels
Breakaway vinyl that tears if removed; used for fermented hot sauces, kombucha, and value-added products
Low-tack adhesive that peels cleanly; useful for jars rotated through seasonal pantry storage or bins
Choosing the Right Label Material
The contents of the bottle drive the material choice. Watery or oily liquids — vinegars, salad dressings, infused oils — need a synthetic film face stock (polyester, vinyl, or polypropylene) with a permanent acrylic adhesive. Paper labels absorb moisture, wrinkle, and let ink bleed within days of refrigeration. For ferments that produce CO₂ and condensation, freezer-grade vinyl with a low-temperature adhesive keeps the label bonded through long cold storage. If the bottle will be reused or returned, a dissolvable or removable label avoids scrubbing residue.
What to Print on a Home Bottle Label
A useful label carries five pieces of information: a clear content name, the date made or bottled, a batch or lot identifier, key allergens or unusual ingredients, and either a best-by date or an expected peak (for ferments). For gifts and market sales, a small ingredients block satisfies disclosure norms. For home use, a numeric batch code that matches a notebook entry allows recovery of full notes — fermentation curves, recipe tweaks, source of produce — without re-tasting a suspect jar.
Printer and Application Workflow
Sheet labels for inkjet or laser printers are the cheapest entry point: design once in a word processor or template (Avery and OnlineLabels publish free templates matched to their SKUs), print a test sheet on plain paper, then run the label sheet. Thermal roll printers are faster for repeated labeling and avoid smearing, but the rolls cost more per label. Apply labels to bottles at room temperature; press firmly from the center outward and hold for ten seconds so the adhesive wets out. Cured adhesion — the bond reaching full strength — takes 24 hours, so label before the contents go in if possible.
Common uses
Tips & pitfalls
- Always write the date made and an estimated best-by or peak-ferment date — most homemade preserves lose quality after 12 months, and a forgotten jar is the most common cause of waste
- Use a permanent, water-resistant marker such as a Sharpie Extreme or a fine-tip paint pen; ballpoint inks smear on condensation-prone bottles and standard Sharpies fade under oil
- For curved bottles, choose flexible vinyl and apply from the center outward to prevent puckering and lifted edges that let moisture creep under the label
- Clean and degrease the bottle surface with isopropyl alcohol before applying — oil residue and fingerprints break down adhesive bonds and cause premature peeling
- Store unapplied labels flat in a cool, dry place; humidity curls sheet labels, jams inkjet feed rollers, and degrades thermal print quality
- When using a thermal or label printer, calibrate the label size in the printer driver; miscalibrated rolls cause text to drift off the printable area and waste stock
- Include all major allergens on the label for gifts — a commercial-style ingredient list prevents allergic reactions and is the single most often overlooked detail on homemade goods
- Keep a master log of label batches in a notebook or spreadsheet; if a jar is mislabeled or the label falls off, the log identifies contents without opening it
- For freezer labels, confirm both the adhesive and ink are freezer-rated; standard laser toner can flake off below 0°F even when the adhesive holds
- Place the label where it will be visible once the bottle is stored — front-facing for upright pantry shelves, not the bottom or back where it disappears against the wall
Good to know
- Primary purpose
- Identifying contents of bottled homemade oils, vinegars, sauces, ferments, preserves, and infusions with name, date, and batch information
- Material categories
- Paper, vinyl, polyester (Mylar), polypropylene, and synthetic film; paper is cheapest while synthetic films are water- and oil-resistant
- Adhesive types
- Permanent acrylic, removable, freezer-grade, and dishwasher-safe formulations
- Printer compatibility
- Inkjet, laser, thermal transfer (Brother QL, Dymo LabelWriter, Zebra), and pre-printed or hand-writeable
- Common sheet sizes
- Avery-style 2.625" × 1", 3.5" × 1.25", 4" × 2", and round 2.5" diameter
- Temperature tolerance
- Freezer-grade labels rated from roughly -40°F to 200°F; standard paper labels fail in condensation or cold storage
- Surface compatibility
- Glass, rigid plastic, ceramic, and metal — curved bottles need flexible vinyl or wraparound stock
- Typical use contexts
- Pantry storage, refrigerator, freezer, cellar, and gift packaging for homemade preserved goods
- Key information to include
- Contents, date made, batch number, key allergens, and estimated shelf life or best-by date
Also called
Bottle Labels · Adhesive Label · Jar Label
Related

Freezer Bags
Thick, sealable bags built to fight freezer burn

Storage Bags
Resealable bags for fridge storage and marinating

Storage Container
Lidded container for leftovers, prep, and meal kits

Glass Container
Oven-to-fridge glass that won't stain or hold odors

Plastic Container
Lightweight, stackable storage for everyday leftovers

Vacuum Sealer Bags
Airtight bags for long freezing and sous-vide

Reusable Bags
Washable silicone bags that replace single-use plastic

Mason Jar
Sealed glass jar for preserves, pickles, and storage