Baking & Pastry
Baking Sheet
Flat metal pan for roasting vegetables, baking cookies, and toasting in the oven.
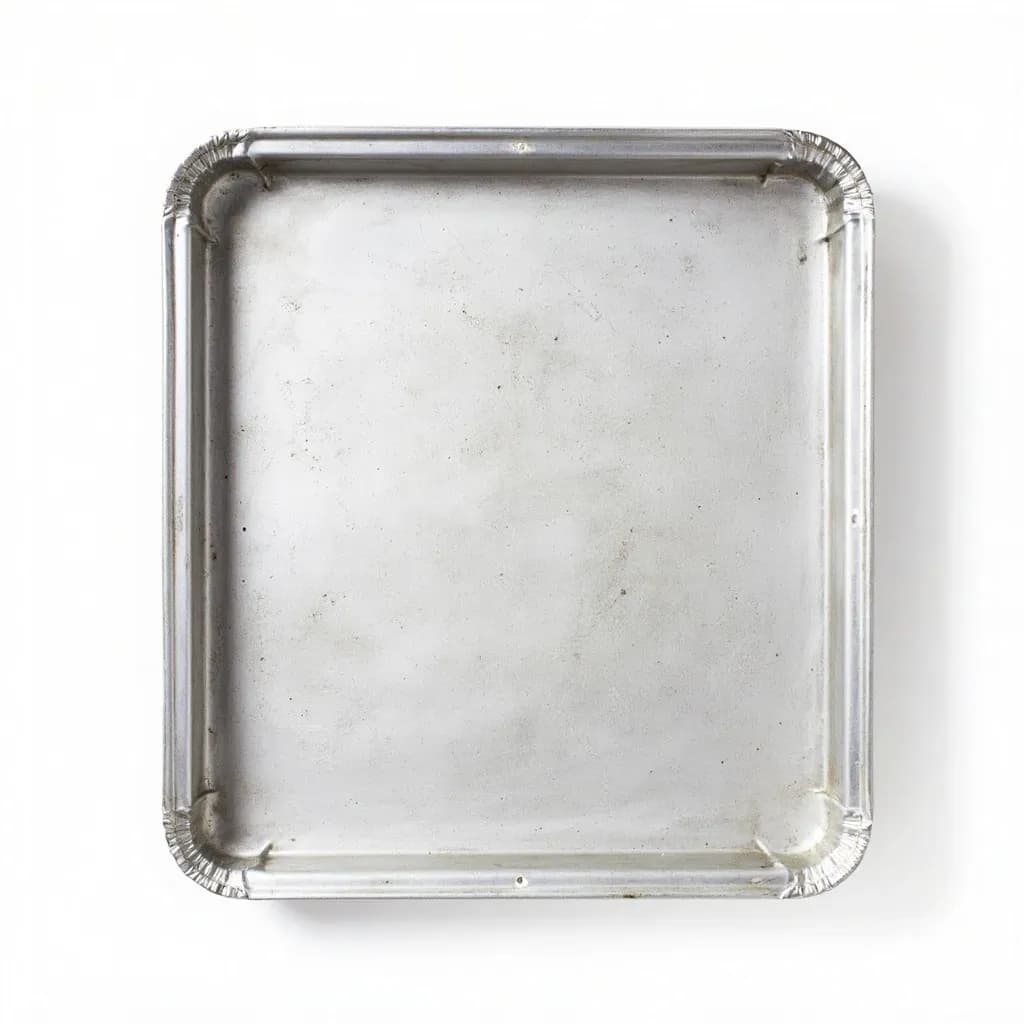
A baking sheet is a flat, rectangular metal pan, usually with a low rim on one or more sides, used throughout oven cooking. It is the workhorse for roasting vegetables, baking cookies and pastries, toasting nuts, and sheet-pan dinners. Aluminum sheets conduct heat evenly; lining with parchment or a silicone mat prevents sticking and speeds cleanup.
A baking sheet—called a sheet pan in most American kitchens and a baking tray in British and Australian ones—is the rectangular metal pan with a shallow rim that bridges baking and roasting in the home oven. It is among the most-used pieces of equipment in professional bakeries and home kitchens alike, and the reason is straightforward: a good sheet pan moves effortlessly from catching drips under a bubbling pie to delivering deeply caramelized roasted vegetables to holding a dozen cookies in tidy, evenly spaced rows. Its broad, flat surface maximizes contact between food and hot metal, which is the key to browning, while the low rim—about an inch—keeps food contained without trapping the steam that a deeper walled pan would, and gives a spatula room to slide cleanly underneath finished food.
The workhorse of the home kitchen is the half sheet pan, 18 by 13 inches, because it fits a standard range with room to spare and can hold a complete dinner's worth of food on a single surface. How a sheet pan behaves depends almost entirely on its material and gauge: heavy-gauge aluminum heats quickly and evenly, dark anodized surfaces accelerate browning, and thin pans warp at high heat, buckling under thermal shock when shifted from a hot oven to a cold counter. Choosing well matters more than most recipes admit, because the pan itself often decides whether a roast crisps or steams and whether cookies bake evenly from edge to center.
Alternatives
Types & varieties
18×13 inches; the workhorse of the home kitchen, fits standard ranges with an inch or two of clearance on each side
18×26 inches; the restaurant and bakery standard, too large to fit a single home oven rack
13×9 inches; ideal for small batches, toaster ovens, and single-rack jobs
15.5×10.5 inches with shallow ~1-inch sides; sized for thin sponge cakes that must roll without cracking
The most common style; raised edges contain juices, fat, and loose items during roasting
Flat, lip-less pan for pizzas, breads, and cookies when you need to slide finished items off cleanly
Coated for easy release of cookies and sticky bakes; not suited to high-heat broiling
Dark, electrochemically treated surface that releases food cleanly and browns faster than shiny aluminum
Holes across the surface for airflow; used for fries, bacon, breadsticks, and dehydrating
Two aluminum layers separated by an air gap; reduces hot spots and slows bottom browning for delicate bakes
Choosing the Right Sheet Pan
Two half-sheet pans of heavy-gauge aluminum cover the overwhelming majority of what a home cook does in the oven. Look for 18-gauge (about 0.8 mm) aluminum or thicker, and feel the rim: a tightly folded, reinforced edge resists the warping that comes from hot-to-cold transitions. Shiny bare aluminum is the all-purpose choice—it heats fast, cleans up easily, and browns predictably. If you bake a lot of cookies or roast things you want to release without parchment, an anodized pan earns its keep by browning slightly faster and releasing more cleanly.
- Buy two half-sheets rather than one full: most home ovens cannot fit a full sheet on a single rack, and two pans let you roast or bake in batches without crowding.
- Skip thin, lightweight pans in the under-$10 range; they warp the first time you broil in them or run them under water while hot.
- Reach for a jelly roll pan (not a rimmed half sheet) when baking thin cake layers that need to roll—its shallow sides and slightly smaller footprint help the cake release and roll without cracking.
- Reserve non-stick pans for low-to-moderate tasks like cookies and bar bakes; high heat shortens coating life and can release fumes.
Caring for Your Sheet Pan
A good sheet pan should outlast a decade of weekly use if treated sensibly. Hand-washing is gentler than the dishwasher, which exposes aluminum to harsh detergents and prolonged moisture that encourage oxidation. If a bare aluminum pan does discolor from acidic foods or repeated washing, scrub it with a paste of baking soda and water, or simply let it darken with use—oxidation does not harm performance and many cooks find a well-seasoned dark surface browns more aggressively.
- Dry the pan immediately after washing and never set a hot pan on a wet surface or cold stone; thermal shock warps even heavy-gauge pans.
- Avoid cooking tomatoes, citrus, or vinegar-heavy sauces directly on bare aluminum; the acid reacts with the metal and can leave a metallic taste and gray flecks on food.
- Store pans upright or hanging rather than stacked face-to-face; nesting with no protection scratches non-stick coatings and dents rims.
- Line pans with parchment or a silicone mat for sticky bakes, but let the bare metal do the work when you want crisp undersides on roasted potatoes or smashed breads.
Common uses
Tips & pitfalls
- Choose heavy-gauge aluminum; thin pans warp at high heat and buckle under thermal shock from hot-to-cold transitions.
- Leave at least 1 inch of space around each item on the pan—crowding traps steam and prevents the browning that makes roasted vegetables worth roasting.
- Preheat the sheet pan for foods you want crisped underneath, such as smashed potatoes, flatbreads, and roasted chickpeas; the head start makes the difference.
- When switching from a shiny aluminum pan to a dark or anodized one, drop the oven temperature by about 25°F to avoid over-browning the bottoms and edges.
- Avoid cooking acidic ingredients (tomato, citrus, vinegar) directly on bare aluminum, which can discolor both the food and the pan.
- Reserve non-stick pans for low-to-moderate heat; the coating degrades faster under the broiler or above 450°F.
- Pat proteins and vegetables thoroughly dry before oiling them—surface moisture is the single biggest obstacle to browning.
- When using two sheet pans at once, stagger them front to back rather than side by side, then swap and rotate them halfway through cooking for even results.
Good to know
- Also known as
- Sheet pan, oven tray, baking tray (British/Australian), sheet tray
- Standard sizes
- Full sheet (18×26 in / 46×66 cm), Half sheet (18×13 in / 46×33 cm), Quarter sheet (13×9 in / 33×23 cm), Jelly roll (15.5×10.5 in)
- Typical rim height
- About 1 inch (2.5 cm); jelly roll pans are shallower
- Most common material
- Aluminum, prized for fast, even heat conduction
- Gauge recommendation
- Heavy gauge (≥0.8 mm / roughly 18 gauge) resists warping at high heat
- Heat tolerance
- Standard aluminum handles up to 500°F (260°C); non-stick coatings typically max out at 450°F (230°C)
- Typical cost
- $10–$30 for a basic half sheet; premium brands (Nordic Ware, Vollrath, USA Pan) run $25–$60
- Oven fit
- A half sheet fits a standard home oven with an inch or two of clearance on each side; a full sheet generally does not
Also called
baking-sheet · sheet-pan · oven-tray · oven-baking-tray · cookie-sheet
Related

Muffin Pan
Multi-cup pan for muffins, cupcakes, and egg bites

Bundt Pan
Fluted ring mold for showstopping cakes with a center hole

Springform Pan
Latch-release pan that frees delicate cakes without flipping

Pie Dish
Sloped round dish for crisp-bottomed pies and quiches

Tart Pan
Fluted pan with a pop-out base for clean-edged tarts

Rolling Pin
Rolls dough into even sheets for pastry and bread

Pastry Brush
Brushes on egg wash, glaze, butter, and marinades

Bench Scraper
Flat blade that divides dough and clears your work surface