Prep Tools
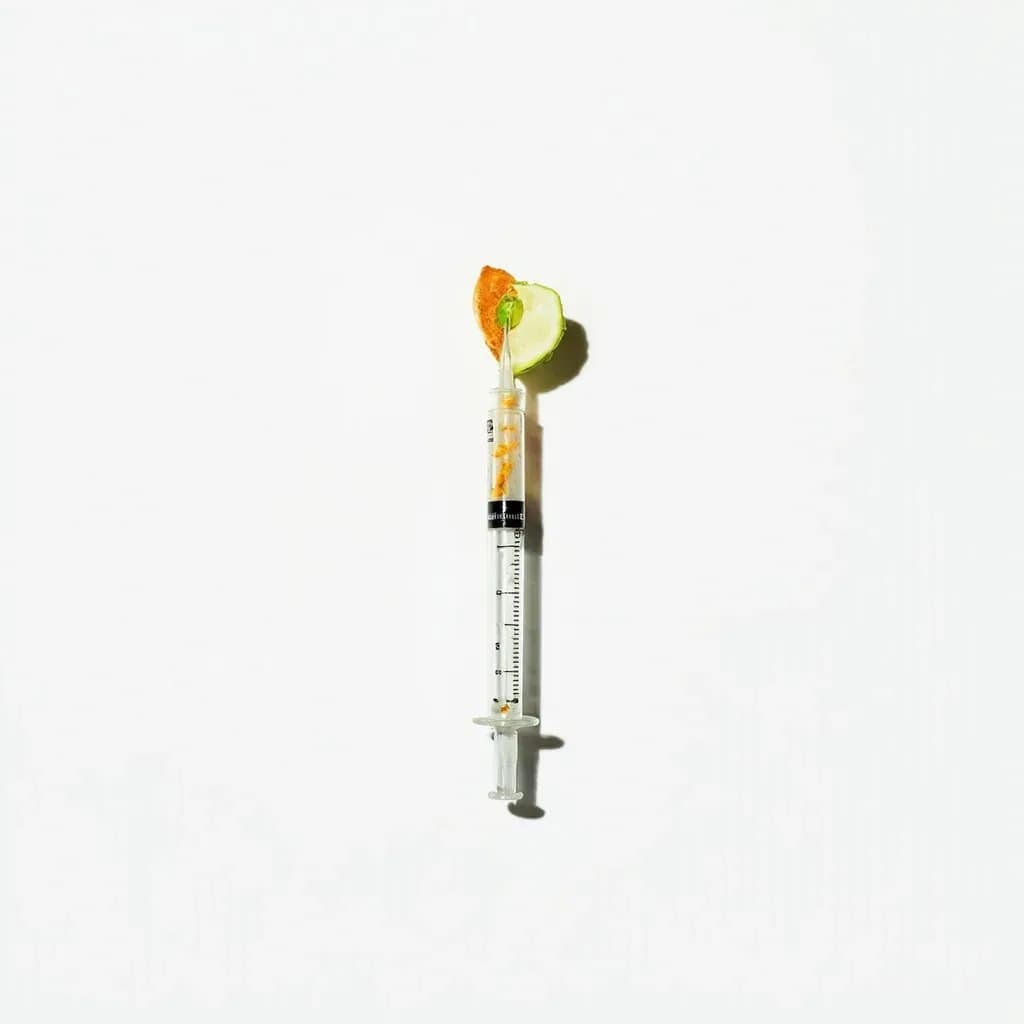
Culinary Syringe
A food-grade syringe for injecting marinades, fillings or sauces into food.
A culinary syringe is a large, blunt-needled injector used to push marinade, brine, melted butter or fillings deep into meats and pastries. It is common for flavoring roasts and turkeys from the inside and for filling doughnuts or chocolates. Some models include interchangeable nozzles for thicker mixtures or precise plating dots.
A culinary syringe is a precision tool for pushing liquid flavor and moisture deep into food where a surface marinade or rub simply cannot reach. Built on the same principle as a medical syringe — a graduated barrel, a plunger with a sealing gasket, and a removable hollow needle — it is sized and specced for kitchen work rather than anything else. Cooks use it to thread brine, butter, stock, or syrup through the interior of a thick roast, a whole bird, a hollow pastry, or a stuffed vegetable, so that every bite carries the seasoning instead of just the crust.
The tool moved into the kitchen from laboratories and clinics, but it was competition barbecue cooks in the late 1990s and early 2000s who popularized it. They discovered that brisket, pork shoulder, and ribs could be seasoned from the inside out, producing juicier sliced meat and a more consistent bark. From there the syringe migrated into pastry kitchens, where it fills éclairs and doughnuts, and into fine-dining plating, where it lays down precise dots and lines of sauce.
What separates a culinary syringe from merely soaking or marinating is depth and control. Surface brines and rubs season only the outer fraction of an inch; an injector deposits liquid along the full thickness of a muscle or into a sealed cavity. The trade-off is capacity: most raw proteins can only hold about 10 to 15 percent of their weight in added liquid before it begins weeping out during cooking. A good cook treats the syringe as a complement to a rub or glaze, not a replacement — the interior gets flavor and moisture, the exterior still needs crust, char, or caramelization.
Alternatives
Types & varieties
Lightweight and inexpensive; best for casual home use; the gasket can degrade faster with acidic or heavily salted liquids.
Restaurant- and competition-grade; tougher seal, dishwasher-safe, and the choice for heavy barbecue work and frequent use.
Larger barrel means fewer refills on briskets, turkeys, and pork butts; noticeably heavier in the hand.
A manifold fires several needles at once to speed up work on very large cuts.
Widens from a point to a small opening, tears fewer muscle fibers, and resists clogging with fats and spice particles.
Matching the Needle to the Liquid
Needle gauge — the bore diameter — is the single most important spec to match to what you are injecting. The rule is simple: the thicker, fattier, or more particulate the liquid, the lower the gauge number you need. A thin, clear brine flows freely through a fine 18-gauge needle; a butter studded with garlic or herbs will plug it instantly. Most serious cooks keep at least two needle types on hand so they can switch mid-task without stopping to clean.
- 18 gauge: clear brines, simple stocks, simple syrups, citrus juices — anything thin and particle-free.
- 16 gauge: fortified brines, fruit purées, thinned buttermilk or yogurt injections.
- 14 gauge: compound butters, sauces with finely minced aromatics, cream-based injections for poultry.
- 12 gauge and tapered blunt tip: rendered fats, heavy marinades carrying spice particles, anything that would clog finer needles.
Injection Technique for Large Cuts
For a brisket, pork butt, or whole turkey, the goal is even distribution without saturating any one pocket. A grid pattern across the top, sides, and ends gives the most uniform result, and pulling the needle out slowly while still depressing the plunger fills the channel as it withdraws rather than leaving a reservoir at the bottom.
- Mark the surface in a rough grid every 1.5–2 inches; this becomes the injection map.
- Insert the needle fully, then begin depressing the plunger as you withdraw so the channel fills evenly.
- Rotate the cut and repeat on every face, including the sides, to avoid an under-seasoned interior and a flavor-heavy edge.
- After injecting, pat the surface dry so exterior marinade pools do not steam instead of searing.
Common uses
Tips & pitfalls
- Strain every injection liquid through a fine-mesh sieve so solids do not clog the needle mid-pump.
- Pull the needle out slowly while still depressing the plunger so the liquid fills the channel as it withdraws instead of back-flowing out the entry hole.
- Inject in a grid pattern roughly every 1.5 to 2 inches across the surface for even flavor and moisture distribution.
- Pat the surface of the meat dry after injecting; pools of marinade on the outside will steam rather than sear and will not form bark.
- Do not over-inject — most proteins can only hold about 10 to 15 percent of their raw weight in liquid before excess leaks during cooking.
- Use the largest-gauge needle practical for your liquid; fine needles clog with anything containing fat, pulp, or spice particles.
- Rest the meat 15 to 30 minutes (or overnight, refrigerated) after injecting so the liquid can distribute through the muscle fibers.
- Track the angle of your last pull-out so you do not re-enter an already-filled channel and force liquid back to the surface.
- Avoid injecting right up against the bone on bone-in cuts; liquid pools there and will not cook away.
- Sanitize stainless-steel injectors in hot soapy water after every use, especially after raw-meat brines; dispose of disposable needles in a proper sharps container.
Good to know
- Also known as
- Flavor injector, meat injector, marinade injector, injection syringe
- Primary materials
- Food-grade plastic (disposable and reusable) or stainless steel for professional use
- Typical capacities
- 10 mL, 20 mL, 30 mL, 50 mL, and 60 mL barrels are widely available
- Needle options
- Kits usually include 2–3 needles; gauges commonly range from about 12 to 18, with some sets offering a tapered blunt tip for thick liquids
- Key components
- Barrel, plunger with O-ring or gasket, removable needle(s), and protective cap
- Dishwasher safe
- Stainless-steel injectors generally are; plastic reusable models are usually top-rack only
- Lifespan
- Plastic reusable syringes last 1–2 years under heavy use as gaskets wear; stainless-steel models can last many years
- Holding capacity of meat
- Most raw proteins retain roughly 10–15% of their weight in injected liquid before excess leaks during cooking
- History
- Adapted from medical and lab syringes; became standard in competition barbecue in the late 1990s–early 2000s
- Cost range
- Plastic kits start around $5–$10; stainless-steel professional kits run $15–$40 or more
Also called
meat injector · marinade injector · flavor injector
Related

Peeler
Swift blade for stripping skin off fruit and vegetables

Grater
Sharp-toothed surface for shredding cheese and vegetables

Microplane
Ultra-fine rasp for citrus zest, garlic, and hard cheese

Mixing Bowl
All-purpose bowl for combining, whisking, and tossing

Whisk
Looped wires that beat air into eggs, cream, and sauces

Spatula
Flat blade for flipping, lifting, and scraping

Slotted Spoon
Pierced spoon that lifts solids and drains the liquid behind

Wooden Spoon
Gentle, heat-friendly spoon for stirring anything