Prep Tools
Hamburger Patty Press
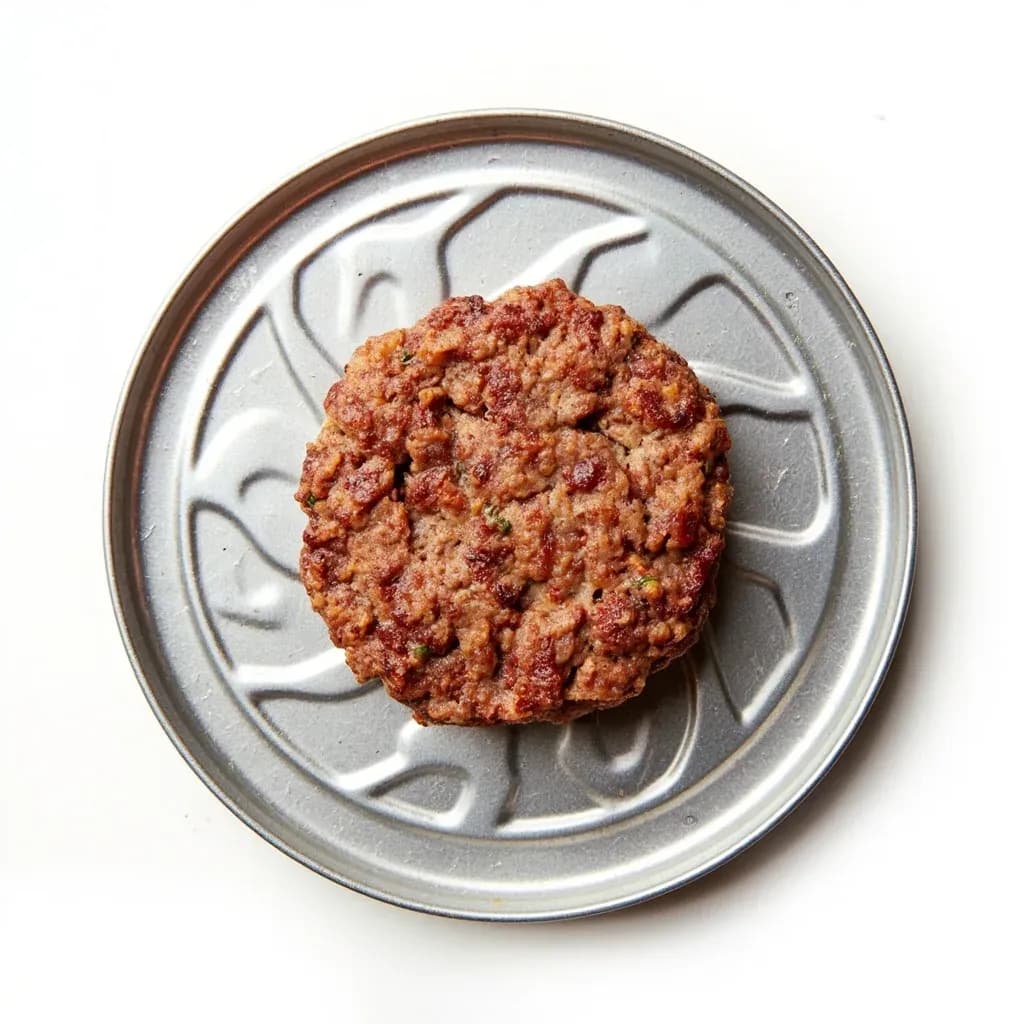
A round mold that presses ground meat into uniform, evenly thick burger patties.
A hamburger patty press is a hinged or stacking round mold that compresses ground meat into uniform patties of consistent thickness and diameter. It speeds up making many burgers at once and keeps them cooking at the same rate. Many models include parchment or wax-paper liners so patties release cleanly and can be stacked for freezing.
A hamburger patty press is a small, usually round mold designed to take loose ground meat and turn it into patties of identical size, weight, and thickness. At its heart, the tool is a simple shape: a base cup or ring paired with a plunger, a lid, or just the cook's hand. Its job is to remove the variability that comes with free-forming patties by eye, which is the real source of uneven cooking, mis-sized sandwiches, and inconsistent plate cost in a busy kitchen.
What a press actually does is solve a portioning problem. Ground meat is sticky, soft, and easy to overwork, so a cook who eyeballs patties tends to produce a mixed batch — some thick, some thin, some so tightly packed that they cook up dense and bouncy. A press gives every patty the same mass and the same edge, which means the same sear, the same cook time, and a bun-to-meat ratio that holds together. In a home kitchen that translates to burgers that stack cleanly and look deliberate; in a diner it means lunch service runs on time.
The press itself is only half the equation. The other half is how the meat is handled: kept cold, handled gently, seasoned on the outside rather than mixed in, and formed slightly larger than the finished patty needs to be since beef and other ground proteins contract as their proteins tighten in the heat. A good press makes the shaping step faster and more uniform, but the crust, the juiciness, and the even cooking all come from technique around it, not from force.
Alternatives
Types & varieties
A simple flat-bottomed ring that sits on a board or sheet pan; the cook presses the meat into the ring by hand. Inexpensive, easy to clean, and easy to store, but requires a flat surface and a steady hand.
A two-piece mold with a base cup and a handle-driven top that compresses the meat evenly from above. The classic home burger press, and the design most people picture when they hear the name.
Features interchangeable plates or a thickness dial so the cook can set exact patty weight and height; popular in small commercial kitchens where portion control matters.
A two-sided mold that forms a shallow well in one patty so cheese, onions, or other fillings can be sealed inside a second patty. Built for burgers like the Juicy Lucy and its relatives.
A smaller-diameter version (about 2.5–3 in) for uniform slider-sized patties at parties, buffets, or tasting menus.
A benchtop or floor-model mechanical press used in burger shops; produces dozens of identical patties per minute and is built for daily heavy use.
Choosing the right press
For most home cooks, a simple plunger-style press in cast aluminum or stainless steel is the best balance of weight, durability, and cleanability. Heavy-duty plastic works, but it tends to flex under pressure and is harder to clean once grease works into the surface. A non-stick coating is convenient but will eventually wear, especially if the press goes in the dishwasher.
Look for a press with a flat inside, not one with deep grooves or ridges: grooves imprint on the patty, can trap food, and make the mold harder to wash. A removable base cup is a small but useful feature, because it lets you push finished patties out cleanly without prying. If you make stuffed burgers often, a dedicated stuffed-burger press is worth owning in addition to a standard one; the two designs do different jobs.
Working the meat
The press shapes the patty, but the cook controls the texture. Ground meat should be cold, handled as little as possible, and seasoned just before cooking rather than mixed with salt in advance. Over-packing is the most common mistake: a patty pressed until it feels like a hockey puck cooks up dense and tough, no matter how good the beef is. Press just firmly enough that the patty holds its shape, then stop.
A few small habits make a real difference. A shallow thumb-dimple in the center keeps the middle from doming up on the griddle. Forming patties a touch wider than the bun accounts for shrinkage. Chilling formed patties for 15–30 minutes before cooking helps them hold their edge and develop a better crust. None of this is about the tool itself; it's about using the tool to set up the sear that comes next.
- Keep meat cold right up until pressing.
- Form patties slightly larger than the finished size you want.
- Press just enough to hold shape — never compact the meat.
- Dimple the center about 1 cm deep to prevent puffing.
- Chill formed patties 15–30 minutes before cooking for a better crust.
Common uses
Tips & pitfalls
- Lightly wet your hands or the inside of the press with water or a neutral oil so the meat releases cleanly; avoid flour or breadcrumbs, which leave a starchy film and interfere with the sear.
- Handle the meat gently — a patty packed until it feels firm will cook up tough and rubbery. Press only enough to make it hold its shape.
- Form each patty a little wider than the bun, since patties shrink noticeably as the proteins contract during cooking.
- Press a shallow dimple (about 1 cm deep) into the center of each patty with your thumb to keep the middle from puffing up on the griddle.
- Chill formed patties for 15–30 minutes before cooking; cold patties hold their shape better and develop a better crust.
- If using a stuffed-burger press, leave a clean border of about 0.5 in (1.25 cm) around the filling so the two patties seal without splitting.
- Season the outside of the patty just before it hits the heat, not the bulk mixture — salt drawn into raw ground meat too early can make the texture mushy.
- Stack finished patties between sheets of parchment or wax paper to keep them from fusing together in the fridge or freezer.
- Skip presses with deep grooves or ridges if you want a flat sear; grooves can imprint on the patty, trap food, and be harder to clean.
Good to know
- Also called
- Burger press, patty maker, patty shaper, burger mold
- Common materials
- Cast aluminum, stainless steel, heavy-duty plastic; sometimes with a non-stick coating
- Standard patty diameter
- Roughly 4 inches (10 cm) for classic American burgers; 2.5–3 inches (6–7.5 cm) for sliders
- Standard patty thickness
- Approximately 0.5–1 inch (1.25–2.5 cm), depending on the model and the cook's preference
- Portion size
- Most 4-inch presses are designed for 4–6 oz (115–170 g) of ground meat per patty
- Main types
- Open ring molds, single-press molds with a top plunger, adjustable dial presses, and double-sided stuffed-burger presses
- Cleanup
- Metal presses are usually dishwasher-safe; plastic models are typically top-rack only or hand-wash
- Cost range
- Basic home models are inexpensive; commercial-grade presses are heavier, more precise, and priced accordingly
Also called
Burger Press · Patty Mold · Hamburger Press
Related

Peeler
Swift blade for stripping skin off fruit and vegetables

Grater
Sharp-toothed surface for shredding cheese and vegetables

Microplane
Ultra-fine rasp for citrus zest, garlic, and hard cheese

Mixing Bowl
All-purpose bowl for combining, whisking, and tossing

Whisk
Looped wires that beat air into eggs, cream, and sauces

Spatula
Flat blade for flipping, lifting, and scraping

Slotted Spoon
Pierced spoon that lifts solids and drains the liquid behind

Wooden Spoon
Gentle, heat-friendly spoon for stirring anything