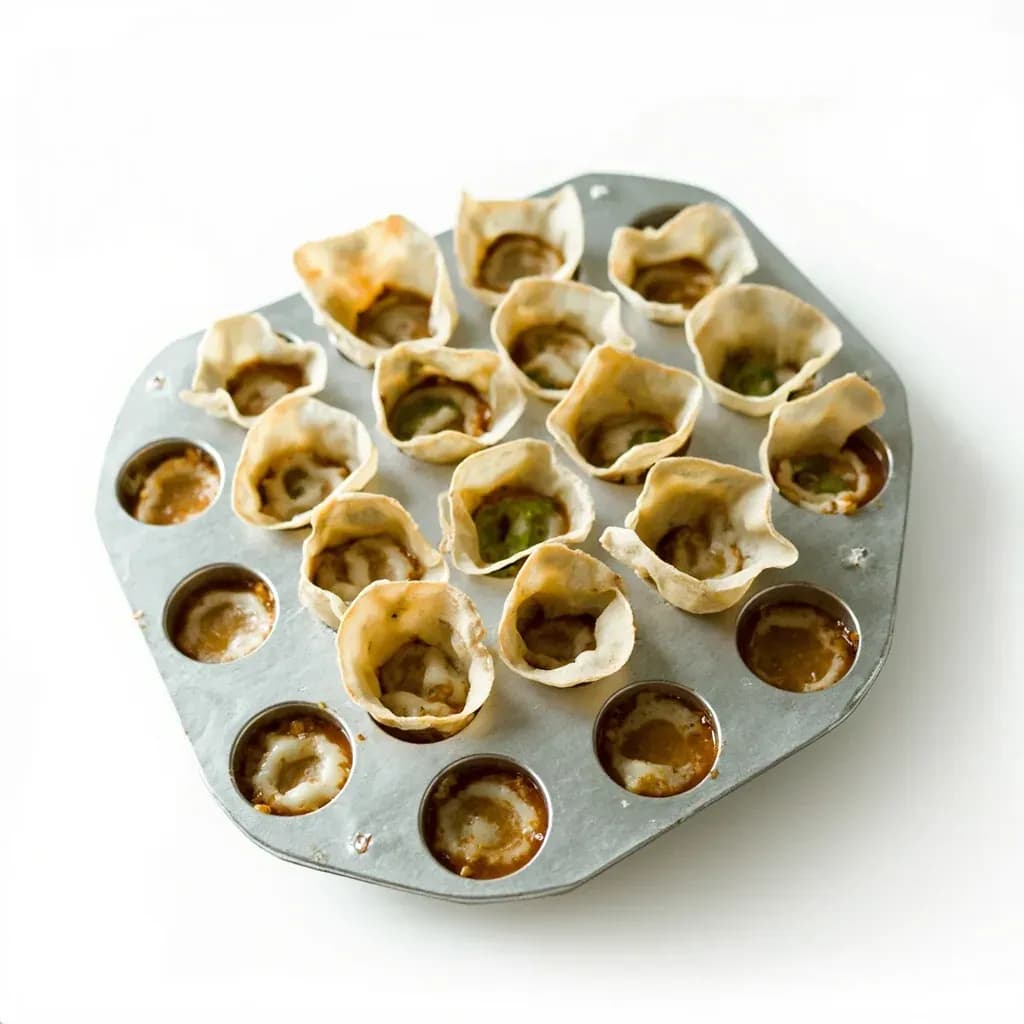
Prep Tools
Ravioli Mold Tray
A perforated metal tray that shapes and seals a whole sheet of ravioli at once.
A ravioli mold tray is a grid of cup-shaped wells with cutting ridges between them, used to form many filled pasta pockets in one go. A pasta sheet is laid over the tray and pressed into the wells, filling is spooned in, a second sheet is added, and a rolling pin run over the top cuts and crimps each ravioli. It produces uniform, well-sealed ravioli far faster than shaping them by hand.
A ravioli mold tray is one of those rare pasta tools that genuinely flattens the learning curve. The classic form is a flat metal sheet pierced with a grid of recessed wells, each ringed by a raised rim that does double duty: it shapes the filling and, when you roll across the top, cuts and seals two pasta sheets together in a single pass. The base of the tray is perforated with small holes so trapped air is forced out as you roll, which is the single biggest reason ravioli made on these trays don't puff open in the pot. Compared to hand-cutting with a knife and pinching each piece, the tray trades a little romanticism for remarkable consistency: every portion is the same size, cooks in the same time, and plates the same way.
For cooks who already own a pasta machine, a 12-well aluminum tray is the most versatile entry point and the natural companion to fresh egg dough. The tool is a forming device, not a cooking one: ravioli still need to be boiled, pan-sautéed in butter, or baked after they leave the tray. But because the geometry of the wells does the portioning for you, even a first-timer can turn out a respectable dozen ravioli in two or three minutes once the dough and filling are ready.
Material choice mostly comes down to feel. Plain or anodized aluminum gives crisper cut edges and an audible snap when the rim severs the dough, which many cooks find satisfying and reassuring. Silicone molds are gentler on delicate doughs and easier to wash, but they flex under pressure, so you typically work them on a wooden board for stability. None of these trays are expensive, and a well-made one, hand-washed and stored flat with parchment between trays, will give years of regular use.
Alternatives
Types & varieties
The most common form; rectangular/square molds give the classic Italian raviolo shape with sealed fluted or straight edges.
Circular molds for round ravioli, round agnolotti, or round pelmeni-style dumplings.
Smaller wells (roughly 2.5–3 cm) for bite-sized or soup ravioli.
Larger sheet that yields two dozen at once; favored by restaurants and batch cooks.
A bottom mold tray paired with a top cutting frame that presses and trims in one pass; common in Italian-made sets.
Harder, more durable surface than plain aluminum; resists corrosion and dough sticking.
Heavier and more rigid; holds shape longer but can dent if dropped.
Flexible, non-stick, dishwasher-safe; floppier than metal, so sealing requires a steadier hand or a wooden board underneath.
Some trays mix square, round, and half-moon wells for variety in one batch.
Choosing between aluminum, silicone, and stainless
The material changes how the tray feels in your hands more than how the finished ravioli tastes, but there are real practical differences worth knowing before you buy.
- Plain stamped aluminum is light, inexpensive, and cuts cleanly, but it can oxidize if left wet and should be hand-dried after washing.
- Anodized aluminum has a harder, slightly satin surface that resists sticking and corrosion; it is the best all-around choice for frequent use.
- Stainless steel is the heaviest and most rigid option, holds its shape indefinitely, but is unforgiving on dropped floors and tends to be the priciest.
- Silicone molds are flexible, dishwasher-safe, and gentle on delicate egg-yolk doughs, but they need a wooden board underneath because they bow under rolling pressure.
- Wooden rolling pins are the traditional partner; avoid metal utensils on coated trays, since they can scratch the non-stick surface.
Common uses
Tips & pitfalls
- Dust the tray lightly with fine semolina or 00 flour before laying dough; cornmeal works but can leave grit in the bite.
- Keep pasta sheets just thin enough to show the light through a window (about setting 6–7 on a standard Atlas machine); sheets that are too thick will dome over the filling.
- Drape the first sheet loosely over the tray and gently press into each well so air pockets disappear before filling — trapped air is what makes ravioli puff and burst.
- Spoon filling into each well and stop just below the rim, about 1 teaspoon for a 5 cm well; overfilling is the single most common reason ravioli burst while cooking.
- Lightly moisten the exposed pasta between mounds with water or beaten egg using a pastry brush before laying the second sheet; this is what actually welds the two layers together.
- Roll with even, firm pressure across the tray in one or two passes, then rotate 90 degrees and roll again to ensure every edge is sealed and cut.
- Flip the tray over onto a floured surface or parchment and tap gently; the ravioli should drop out cleanly. If they resist, the dough was under-floured or the tray needed more dusting.
- If the dough retracts or shrinks as you lay it over the tray, let it rest covered for 10 minutes; relaxed gluten is the fix.
- Freeze ravioli directly on the tray, then transfer to a bag once solid; this prevents the pieces from sticking to each other in storage.
Good to know
- Origin
- Italy; modern stamped metal trays descend from traditional hand-cut and stamp methods used in Italian home and trattoria kitchens.
- Typical configuration
- Flat tray with a grid of recessed wells (squares or rounds), each well surrounded by a raised rim that both seals the dough and cuts the pasta.
- Standard well counts
- Common sizes hold 6, 9, 12, or 24 ravioli; 12-well and 24-well trays are the most widely sold.
- Common dimensions
- A 12-well tray is roughly 30 x 20 cm (about 12 x 8 in); individual wells are typically 4–5 cm across, producing ravioli about 5 x 5 cm or 5–6 cm round.
- Perforations
- The base is pierced with small holes so excess air is pushed out during rolling, preventing puffed or burst ravioli; the holes also discourage sticking.
- Time saved
- A 12-well tray produces a dozen uniform ravioli in roughly 2–3 minutes once dough and filling are prepared, vs. 8–12 minutes cut and sealed by hand.
- Cleaning
- Aluminum trays are hand-wash only; silicone versions are typically dishwasher-safe. Dry immediately to prevent oxidation on bare aluminum.
- Typical price range
- Entry aluminum trays $12–$25; stainless and branded versions (Paderno, Imperia, Marcato) $25–$60; specialty multi-tray sets up to $80+.
Also called
ravioli tray · ravioli maker tray · ravioli stamp tray · ravioli form
Related

Peeler
Swift blade for stripping skin off fruit and vegetables

Grater
Sharp-toothed surface for shredding cheese and vegetables

Microplane
Ultra-fine rasp for citrus zest, garlic, and hard cheese

Mixing Bowl
All-purpose bowl for combining, whisking, and tossing

Whisk
Looped wires that beat air into eggs, cream, and sauces

Spatula
Flat blade for flipping, lifting, and scraping

Slotted Spoon
Pierced spoon that lifts solids and drains the liquid behind

Wooden Spoon
Gentle, heat-friendly spoon for stirring anything