Prep Tools
Thermometer Calibration Kit
Tools and reference points for checking and adjusting a kitchen thermometer's accuracy.
A thermometer calibration kit provides the means to verify a thermometer against known fixed points, typically an ice-water bath at 0°C/32°F and boiling water at 100°C/212°F. Cooks and food-safety programs use it regularly so probes stay trustworthy for doneness and hold temperatures. Many kits include a calibration wrench or note the altitude correction for boiling point.
A thermometer calibration kit is the set of reference points—and sometimes purpose-built tools—used to confirm that a kitchen thermometer is telling the truth. In most homes the kit amounts to a bowl of crushed ice, a pot, and a stove, because the physics of the ice point (32°F/0°C) and the boiling point (212°F/100°C at sea level) is reliable enough to catch a drifted sensor in just a few minutes. In professional settings the kit expands into insulated dry-block calibrators and NIST-traceable reference thermometers that can verify a probe to within a fraction of a degree. The whole enterprise rests on a single idea: if a thermometer reads correctly at two points that span its working range, you can trust it across the temperatures in between.
Calibration matters because an off reading quietly ruins food. A probe that reads a few degrees high can have you pull poultry before it has actually reached 165°F; one that runs hot will pull a brisket at 185°F when it should have gone to 203°F, or stop a candy syrup well short of hard-crack. Two-point checks catch both offset errors (the entire scale is shifted) and slope errors (readings drift more at one end), which is why a single test is rarely enough—ice alone won't catch a probe that's only wrong at high temperatures, and boiling water alone won't catch one that's only wrong at low ones.
Alternatives
Types & varieties
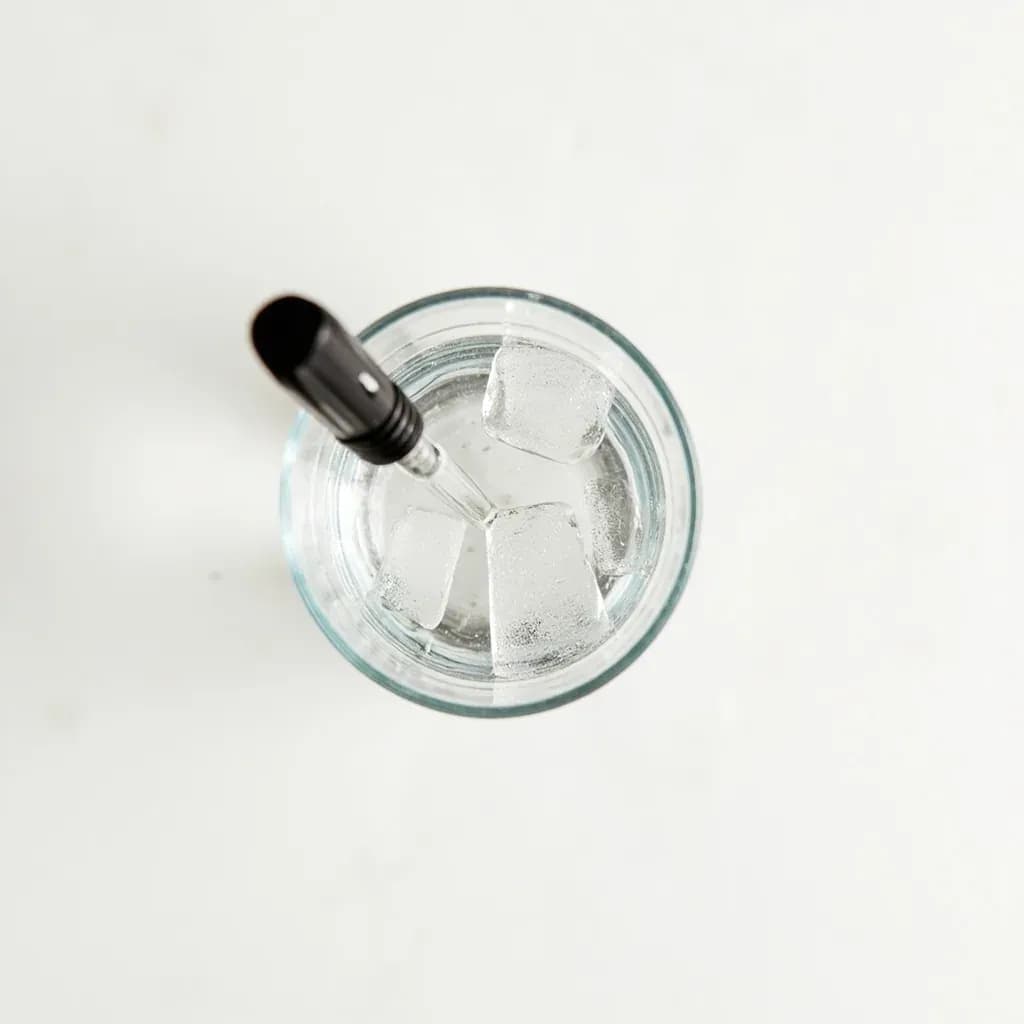
Slurry of crushed ice and cold water; the universal 32°F/0°C reference used at home
Rolling boil of water; requires altitude correction above ~500 ft elevation
Insulated dry-block tool with built-in reference wells for fast field checks
Lab-grade dry-block calibrator used in commercial kitchens; NIST-traceable on request
A separate, certified-accurate thermometer used as the standard against which the working thermometer is checked
Digital thermometers often have a hidden calibration routine in the battery compartment or a button sequence—see the owner's manual
The Ice-Point Method
The ice bath is the easiest and most repeatable home calibration because 32°F is 32°F regardless of where you live. The trick is making a true ice-water slurry, not a glass full of cubes with cold water poured over them. A slurry of crushed ice and a thin film of meltwater equilibrates at exactly 0°C as long as unmelted ice is present—the same principle laboratory cold baths use. Insert the probe into the slurry, not against the glass, and wait for the reading to stabilize before judging it accurate.
- Fill an insulated glass or small cup with crushed ice, then add just enough cold water to fill the gaps
- Stir gently so the slurry is uniform and no air pockets hug the probe
- Submerge at least 1 inch of the sensing tip; keep it off the sides and bottom of the glass
- Wait 30–60 seconds for digital thermometers, or until the needle stops moving on a dial
- Reading should sit at 32°F/0°C ±2°F; anything outside that needs adjustment
The Boiling-Point Method
Boiling water gives a second reference at the top of the thermometer's working range, but only at sea level. Water boils at lower temperatures as elevation rises—roughly 1°F lower for every 500 feet above sea level—so anyone living above about 500 feet must correct the target before calibrating or lock in a systematic error. Use a rolling boil in an open pot, suspend the probe in mid-water, and wait for the reading to settle just as you would in the ice bath.
- Bring an uncovered pot of water to a full, rolling boil
- Suspend the probe at least 1 inch deep, away from the bottom and sides of the pot
- Calculate target: 212°F minus 1°F for every 500 ft of elevation (or 100°C minus 0.5°C per 150 m)
- Wait 15–30 seconds for the reading to stabilize before comparing
- If the reading matches the corrected target within ±2°F, the high end is good
Adjusting the Reading
Checking is only half the job; the other half is putting the thermometer right. The mechanism differs by type. Dial (bimetallic) thermometers have a small hex nut or slotted screw on the back of the dial that rotates the pointer while the stem stays fixed—turn it until the needle reads 32°F while the stem sits in the ice bath. Digital thermometers usually require either a hidden calibration button (often behind a cap or triggered by a long press) or a button sequence spelled out in the owner's manual. If neither an ice adjustment nor a manual reset brings the readings into spec, the probe is usually worn out and should be replaced.
- For dial thermometers: hold the stem in the ice slurry and turn the recalibration nut on the back until the needle reads 32°F
- For digital thermometers: check the manual for a calibration button, button-hold sequence, or trim pot under the battery cover
- If the thermometer is adjustable at only one point, calibrate at the temperature you'll use it most—32°F for meat and poultry, 212°F for candy and deep-frying
- A probe that cannot be brought within ±2°F of both references after adjustment is past its useful life
Common uses
Tips & pitfalls
- Use crushed ice, not cubes, with just enough cold water to fill the gaps; a true slurry holds a true 32°F
- Stir the ice slurry gently and keep the probe submerged at least 1 inch, away from the glass walls
- Don't let the probe touch the bottom or sides of the boiling pot—suspend it in mid-water
- At altitude, never calibrate against 212°F without correcting for elevation or you'll lock in a systematic error
- Tap a dial thermometer gently before reading—a stuck needle is not the same as inaccuracy
- Recalibrate after any drop, even from counter height; sensor drift is common and cumulative
- For digital probes, check the manual for a hidden calibration nut or button sequence rather than guessing
- Allow the thermometer to fully acclimate—pulling it after 5 seconds gives a misleading reading
Good to know
- Primary reference points
- 32°F (0°C) ice bath and 212°F (100°C) rolling boil at sea level
- Altitude adjustment (boiling)
- Subtract ~1°F per 500 ft (0.5°C per ~150 m) of elevation above sea level
- Calibration frequency
- Monthly for regular home use; immediately after any drop, impact, or temperature shock
- Setup time
- 1–3 minutes per method
- Works with
- Instant-read digital, probe/leave-in, dial (bimetallic), and candy/deep-fry thermometers
- Probe hold time
- 30–60 seconds in ice slurry; 15–30 seconds in boiling water until reading stabilizes
- Accuracy target
- ±2°F (±1°C) for food-safety critical readings
Also called
Ice/Boiling Calibration Kit · thermometer calibration set
Related

Peeler
Swift blade for stripping skin off fruit and vegetables

Grater
Sharp-toothed surface for shredding cheese and vegetables

Microplane
Ultra-fine rasp for citrus zest, garlic, and hard cheese

Mixing Bowl
All-purpose bowl for combining, whisking, and tossing

Whisk
Looped wires that beat air into eggs, cream, and sauces

Spatula
Flat blade for flipping, lifting, and scraping

Slotted Spoon
Pierced spoon that lifts solids and drains the liquid behind

Wooden Spoon
Gentle, heat-friendly spoon for stirring anything