Prep Tools
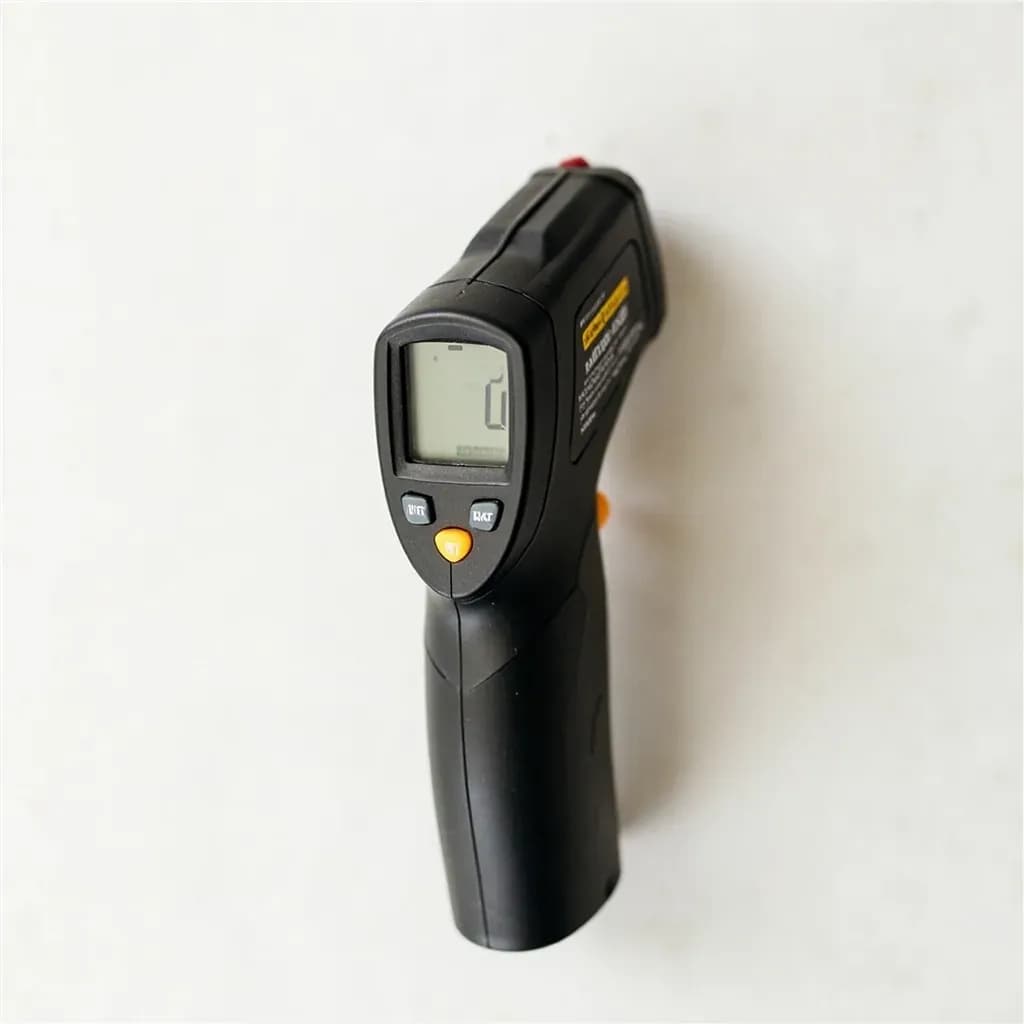
Infrared Thermometer
No-contact thermometer reading surface temperature of pans, oil, and griddles.
An infrared thermometer measures surface temperature instantly without touching the food, by reading the heat radiating from it. Cooks point its laser at a pan, griddle, pizza stone, or frying oil to confirm it has reached the right searing or frying temperature. Because it reads only the surface, not the interior, it is paired with a probe thermometer for checking doneness inside food.
An infrared thermometer reads the thermal radiation a surface emits and converts it into a temperature display in under a second, with no contact and no probe to wash. For a cook, that means you can know the real temperature of a screaming-hot cast-iron skillet, a pan of frying oil, or a pizza stone deep in the oven without touching any of them and without waiting for a clip-on thermometer to equilibrate. It is a surface tool, not an internal-doneness tool: it will tell you the temperature of the sear on the face of a steak, never the center of the steak itself.
Infrared works by detecting the energy every object above absolute zero radiates in the IR spectrum. The reading is governed by the surface's emissivity — how efficiently it emits that radiation — and most kitchen surfaces (food, oil, cast iron, oxidized carbon steel, ceramic, griddle plates) sit close to 0.95, which is why consumer units are fixed at that number. Polished, reflective metals break the assumption and return cold, false readings unless you compensate. Internalizing that single principle is what separates someone who uses an IR gun confidently from someone who keeps getting nonsense off a brand-new stainless sauté pan.
In a home kitchen, a pistol-grip unit pays for itself the first time you nail a sear, hold oil just shy of its smoke point, or pull a pizza the moment the deck hits the right temperature. For cooks who also want to check internal doneness, combo IR-plus-probe models do both jobs in one tool.
Alternatives
Types & varieties
The classic kitchen form: trigger, laser pointer, 8:1 or 12:1 optics, sub-second response. Where most home cooks start.
Smaller and lighter, often single-laser and fixed 0.95 emissivity; cheaper and quicker to grab, with shorter range and lower accuracy.
Lets you dial in emissivity for shiny or unusual surfaces; preferred by serious cooks and anyone working with bare metal.
Infrared for surface/oil temperature plus a fold-out probe for internal food temperature; covers nearly every kitchen temperature task in one tool.
Pairs with a phone app to log readings; useful for sous-vide cooks tracking sear temperatures or building recipe notes.
Brands like Fluke, Raytek, and Testo: higher accuracy, wider range, and better optics at a much higher price than kitchen-focused units.
The shiny-pan problem and how to solve it
The single biggest mistake new users make is pointing an IR thermometer at a polished stainless or chrome pan and trusting the result. Bare metal has very low emissivity, so the sensor 'sees' a wash of reflected room-temperature radiation and reads far below the actual surface temperature — sometimes by 100 °C or more. Dark, oxidized, or seasoned surfaces behave correctly because they radiate IR efficiently. There are three reliable workarounds for shiny cookware:
- Adjust the emissivity on units that allow it — drop to roughly 0.3 for shiny aluminum and as low as 0.05 for polished copper, though this is rarely practical at the stove.
- Lay a small piece of matte black electrical tape (or a smear of high-temp black paint) on the surface, read through it, and proceed. Tape reads accurately at ~0.95.
- Switch to a probe thermometer for the cookware itself, or use a combo IR-plus-probe unit and fall back on the probe when the pan is too reflective to trust.
Common uses
Tips & pitfalls
- Hold the unit perpendicular to the target — angled readings pick up reflected radiation from the room or your hand.
- Mind the distance-to-spot ratio: at 30 cm with a 12:1 optic you are reading roughly a 2.5 cm circle, not a point, and that circle includes the air and counter around the food.
- Aim at dark, oxidized areas of carbon steel or cast iron rather than freshly scoured shiny patches.
- For oil, measure from above and wait for a steady reading; shimmering oil near its smoke point reads roughly 190–210 °C / 375–410 °F depending on the oil.
- Steam and dense smoke absorb infrared and produce a falsely low reading — back away from the plume and aim around it.
- Use the 0.95 default for food, oil, cast iron, and griddles; only drop it for shiny aluminum (~0.3) or polished copper (~0.05) on adjustable models.
- Let a cold unit acclimate to a hot kitchen before trusting readings; some sensors drift while warming up.
- Wipe the lens with a soft microfiber — smudges scatter IR and skew readings — and replace the battery when responses slow, since low voltage causes drift before the display dims.
Good to know
- Type
- Non-contact surface temperature measuring device using infrared radiation
- Operating principle
- Detects thermal IR emitted by a surface and converts it to a temperature reading; reading depends on the surface's emissivity
- Default emissivity
- 0.95 on most consumer models, suited to food, oil, cast iron, and most non-metallic cookware; adjustable units span roughly 0.1–1.0
- Temperature range
- Typically −50 °C to 500 °C (−58 °F to 932 °F) on home models; pro units reach 1000 °C and beyond
- Accuracy
- Usually ±2 °C or ±2 % of reading, whichever is greater
- Response time
- Commonly 0.5–1 second; many models offer a continuous scan/hold mode
- Distance-to-spot ratio
- Often 8:1, 12:1, or 16:1; higher ratios read smaller targets from farther away
- Targeting
- Single or dual laser pointer marks the measured area; the laser is for aiming only and is not the measurement beam
- Power
- 9V battery or 2× AAA, with auto shut-off after about 15 seconds
Also called
thermometer-infrared · infrared-thermometer · ir-thermometer · laser-thermometer
Related

Peeler
Swift blade for stripping skin off fruit and vegetables

Grater
Sharp-toothed surface for shredding cheese and vegetables

Microplane
Ultra-fine rasp for citrus zest, garlic, and hard cheese

Mixing Bowl
All-purpose bowl for combining, whisking, and tossing

Whisk
Looped wires that beat air into eggs, cream, and sauces

Spatula
Flat blade for flipping, lifting, and scraping

Slotted Spoon
Pierced spoon that lifts solids and drains the liquid behind

Wooden Spoon
Gentle, heat-friendly spoon for stirring anything