Prep Tools
Leave-In / Probe Thermometer
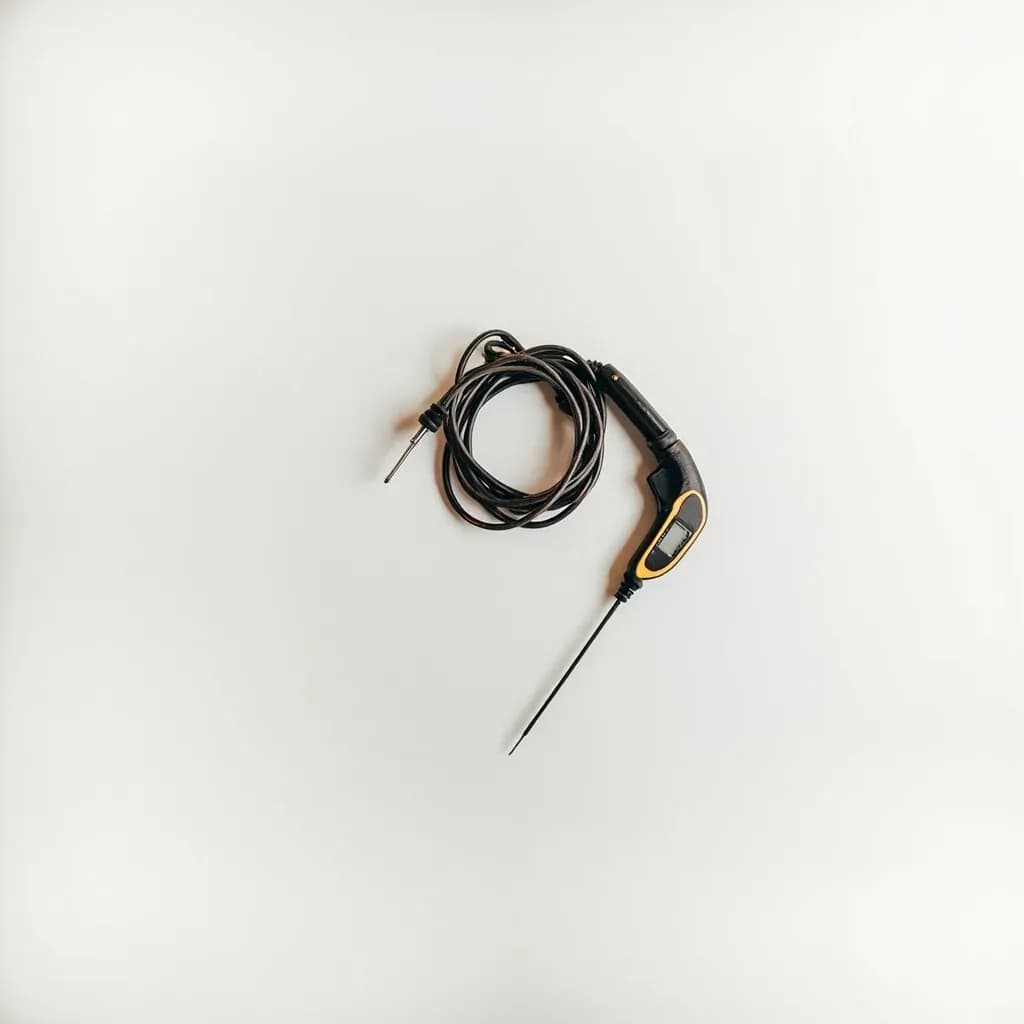
Oven-safe probe left in food to monitor internal temperature as it cooks.
A leave-in probe thermometer has a heatproof probe that stays inserted in food during cooking, with a cable or wireless link to a display outside the oven or grill. It lets cooks track internal temperature continuously and get alerted when meat, bread, or candy hits the target, without opening the oven. It is especially useful for roasts, large cuts, and bread baking where doneness depends on a precise core temperature.
A leave-in or probe thermometer is a digital thermometer designed to stay in the food throughout cooking. A thin metal shaft — usually 4 to 6 inches long — connects by a heat-resistant cable to a display unit that sits on the counter, clips to the oven, or pairs wirelessly with a phone. Unlike an instant-read thermometer, which you dip into a dish for a few seconds, a probe is meant to live inside a roast, a loaf of bread, or a brisket on the smoker from start to finish, logging internal temperature in real time and sounding an alarm when the food hits a programmed target.
The value of the tool is not the reading itself but what it lets you do while the cooking happens: keep the oven door shut, walk away from the grill, and time the rest of dinner around a real internal temperature rather than a guess. Most consumer probes are accurate to within 1 to 2°F and respond in roughly 3 to 6 seconds once the tip stabilizes. Only the very end of the shaft senses heat, so placement matters as much as the brand you buy.
A probe thermometer does not replace an instant-read. The two are complementary: the leave-in handles continuous monitoring and the alarm, while a fast instant-read gives a quick spot check when you want confirmation without waiting for a probe to equilibrate. Pairing a probe with a separate oven or pit thermometer is also wise, since most home ovens drift 25°F or more from their dial setting, and trusting the oven's reading while ignoring the actual cooking environment defeats the purpose of watching the food.
Alternatives
Types & varieties
Probe on a cable to a base unit that sits on the counter or clips to the oven; simplest design with no pairing or in-probe batteries.
Probe contains a transmitter and reads on a remote display or smartphone app; range typically 100–500 ft line-of-sight.
Two probes per transmitter for monitoring two cuts at once, or meat and ambient pit temperature simultaneously.
Built-in socket in many modern wall ovens; the included probe plugs into the oven and can trigger an auto-shutoff at target temperature.
Heavy-duty cable and higher heat rating, often 700°F or above, for use in smokers and barbecues; frequently paired with a clip-on ambient probe.
Very thin needle tip (under 1.5 mm) for delicate items like fish, custards, and thin cuts where a standard probe would split the food.
Short, stout shaft rated to 400°F and above for sugar work and oil; usually clamped to the pan rather than left in the food.
Placement and probe geometry
The single most common reason a probe gives a bad reading is poor placement. Because only the tip registers heat, the tip must sit in the thermal center of the food — the geometric middle of the thickest part of the muscle — and the rest of the shaft should travel through the coolest path in and out. A few habits make this easier and more reliable.
- Angle the probe in from the side rather than stabbing straight down on a flat surface, so the tip ends up in the center and the cable runs along the food's edge.
- For whole poultry, push the probe into the inner thigh where it meets the breast; the breast runs cooler and will read done before the dark meat is safe.
- Avoid bone, thick gristle, and large pockets of fat — all read low and will make you pull the food too early.
- On roasts, slide the probe in from the end so the cable exits parallel to the bone, which is the most natural routing and reduces the chance of a pinched wire.
- If you suspect a stale reading, reseat the probe rather than trusting a drifting number; poor contact with the meat is the usual culprit.
Carryover cooking and the pull temperature
Large pieces of meat keep cooking after they leave the heat. The internal temperature can climb 5 to 15°F during resting, and the larger and denser the cut, the more it carries over. A leave-in probe is the cleanest way to manage this: set the alarm a few degrees below your final target and pull the food the moment it sounds.
- Pull most roasts 5–10°F (3–5°C) below the final doneness temperature; large prime rib and whole turkey can climb 10–15°F.
- For thick reverse-seared steaks, pull from the low oven at about 115°F for medium-rare and let carryover finish the job during the sear.
- Resting under a loose foil tent, not a tight wrap, lets the temperature settle rather than keep climbing.
Routing the cable
The most common physical damage to a probe happens at the oven door. A pinched cable wears the insulation and eventually breaks the conductor, and a forced-shut door also distorts the gasket and shortens its life.
- Run the cable out the top corner of the door or, on a wall oven, through the dedicated probe port if one exists.
- On smokers, route the cable through a lid hinge or a small notch; never drill a hole without checking that the lid still seals.
- Keep the cable-to-handle joint well away from direct flame on a grill; the splice is the weakest heat point on most probes.
Common uses
Tips & pitfalls
- Insert the probe into the thickest part of the muscle with the tip at the geometric center; bone, gristle, and fat pockets read low and give false readings.
- Pull meat 5 to 10°F below the final target to account for carryover cooking; the larger the roast, the more it climbs during rest.
- Never submerge the cable-to-handle joint or run a probe in a microwave — the metal reflects and will arc against the cavity walls.
- Wipe the probe shaft with hot soapy water or an alcohol wipe between uses; the display base and cable end never go in the dishwasher.
- Set the alarm a few degrees below your target so you are not racing the buzzer; some wireless apps let you program multiple stages for long cooks.
- Calibrate once a year in an ice bath and boiling water and adjust if the unit allows; altitude shifts the boiling point, so rely on the ice bath as your fixed reference.
- On a smoker, clip a second ambient probe near — not in — the food to track pit temperature separately from meat temperature.
- For thin items like burgers or fish fillets, use a needle-tip probe or angle a standard probe in from the side so the tip rests in the center without poking through.
Good to know
- Tool type
- Digital thermometer with a metal probe on a heat-resistant cable; remains in the food during cooking
- Probe length
- Typically 4–6 in (10–15 cm); only the tip senses temperature
- Oven-safe rating
- Probe and cable usually rated to 500°F (260°C); grill and smoker models to 700°F (370°C)
- Display unit
- Sits on counter, clips to oven, or connects wirelessly to a phone; never goes in the oven
- Accuracy
- Most consumer probes ±1–2°F (±0.5–1°C); professional models ±0.7°F (±0.4°C)
- Response time
- Approximately 3–6 seconds to register once the tip stabilizes
- Programmable alarm
- Beeps or sends a phone alert when the food reaches a set target temperature
- Calibration
- Check in an ice bath (32°F/0°C) and boiling water (212°F/100°C at sea level); field-adjustable on most digital units
Also called
thermometer-probe · digital-probe-thermometer · leave-in-probe-thermometer · wireless-meat-thermometer · dough-thermometer
Related

Peeler
Swift blade for stripping skin off fruit and vegetables

Grater
Sharp-toothed surface for shredding cheese and vegetables

Microplane
Ultra-fine rasp for citrus zest, garlic, and hard cheese

Mixing Bowl
All-purpose bowl for combining, whisking, and tossing

Whisk
Looped wires that beat air into eggs, cream, and sauces

Spatula
Flat blade for flipping, lifting, and scraping

Slotted Spoon
Pierced spoon that lifts solids and drains the liquid behind

Wooden Spoon
Gentle, heat-friendly spoon for stirring anything