Prep Tools
Canning Jar
A heat-safe glass jar with a sealing lid for preserving jams, pickles, and other foods.
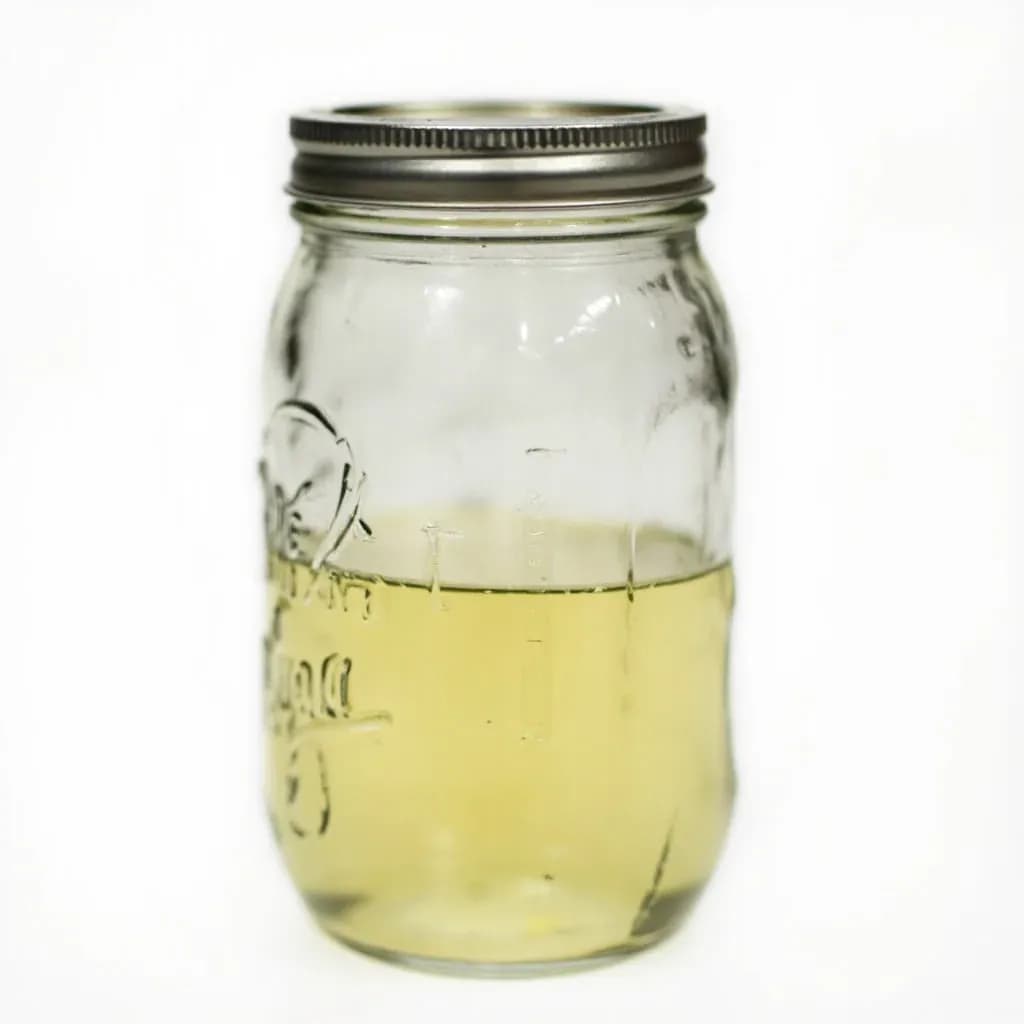
A canning jar is a thick glass vessel paired with a two-piece or clamp lid that forms an airtight vacuum seal during water-bath or pressure processing. Cooks fill it with jams, pickles, sauces, and chutneys to store at room temperature for months, and reuse it for dry pantry storage and fermentation. The lid's flat disc seals as the jar cools, and a popped center confirms a successful airtight seal.
A canning jar is a thick-walled, heat-tempered glass jar engineered specifically to withstand the thermal stress of boiling-water and pressure processing, paired with a two-piece metal closure that forms an airtight vacuum seal as the jar cools. Unlike ordinary food-storage containers, the glass is formulated to tolerate rapid temperature swings of roughly 212–240 °F (100–115 °C), and the mouth of every jar shares standardized dimensions so that lids and bands from one maker will fit another's. The two-piece lid — a flat tin-plated disc with a plastisol sealing ring plus a separate threaded screw band — is what distinguishes a true canning jar from a pretty but unsafe lookalike: as the filled jar cools after processing, the trapped steam condenses, the lid pulls down, and the soft sealing compound molds itself to the rim, locking out air and microbes.
This combination of standardized geometry, thermal tolerance, and a verifiable seal is why canning jars are the cornerstone of safe home preservation. They allow cooks to put up jams, pickles, tomatoes, soups, and even meats for the pantry, and they double as fermenting vessels, drinking glasses, dry-goods canisters, and gift packaging. Choosing the right size and mouth style, and observing a few non-negotiable habits — new lids, clean rims, correct headspace, fingertip-tight bands — is the difference between a shelf-stable jar that keeps for a year and one that quietly spoils.
Alternatives
Types & varieties
US standard since the 1880s; molded graduations; available in clear and amber
US standard with two-piece lid; lids and bands interchangeable with Ball
Canadian equivalent, dimensionally identical to Ball and Kerr
Narrower opening (~70 mm); ideal for pourable preserves, syrups, and jellies
Wider opening (~86 mm); easier for packing whole fruits and vegetables and for cleaning
Decorative textured pattern; functionally identical to plain Mason jars
Brown glass that blocks UV light; favored for fermenting sauerkraut and other live cultures
German system with glass lid, rubber gasket, and metal clamp; reusable lids; popular in European canning
French terrine-style jar with glass lid, rubber gasket, and wire-bail closure
Italian jar with glass lid and wire-bail closure, similar in principle to Le Parfait
Plastic lid with rubber gasket that replaces the single-use metal disc; can be reused indefinitely
How the Seal Actually Works
Understanding the seal helps you troubleshoot a jar that doesn't ping. When a filled jar is processed in a water-bath or pressure canner, the contents heat and steam, pushing air out from under the lid. As the jar cools on the counter, that trapped steam contracts, creating a partial vacuum that pulls the lid firmly down onto the rim. The plastisol ring — a soft, food-grade compound bonded to the underside of the lid — softens during the simmer that preps the lids, conforms to any micro-irregularities in the glass, and then sets as it cools. A properly sealed lid will be concave and will not flex when pressed at the center once fully cool. Any food residue on the rim, a nick in the glass, an over-tightened band, or an under-processed jar can interrupt this chain and break the seal.
- Plastisol ring must be softened in simmering (not boiling) water for ~10 minutes before use
- Band should be tightened only 'fingertip tight' so air can escape during processing
- Wait 12–24 hours before checking the seal — pressing early can flex the lid and break a forming seal
- A sealed lid is concave and immobile; a failed seal will flex up and down at the center
Choosing the Right Jar for the Job
Size and mouth style are not aesthetic choices — they affect heat penetration, headspace, and how easily you can pack the food. High-acid preserves like jams and jellies take the smallest jars (4–8 oz) and the shortest processing times, while low-acid pressure-canned foods in quart jars need the longest. Wide-mouth jars pack whole peaches, asparagus spears, and pickle chips with less bruising and clean out more easily by hand, but the regular-mouth profile suits viscous liquids like syrups, marmalades, and fruit butters that need a tidy pour.
- Use 4–8 oz jars for jams, jellies, marmalades, and small-batch condiments
- Use pints for salsas, relishes, pickles, and small portions of vegetables or fruit
- Use quarts for tomatoes, soups, stocks, beans, and meats; never larger than half-gallon for low-acid foods
- USDA/NCHFP recommends half-gallon jars only for certain fruit juices — heat penetration is unreliable in larger low-acid packs
- Reserve decorative, painted, or commercial food jars (mayonnaise, pasta sauce) for non-canning use; they are not rated for thermal shock
Altitude Adjustments and Safety
Water boils at lower temperatures as elevation rises, which means a recipe that is safe at sea level may not inactivate Clostridium botulinum spores in a mountain kitchen. The remedy is longer processing times for water-bath canning and higher pressure (more weight on the gauge) for pressure canning. Current USDA and National Center for Home Food Preservation guidance should be the reference for any modern recipe, and outdated books and 'grandmother's method' oven canning or open-kettle techniques should be avoided — they do not reliably sterilize low-acid foods.
- Water-bath canning: add 1 minute of processing time for each 1,000 ft above 1,000 ft elevation
- Pressure canning: weighted-gauge users process at 10 lb below 1,000 ft and 15 lb above 1,000 ft; dial-gauge users add 1 lb of pressure for every 2,000 ft above sea level
- Never substitute an oven, dishwasher, or microwave for a tested water-bath or pressure process
- When in doubt, process low-acid foods in a pressure canner rather than a water bath
Common uses
Tips & pitfalls
- Always use a new flat lid for each batch; bands may be reused as long as they are rust-free, dent-free, and hold their shape
- Wipe the jar rim with a clean, damp cloth before applying the lid — a single seed or bit of jam will break the vacuum seal
- Tighten bands only 'fingertip tight'; an over-tightened band prevents air from venting and can buckle the lid or cause seal failure
- Run a chopstick, plastic knife, or bubble-remover down the inside of the jar after filling to release trapped air pockets that distort headspace
- Simmer (do not boil) new lids in water for 10 minutes before use to soften the sealing compound; add them to the pot water with a magnetic lid lifter
- Let jars rest undisturbed for 12–24 hours; do not press the center of the lid to 'test' the seal until fully cool — you can break a forming seal
- Remove screw bands after jars have sealed and cooled; storing jars without bands prevents rust and makes it obvious if a seal later fails
- Discard any jar with a chip or crack at the rim, no matter how small — stress fractures propagate during processing and can cause the jar to shatter
Good to know
- Material
- Tempered soda-lime glass; tin-plated steel lids with a plastisol sealing ring; tin-plated steel screw bands
- Standard US Sizes
- 4 oz (¼ pint), 8 oz (½ pint), 12 oz, pint (16 oz), 24 oz, quart (32 oz), and half-gallon (64 oz)
- Mouth Openings
- Regular mouth ≈ 2.3 in (70 mm); wide mouth ≈ 3 in (86 mm)
- Heat Tolerance
- Rated for water-bath canning (212 °F / 100 °C) and pressure canning (240 °F / 115 °C) when used as directed
- Sealing System
- Two-piece: flat disc with sealing compound plus separate threaded band; vacuum forms on cooling
- Origin
- Threaded glass 'Mason' jar patented by John Landis Mason in 1858; the modern two-piece metal lid introduced by Kerr Glass circa 1915
- Headspace Guide
- ¼ in for jams and jellies, ½ in for fruits and tomatoes, 1 in for low-acid pressure-canned foods
- Shelf Life
- High-acid preserves (jams, pickles) keep 12–18 months unopened; low-acid pressure-canned foods maintain best quality 1–2+ years
Also called
Burkan · Glass Canning Jar (Banka) · Mason Jar · Preserving Jar
Related

Peeler
Swift blade for stripping skin off fruit and vegetables

Grater
Sharp-toothed surface for shredding cheese and vegetables

Microplane
Ultra-fine rasp for citrus zest, garlic, and hard cheese

Mixing Bowl
All-purpose bowl for combining, whisking, and tossing

Whisk
Looped wires that beat air into eggs, cream, and sauces

Spatula
Flat blade for flipping, lifting, and scraping

Slotted Spoon
Pierced spoon that lifts solids and drains the liquid behind

Wooden Spoon
Gentle, heat-friendly spoon for stirring anything