Japanese Fish & Sashimi Cuts
Sashimi Knife Cuts — Hira-zukuri, Usu-zukuri & Sogi-zukuri
Also: hira-zukuri, usu-zukuri, sogi-zukuri, sashimi slicing styles, Japanese fish cuts
The three foundational Japanese sashimi slicing styles — the rectangular block-pull (hira), the paper-thin diagonal (usu), and the oblique slab (sogi) — each matched to specific fish textures and service presentations.
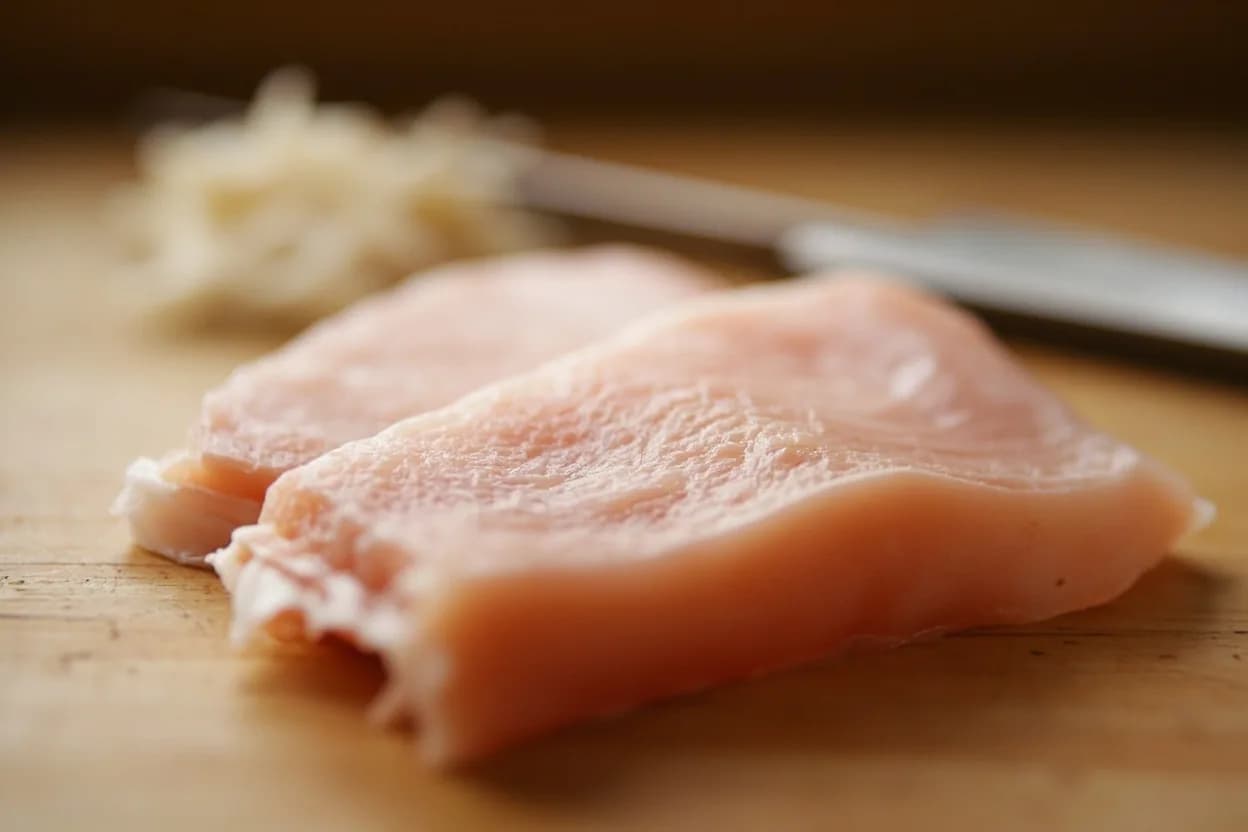
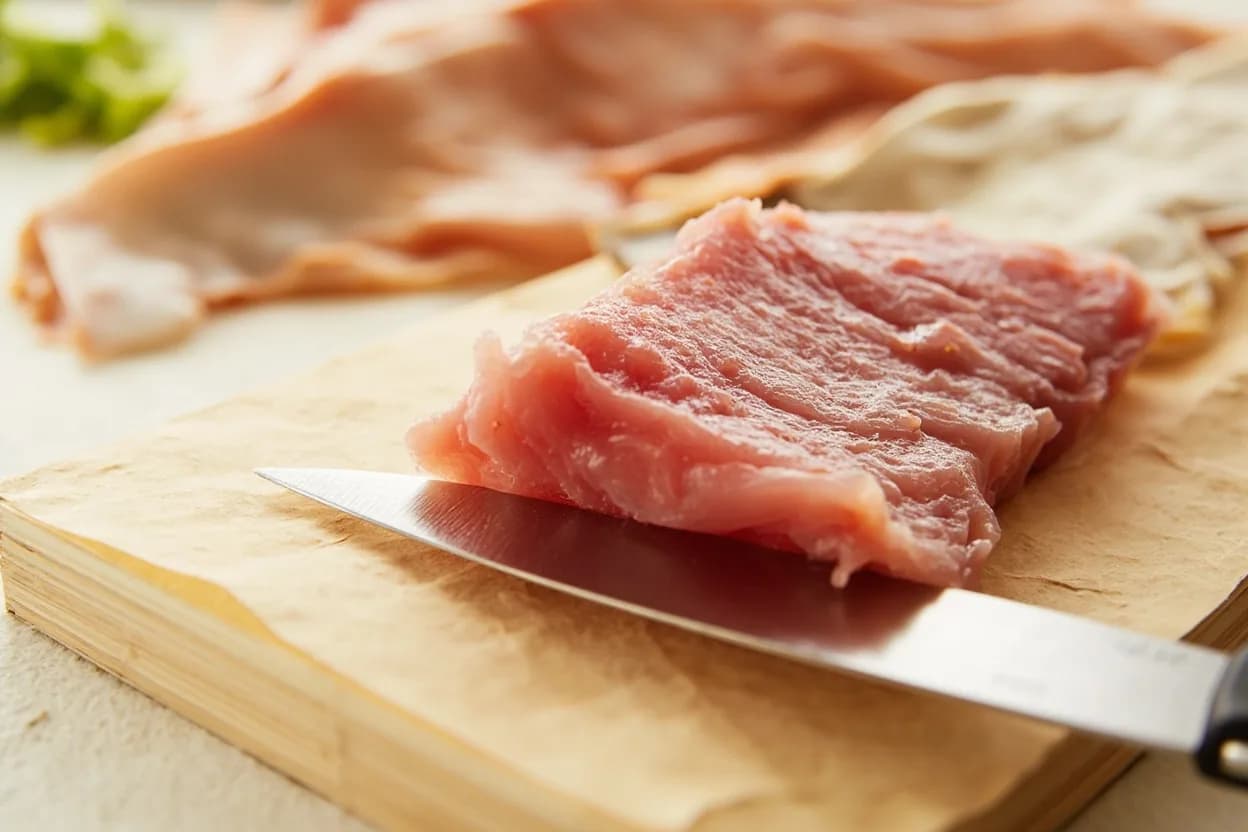
Japanese sashimi knife technique recognizes that the same fish loin produces radically different eating experiences depending on the angle, direction, and thickness of the cut. Hira-zukuri (flat cut) is the standard for firm, medium-dense fish, producing a rectangular slab 7–10 mm thick pulled cleanly through in a single backward draw. Usu-zukuri (thin cut) is reserved for firm white-fleshed fish with tightly packed muscle fibers, producing translucent slices 1–2 mm thick cut at a low oblique angle. Sogi-zukuri (oblique cut) produces a broad, thin oval slab by angling the knife at 45 degrees while pulling — it creates maximal surface area and is used for tuna, yellowtail, and other medium-fatty fish where a wide, dramatic presentation is desired. Each style is not a stylistic preference but a response to the fish's structural anatomy.
In photos

Where it comes from
Applied to the skin-off loin (sakumi) of fish prepared from the three-piece breakdown (sanmai oroshi) or five-piece breakdown (gomai oroshi). The loin is placed flesh-side up on the cutting board; the saku block (rectangular loin portion) is the standard working form for all three cuts.
Best for
How to cook it
- 1HIRA-ZUKURI (flat cut): Place the saku block with grain running left-to-right (for right-handed cutter). Hold the left hand lightly on top of the block as a guide. Draw the yanagi from the heel to the tip in a single backward pull while maintaining a perfectly vertical blade angle. Slice is 7–10 mm thick, rectangular, and lands flat. Standard for tuna (maguro), yellowtail (hamachi), salmon (sake), and buri.
- 2USU-ZUKURI (thin cut): Position the saku block at a slight angle to the board (about 15–20°). Angle the knife at roughly 30 degrees from horizontal (low, oblique). Draw thin slices 1–2 mm thick against the grain; each slice should be translucent. Used for hirame (flounder), fugu (pufferfish), and tai (sea bream). Plates as a shingled fan where the pattern of the plate shows through.
- 3SOGI-ZUKURI (oblique cut): Hold the saku block and angle the knife at 45 degrees to the cutting board, leaning the blade away from vertical. Draw through in one pull, producing an oval slab 3–5 mm thick and wide. This cut maximizes surface area, creating a broad, dramatic piece. Used for maguro, hamachi, and firm white fish when surface presentation takes priority.
- 4Blade maintenance: wipe the yanagi blade with a damp cloth between every 2–3 slices to remove protein buildup that causes drag and tearing.
- 5Serve immediately; sashimi oxidizes rapidly after cutting — the window from knife to plate is 5–10 minutes maximum.
Prep & butchery
- The saku block must be pin-boned, skin-off, and bloodline-trimmed before any slicing begins.
- Allow the fish to rest on a clean cutting board for 5 minutes after removing from ice to firm up the surface moisture — too wet and the knife drags.
- Orient the saku so you are always cutting against the grain (across the muscle fibers), not along them. Cutting with the grain produces stringy slices that pull apart.
- Sharpen the yanagi to a 12–15 degree edge before a sashimi session; a dull blade compresses the flesh and produces a ragged cut face that accelerates oxidation.
Substitutes
- Sujihiki (Western slicer)
Double-bevel equivalent of the yanagi; can execute all three cuts but lacks the single-bevel precision that produces the cleanest hira-zukuri face.
- Long boning knife
An inadequate substitute in professional contexts; flexible blade introduces unpredictable angle variation.
Related cuts
The Nikkei adaptation of these Japanese cuts applied to Peruvian coastal fish; tiradito sits between hira and usu in thickness.
- Sanmai oroshi (three-piece breakdown)
The filleting technique that produces the saku block on which these cuts are performed.
- Gomai oroshi (five-piece breakdown)
Used for flat fish (hirame, karei); produces the thinner side fillets suited to usu-zukuri.
- Tataki (seared sashimi)
A presentation that begins with a sogi-style loin and sears the surface briefly before slicing.
Appears in
References
- 1.The Japanese Culinary Academy's Complete Japanese Cuisine: Sashimi — Japanese Culinary Academy (2016)
- 2.Japanese Farm Food — Nancy Singleton Hachisu (2012)
- 3.Nobu: The Cookbook — Nobuyuki Matsuhisa (2001)
- 4.Sushi and the Global Table — Eric C. Rath (2016)
- 5.The Sushi Experience — Hiroko Shimbo (2006)
Confidence: high
Notes
Why one cut per fish
A skilled itamae does not choose a cut style arbitrarily or for aesthetic variety — the fish dictates the cut. Hirame (flounder) is always usu-zukuri because its extremely firm, tightly bound muscle fibers would be unpleasantly chewy at hira-zukuri's 7–10 mm. Toro (fatty tuna belly) is always hira-zukuri because its fat-rich, loosely structured meat would disintegrate at usu-zukuri's 1–2 mm. The cut is a diagnostic response to the fish's structure, not a presentation preference.
The single pull as technique signature
All three sashimi cuts share one absolute rule: the blade travels backward in a single uninterrupted draw. Pushing the knife forward, or sawing back and forth, compresses and tears the muscle fibers at the cut face, which rapidly browns and loses moisture. A single clean draw leaves a polished face that stays bright and intact — the reason sashimi at great restaurants appears to glow with freshness while home slices look dull. This is not seasoning or fish quality; it is knife technique.
Yanagi vs. takohiki
In Tokyo (Edo) tradition, the takohiki — a square-tipped slicer — is used instead of the pointed yanagi for sashimi. Functionally the cut mechanics are identical; the takohiki's blunt tip was historically safer in busy Edo fish markets where a pointed knife was considered a liability. Today the yanagi dominates outside strict Edo-style restaurants.