Appliances & Heat
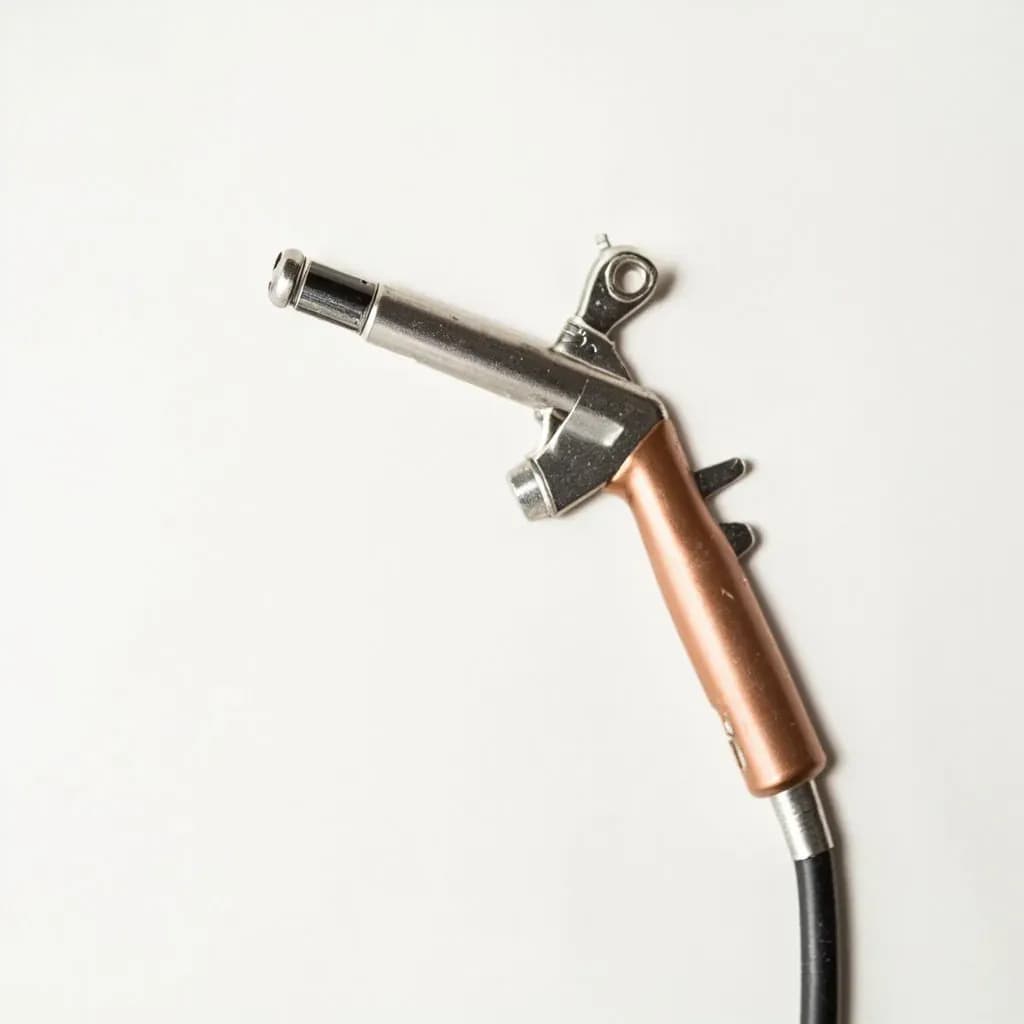
Culinary Butane Torch
A handheld torch for caramelizing sugar, searing, and charring with a fine, hot flame.
A culinary butane torch is a refillable handheld burner that produces an intense, focused flame for finishing dishes. Cooks use it to crisp the sugar crust on crème brûlée, blister tomato skins, sear meat surfaces, toast meringue, and char peppers. Food-grade butane burns cleanly so it leaves no off-flavors, and most models have an adjustable flame and safety lock.
A culinary butane torch is a small, handheld burner that produces a focused jet of flame hot enough to brown, char, and caramelize food on contact. The body houses a reservoir of refined butane gas and a simple flow valve; a striker or piezoelectric igniter lights the vapor at a precision nozzle, producing a tight blue cone that can be tuned from a gentle whisper of heat to a searing jet reaching roughly 1,200–1,500 °C at the food surface. Unlike a stovetop burner, which radiates heat broadly, the torch delivers its energy in a narrow column, so the cook — not the appliance — chooses exactly what browns and what stays cool.
In the kitchen, the torch is a finishing tool, not a cooking one. Its strengths are the jobs that benefit from localized, intense, dry heat: shattering a sugar crust on crème brûlée, blistering a meringue in seconds, or charring the skin of a pepper. It cannot replace a salamander for broad, even browning across a whole tray, and it lacks the thermal mass to cook food through. Treat it as an extension of the broiler — something you reach for at the very end of a dish, after the cooking is done, to add color, crunch, and the deep, complex flavors that only browning and caramelization can deliver.
What separates a good culinary torch from a frustrating one comes down to three things: clean, filtered butane (the cheap fuel leaves soot and off-flavors), a stable, fully adjustable flame, and a body comfortable enough to hold steady for the thirty seconds a proper browning requires. A metal refillable model with a brass or stainless burn head will outlast and outperform a disposable plastic stick torch by a wide margin, and it is the only kind worth buying if you intend to use it more than a handful of times.
Alternatives
Types & varieties
Metal-bodied, designed to be refilled with food-grade butane; the standard choice for serious home cooks and small professional kitchens.
Lightweight, all-in-one plastic canister meant to be discarded when empty; cheap but with a less stable flame and inferior safety.
Larger burn chamber and protective shroud that steadies the flame when held at an angle or near a draft.
Japanese, lower-output torch with a softer, more controllable flame suited to tabletop cooking and small, delicate jobs.
Two parallel burn heads that spread heat across a wider area; useful for glazing large hams or browning sheet-pan toppings.
Plumber's tool, not food-rated; higher flame temperature and combustion residues make it unsuitable for direct kitchen use.
Choosing and maintaining a torch
The right torch is one you can hold steady without fatigue and refill cheaply with clean fuel. A few details matter more than brand name.
- Body: cast aluminum, zinc, or brass holds up better than plastic; a removable metal base makes refilling easier.
- Burn head: brass or stainless steel resists warping and corrosion; avoid plastic nozzles that scorch over time.
- Ignition: a built-in piezoelectric igniter is faster and more reliable than a separate striker, especially one-handed.
- Flame lock: a continuous-on lock saves your grip during long jobs like glazing a whole ham or browning a tray of meringue.
- Refilling: use only refined, multi-filtered butane sold for kitchen or culinary use; hardware-store lighter fuel is unrefined and will taint food.
- Storage: purge residual gas from the line after use, then store cool, dry, and upright, away from the stove.
Flame control and technique
The single most important skill with a kitchen torch is moving the flame. A stationary jet will scorch and blacken long before it caramelizes. Treat the torch like a brush: let it sweep across the surface in small, overlapping circles, held a few inches away, and adjust the flame size to match the job.
- Distance: hold the nozzle 5–10 cm (2–4 in) from the food; too close and you torch, too far and you waste heat into the air.
- Angle: keep the torch nearly upright; a steep angle lets the flame lick back toward the fuel line and can cause flare-ups.
- Flame size: open the valve only as far as the job needs — full blast for searing, half-open for meringue and marshmallow.
- Timing: a blue flame takes 2–3 seconds to stabilize after ignition; never bring a fresh-lit, yellow-flickering torch to food.
- Rest after torching: let sugar crusts sit 2–5 minutes so residual heat finishes hardening them into a true glassy snap.
Common uses
Tips & pitfalls
- Buy pure, refined butane labeled for culinary use; unfiltered hardware-store fuel leaves soot and a chemical off-flavor on food.
- After lighting, give the torch 2–3 seconds to settle into a steady blue flame; a yellow flame is sooty and will blacken the surface before browning it.
- Hold the nozzle 5–10 cm (2–4 in) away and keep the flame moving in small circles — lingering in one spot scorches before caramelization has a chance to set in.
- For crème brûlée, chill the custard fully (2–4 hours) and dust on a thin, even layer of superfine sugar; a thick layer burns at the edges before the center melts.
- After torching a sugar crust, wait 2–5 minutes before cracking so the residual heat can harden it into a true glassy snap rather than a soft, gummy shell.
- Use a metal dish or bowl under foods you flame — direct flame on plastic will melt, scorch, or ignite it.
- Never angle the torch so the flame travels back along the fuel line; if you smell gas or the flame sputters, shut it off, ventilate, and relight outside.
- For searing fish or meat, pat the protein dry and oil only the food, not the cooking surface — surface oil flashes and helps build a fast, even crust under the torch.
Good to know
- Fuel
- Refined butane gas, sold in disposable canisters or refillable cylinders; use only kitchen-rated, multi-filtered fuel
- Flame temperature
- Adiabatic flame around 1,970 °C; useful heat at the food surface is closer to 1,200–1,500 °C
- Ignition
- Manual striker or built-in piezoelectric push-button igniter
- Flame control
- Adjustable flow valve; a steady blue cone indicates clean combustion, a yellow flame signals incomplete burning and soot
- Burn time
- Roughly 60–90 minutes of continuous use from a standard 5–7 oz refillable canister
- Typical weight
- 300–500 g (10–18 oz) empty for refillable kitchen models
- Food safety
- Use only kitchen-rated torches; industrial MAPP-gas torches run hotter and leave residues not intended for food contact
- Ventilation
- Use in a ventilated space; combustion produces CO₂ and trace carbon monoxide
Also called
Culinary Blowtorch · kitchen torch · crème brûlée torch · chef's torch
Related

Stovetop
The everyday burners where most cooking actually happens

Oven
Enclosed dry heat for roasting, baking, and braising

Grill
Live-fire or gas grates for char, smoke, and high heat

Smoker
Low, slow heat and wood smoke for barbecue and brisket

Air Fryer
Countertop convection that crisps with little or no oil

Slow Cooker
Set-and-forget low heat for stews, beans, and braises

Pressure Cooker
Sealed steam pressure that cooks tough food in a fraction of the time

Rice Cooker
Foolproof, perfectly steamed rice every single time