Prep Tools
Deep-Fry Thermometer
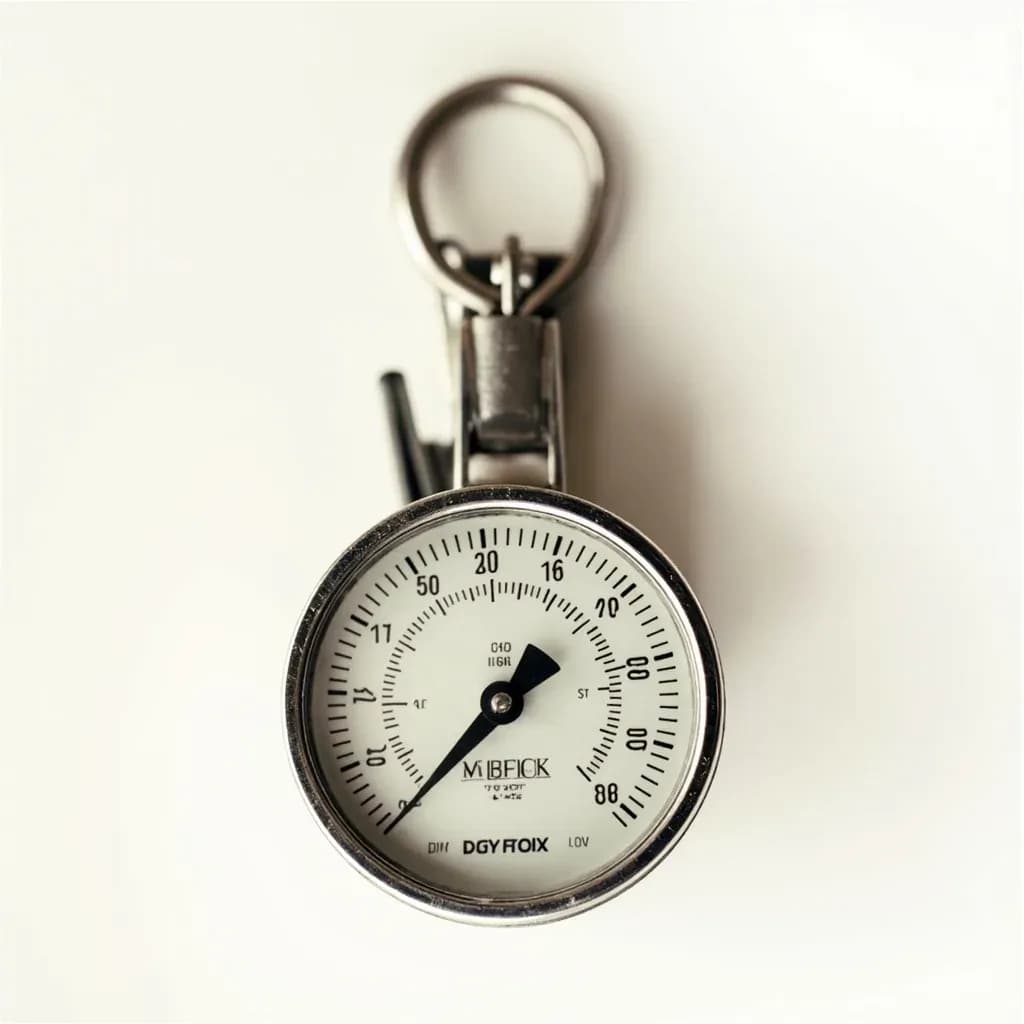
A high-range clip thermometer that keeps frying oil and sugar syrups at the right temperature.
A deep-fry thermometer is a clip-on probe with a high temperature range, typically marked into the candy and frying zones up to around 400 degrees Fahrenheit. It clamps to the side of a pot so the tip sits in the oil or syrup without touching the bottom, giving a steady reading. Holding oil at the correct temperature ensures crisp, non-greasy frying and reliable caramel and candy stages.
A deep-fry thermometer is a long-stemmed, clip-on instrument built to read the temperature of hot liquids — primarily frying oil and boiling sugar syrups — with a range far above what a meat or oven thermometer can handle. The defining features are a high upper limit (at least 375°F / 190°C, ideally 400°F+), a stem long enough that the dial or display stays well above the pot rim, and a clip or weighted base that holds the sensing tip suspended mid-depth in the oil. Unlike an instant-read probe, it is meant to live in the pot for the duration of the cook, so the cook can watch the needle (or digital readout) respond in real time.
It matters because both frying and sugar work happen in narrow temperature windows where success or failure turns on a few degrees. Oil that is too cool turns food greasy and pale; oil that is too hot scorches the crust before the interior cooks. Sugar moves through thread, soft ball, hard crack, and caramel in stages separated by only 10–20°F, and a syrup that climbs 5°F past target can scorch within a minute. A thermometer is the only reliable feedback — guesswork, timing, and bubble tests all drift with pot size, burner output, and humidity. With a clip-on thermometer in place, the cook can see the recovery curve after food goes in and judge when the oil is ready for the next batch.
In practice, a bimetallic dial thermometer needs 15–30 seconds to settle after a temperature change and tolerates rough handling well; a digital probe settles in 3–10 seconds and reads more precisely, but its head and cable cannot be submerged. Either style reads the oil where the bulb sits, so positioning is everything: a bulb touching the pan bottom records the metal, not the oil, while a bulb breaking the surface reads cool air. The sweet spot is 2–3 inches above the bottom, suspended in the bulk of the oil.
Alternatives
Types & varieties
Traditional clip-on with a coiled metal sensor and a needle readout. Inexpensive, no batteries, durable enough for daily use; slower to respond and harder to read at a glance.
Stainless probe on a heat-resistant cable leading to a digital head. Faster and more precise; clip or wrap the cable to the pot rim — never submerge the head or the wire-to-head junction.
Functionally the same instrument, but its dial is scaled for sugar work, typically topping out at 400°F+, and often pre-marked with candy stages (thread, soft ball, hard crack, caramel).
Reads only the surface it points at, so it is unreliable for oil depth and unsafe near a flaming fryer; useful only for griddles, flat-tops, and pan surfaces.
A weighted stainless clip that holds a digital probe at a fixed depth in the oil, common in restaurant kitchens for hands-free monitoring over long fry sessions.
A slim, fast-responding probe borrowed from sous-vide and lab use; accurate in oil when clipped, but typically lacks the long stem and clip of a purpose-built fry thermometer.
Calibration and care
Bimetallic coils drift with age, knocks, and thermal shock, so even an expensive dial thermometer should be checked monthly. The ice-bath test is the most reliable home method and is independent of altitude; the boiling-water test is faster but only valid once you correct for elevation. Digital probes drift less but are not immune — a fresh battery and a clean probe tip both affect the reading.
- Ice-bath test: pack a cup with crushed ice, add cold water, stir, and insert the probe without touching the cup walls. It should read 32°F (0°C); turn the calibration nut on a dial model, or follow the menu steps on a digital one, to correct any offset.
- Boiling-water test: bring a pot of water to a full, rolling boil and read the probe at or just below the surface. At sea level expect 212°F (100°C); subtract roughly 1°F for every 500 ft of altitude above sea level.
- After a calibration check, replace any thermometer that reads off by more than 4°F, or whose needle moves sluggishly, sticks, or jumps — these are signs of a fatigued coil or a cracked capillary.
- Wipe the stem clean while it is still warm with a dry or lightly oiled cloth. Washing a hot glass-faced dial in cold water can crack the face, and prolonged immersion shortens the life of the coil.
Positioning the probe
A deep-fry thermometer is only as good as where it sits. The goal is to read the oil the food will actually fry in — not the metal of the pan, not the cool air above the surface, and not a single hot plume rising off the burner.
- Clip the thermometer to the side of the pot so the bulb is suspended roughly mid-depth in the oil, usually 2–3 inches above the pan bottom for a standard 6- to 8-inch pot.
- Never rest the stem against the pan wall — conduction will give a falsely high reading, especially during candy work.
- Keep the bulb away from the path where cold food will enter the oil; a reading taken from a still pocket of oil is more useful than one taken from a turbulent one.
- For sugar work, clip the thermometer in place before adding sugar and water, so it has time to equilibrate before the syrup climbs past thread stage.
Common uses
Tips & pitfalls
- Clip the thermometer to the side of the pot so the bulb sits mid-depth — a bulb touching the pan bottom reads the metal, not the oil, and will mislead you by 20°F or more.
- Wait for a steady reading for at least 10 seconds before adding food; the reading lags 5–10 seconds behind burner changes, so it keeps shifting briefly after the flame cycles.
- Expect a 25–50°F (14–28°C) drop the moment cold food enters the oil. Preheat close to target and let the burner bring the oil back up — chasing a higher starting temp only overshoots the food's crust before the interior catches up.
- Recalibrate monthly in an ice bath. Bimetallic coils drift over time, especially after being knocked, dropped, or thermally shocked by cold water on a hot stem.
- Remove the thermometer from the oil as soon as you finish cooking. Prolonged immersion shortens dial life and can crack a glass face when the oil cools.
- For candy work, never rest the thermometer against the pan wall — conduction will read noticeably high and your syrup will scorch before you expect it to.
- If all you own is an instant-read digital probe, clip it to the pot with a binder clip or wooden clothespin so the tip is suspended and your hands stay clear of the oil.
- Replace any thermometer that is off by more than 4°F after calibration, or whose needle is sluggish, sticky, or jumps — these are signs the instrument has failed.
Good to know
- Typical temperature range
- 100°F–400°F (40°C–200°C); some dial models extend to 500°F (260°C) to cover hard-crack sugar stages.
- Stem length
- Roughly 8–12 inches (20–30 cm), long enough to clip onto a deep pot while the dial stays above the rim.
- Probe position
- The sensing bulb sits 2–3 inches above the stem tip so it reads oil mid-depth, not the pan bottom.
- Reading time
- Analog bimetallic dials stabilize in 15–30 seconds; digital probes settle in 3–10 seconds.
- Accuracy
- Quality analog units ±2°F; calibrated digital units ±0.5–1°F.
- Calibration check
- Ice bath should read 32°F (0°C); boiling water should read 212°F (100°C) at sea level, dropping about 1°F per 500 ft of altitude.
- Maximum safe stem immersion
- Analog stems are usually fully immersible; digital probes have a marked immersion line (often 1–2 inches) and the head must stay dry.
- Not suitable for
- Ovens (no ambient-air calibration), microwaves, or shallow pans where the bulb would touch the metal base.
Also called
candy thermometer · fry thermometer · frying thermometer
Related

Peeler
Swift blade for stripping skin off fruit and vegetables

Grater
Sharp-toothed surface for shredding cheese and vegetables

Microplane
Ultra-fine rasp for citrus zest, garlic, and hard cheese

Mixing Bowl
All-purpose bowl for combining, whisking, and tossing

Whisk
Looped wires that beat air into eggs, cream, and sauces

Spatula
Flat blade for flipping, lifting, and scraping

Slotted Spoon
Pierced spoon that lifts solids and drains the liquid behind

Wooden Spoon
Gentle, heat-friendly spoon for stirring anything