Appliances & Heat
Maple Sap Evaporator
A long fire-fed pan that boils maple sap down into syrup by driving off its water in volume.
A maple sap evaporator is a large, shallow, sectioned pan set over a wood or gas fire that boils collected maple sap to concentrate it into syrup. Sap flows through the divided channels so the sugar steadily intensifies as water steams off. Because roughly forty parts sap reduce to one part syrup, the wide pan and steady heat are needed to evaporate the huge water volume efficiently.
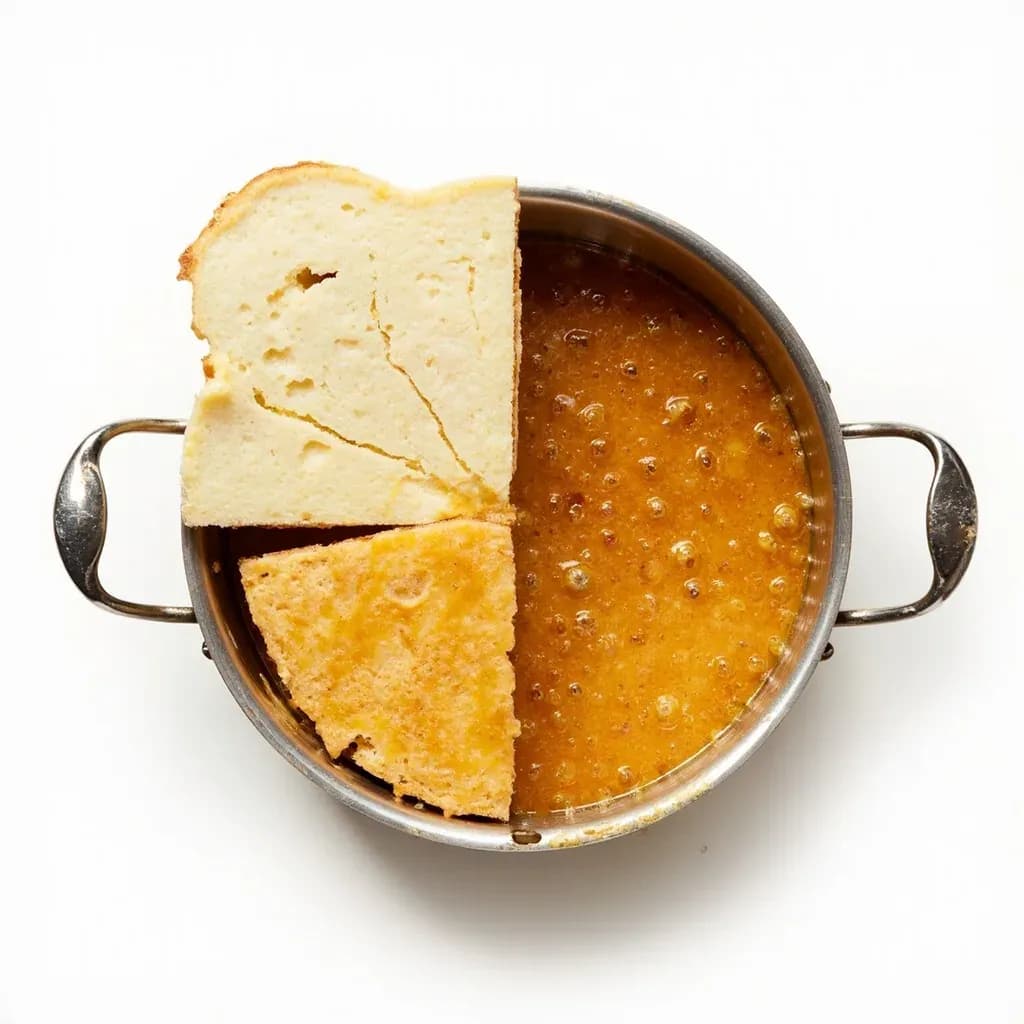
A maple sap evaporator is a long, shallow, fire-fed pan — or, in most designs, a string of connected pans set into a steel arch — built to do one job with extraordinary efficiency: drive off the roughly 97.5% of water that separates thin sap from finished syrup. Because raw sap runs only about 2% sugar, a sugar maker must evaporate close to 40 gallons of it to draw off a single gallon of syrup at 66–67° Brix. The tool's shape exists entirely around that volume problem. A broad, shallow pan maximizes the surface area where water can escape, while a divided layout — typically a flue pan where the fire licks the underside and a finishing pan further along — keeps cool, dilute sap from washing back into syrup that is already at density.
The arch beneath the pans is as important as the pans themselves. Whether fueled with hardwood, oil, or gas, the firebox channels flame and hot gas across the full pan bottom and up through flues or channels, then up a stack that creates draft. Modern evaporators are welded stainless or galvanized steel, with float boxes that hold sap at a steady depth, thermometers and hydrometers to track progress, and draw-off valves at the finishing end. A handful of hobby-sized units are simple single pans, but the principle is the same in every case: feed in cool, dilute sap at one end, take out hot, dense syrup at the other, and never let the fire go hungry or the pan go dry.
Alternatives
Types & varieties
Traditional setup with hardwood burned in a steel or brick arch; lends a faint wood-smoke character to the sugarhouse but demands steady tending.
Forced-air oil burner under the pan; offers steadier temperature control and far less babysitting than wood.
Clean-burning with precise flame adjustment; common in small hobby rigs and educational sugarhouses.
Combines a wood arch with an oil burner for backup or for finishing, balancing tradition with reliability.
Multi-section pan in which fresh sap enters one end and finished syrup continuously exits the other; standard for commercial production.
Compact 2 × 4 ft or similar rigs built for backyard sugaring, often single-pan or simple divided-pan designs.
How a Divided Pan Works
The genius of the traditional divided pan is that it mimics, in metal, the gradient a sugar maker would otherwise manage by hand. Cool, dilute sap enters the back (or 'cold') end, which sits over the cooler part of the arch or in a preheater box warmed by exhaust gases. As it travels forward through baffles and channels, the sap crosses progressively hotter zones, and water leaves faster and faster. By the time it reaches the finishing pan — directly over the fiercest part of the fire — it is nearly syrup, and the last few degrees of density can be dialed in carefully. Sap is never ladled backward; fresh sap always joins the coolest, most dilute end, so the finishing section is not diluted or stalled.
- Flue pan: fire and flue gases pass directly under this section, doing the heaviest evaporative work.
- Syrup/finishing pan: held at a slightly lower boil, where the syrup is brought to its final 66–67° Brix.
- Float box: a small chamber at the pan's cold end that maintains a constant sap depth regardless of how fast the rest of the pan is boiling down.
- Draw-off valve: a large gated spout at the finishing end, used to pull syrup once it tests at density.
Finishing, Foam, and Filtering
Three practical concerns occupy the sugar maker in the last hour of a boil. First, foam: as sap concentrates, proteins and minerals rise to the surface as a thick froth, which insulates the boil and can scorch. Most sugar makers skim it off or apply a tiny amount of food-grade defoamer (typically a plant-oil emulsion). Second, the finishing test: a candy thermometer alone is unreliable because barometric pressure and altitude shift the boiling point of water. A hydrometer or refractometer calibrated to 66–67° Brix is the standard, with the thermometer as a useful cross-check. Third, niter — the fine, tan sediment sugar makers call 'sugar sand' — settles out of finished syrup as it cools and must be filtered through felt or synthetic cone filters while the syrup is still hot (around 180°F), or it will cloud the bottled product and lend a gritty texture.
- Use a hydrometer or refractometer as the primary test for doneness; trust the thermometer second.
- Skim or defoam lightly — heavy-handed defoamer leaves oily residues that can mute syrup flavor.
- Filter hot (about 180°F) through cone filters; reheating filtered syrup can darken the grade.
- Re-bottling or re-filtering cooled syrup is far slower and less effective than getting it right the first time.
Common uses
Tips & pitfalls
- Never let the pan boil dry — scorched sap permanently damages the pan's surface and produces bitter, burnt-sugar off-flavors that no amount of filtering will fix.
- Keep sap depth shallow and consistent: deep sap boils too slowly and risks scorching, while a too-shallow pan overheats and burns the metal.
- Always add fresh sap to the cold (upstream) end of the pan, never into the finishing section, or you will dilute near-finished syrup and stall the boil.
- Skim foam as it forms or use a food-grade defoamer sparingly — a heavy hand leaves residues that mute the clean maple flavor of the finished syrup.
- Refuel a wood arch in small, steady increments rather than all at once, so the boil rate stays even and the pan does not surge or cool.
- Test finishing syrup with both a thermometer and a hydrometer — barometric pressure and altitude shift the boiling point of water, so temperature alone can mislead you by several degrees.
- Filter finished syrup while hot (around 180°F) through felt or synthetic cone filters to remove niter (sugar sand) before bottling, or the sediment will settle into the jar.
- Reserve the evaporator pan for sap only — once it has held syrup, do not use it for jam, stock, or anything else, because the mineral deposits and residual sugar will transfer.
Good to know
- Primary Function
- Boils maple sap to drive off water, concentrating it into maple syrup at roughly a 40:1 sap-to-syrup ratio by volume.
- Heat Source
- Traditionally wood-fired; modern units may run on oil, propane, natural gas, or a hybrid of wood and oil.
- Pan Configuration
- Most have a divided system: a flue pan where fire contacts the underside, plus a syrup/finishing pan where sap reaches final density.
- Common Sizes
- Hobby units run about 2 ft × 4 ft; commercial sugarhouses operate pans 5 ft × 16 ft or larger.
- Finishing Point
- Syrup is done at about 7°F above the local boiling point of water, or 66–67° Brix measured with a hydrometer or refractometer.
- Season
- Late winter to early spring in northeastern North America, when freeze/thaw cycles drive sap flow — typically February through April.
- Origin
- Indigenous peoples of the northeastern woodlands developed early sap-boiling; the metal arch-and-pan evaporator was refined in 19th-century North America.
- Typical Materials
- Welded stainless or galvanized steel pans, cast iron or steel arch (firebox), stainless or aluminum stack.
Also called
Sap Evaporator Pan · Sugaring Evaporator · Syrup Evaporator
Related

Stovetop
The everyday burners where most cooking actually happens

Oven
Enclosed dry heat for roasting, baking, and braising

Grill
Live-fire or gas grates for char, smoke, and high heat

Smoker
Low, slow heat and wood smoke for barbecue and brisket

Air Fryer
Countertop convection that crisps with little or no oil

Slow Cooker
Set-and-forget low heat for stews, beans, and braises

Pressure Cooker
Sealed steam pressure that cooks tough food in a fraction of the time

Rice Cooker
Foolproof, perfectly steamed rice every single time