
Water & Steam
Braise
Sear, then cook slow in a little liquid until fall-apart tender
Braising browns food first, then cooks it slowly partly submerged in liquid until tough cuts turn meltingly tender. It's the path to short ribs, shanks, and hearty greens. Keep the pot barely simmering and covered so the meat softens without drying out.
Braising is the slow alchemy that turns the cheapest, toughest cuts into the most luxurious dishes on the table. The trick is combined cooking: first a hard sear for browned, savory flavor, then a long, gentle simmer half-submerged in liquid. That low, moist heat — held below a boil for an hour or more — dissolves collagen, the connective tissue that makes a shank or short rib tough, into silky gelatin. The same gelatin enriches the braising liquid into a glossy, body-rich sauce. Because the meat is only partly submerged, the exposed top stays in contact with browning steam while the bottom poaches, so the cut both tenderizes and keeps deep flavor.
- Difficulty
- Intermediate
Types & varieties
Meat seared hard first, often with red wine and dark stock — short ribs, beef bourguignon.
Gentle, no deep browning, pale liquid — for veal, chicken, blanquette-style dishes.
A single large cut braised whole with vegetables in one pot.
Finished in a 150–160°C oven for hands-off, all-around even heat.
Fennel, leeks, cabbage or greens cooked slow in a little seasoned liquid until silky.
Searing a large cut, then cooking it covered in a small amount of liquid with aromatics so it self-bastes and turns fork-tender.
How to do it
- 1
Season and dry
Salt the meat ahead and pat the surface bone-dry so it browns rather than steams.
- 2
Sear hard
Brown all sides in a heavy pot over high heat to build the flavor base, then set the meat aside.
- 3
Build the aromatic base
Soften onions, carrots and garlic in the rendered fat; add tomato paste or spices if used.
- 4
Deglaze
Pour in wine or stock and scrape up the browned fond stuck to the pot — that's pure flavor.
- 5
Add liquid and return the meat
Add stock until it comes one-third to halfway up the meat; tuck in herbs and aromatics.
- 6
Cover and cook low
Bring to a bare simmer, cover, and hold there on a low flame or in a 150°C oven.
- 7
Cook to tender
Braise until a fork meets no resistance — usually 2–4 hours; turn the meat once or twice.
- 8
Rest and finish the sauce
Rest the meat, skim fat from the liquid, and reduce the sauce to glossy if needed.
The collagen story
Tough cuts are full of collagen, which stays rubbery until it hits roughly 70°C and then slowly melts into gelatin over a long, moist cook. This is why braising lean cuts fails — they have no collagen to convert and just dry out.
- Choose well-worked muscles: chuck, shank, short rib, oxtail, pork shoulder, cheeks.
- Time at temperature does the work — you cannot rush collagen.
- Gelatin gives the finished sauce its lip-coating body.
How much liquid (and how hot)
Braising is not boiling. Keep the liquid at a lazy shimmer — a hard boil toughens muscle fiber and can leave meat dry even as it falls apart. The liquid should never fully cover the meat; the exposed surface stays meaty while the submerged part poaches.
Why it's better the next day
Braises improve overnight: flavors marry, fat solidifies on top for easy removal, and the meat reabsorbs liquid. Cool and refrigerate in the braising liquid, then gently reheat — it'll be more tender and better seasoned than fresh.
Common uses
Tips & pitfalls
- Don't skip or rush the sear — it's the single biggest flavor builder in the whole dish.
- Keep it at a whisper of a simmer; bubbles breaking gently, never a rolling boil.
- A tight-fitting lid (or a sheet of parchment under it) keeps moisture in and the top from drying.
- If the meat seems tough, it's usually undercooked, not overcooked — give it more time.
- Skim or chill-and-lift the fat before serving for a cleaner, glossier sauce.
- Make it a day ahead whenever you can — braises reward the wait.
Good to know
- Heat level
- Low and steady — bare simmer, ~85–95°C
- Best for
- Tough, collagen-rich cuts; hearty greens
- Equipment
- Heavy lidded Dutch oven or braiser
- Liquid
- Comes one-third to halfway up the food
- Time
- 2–4 hours, often longer for big cuts
- Key cue
- Fork slides in with no resistance
Also called
pot-roast
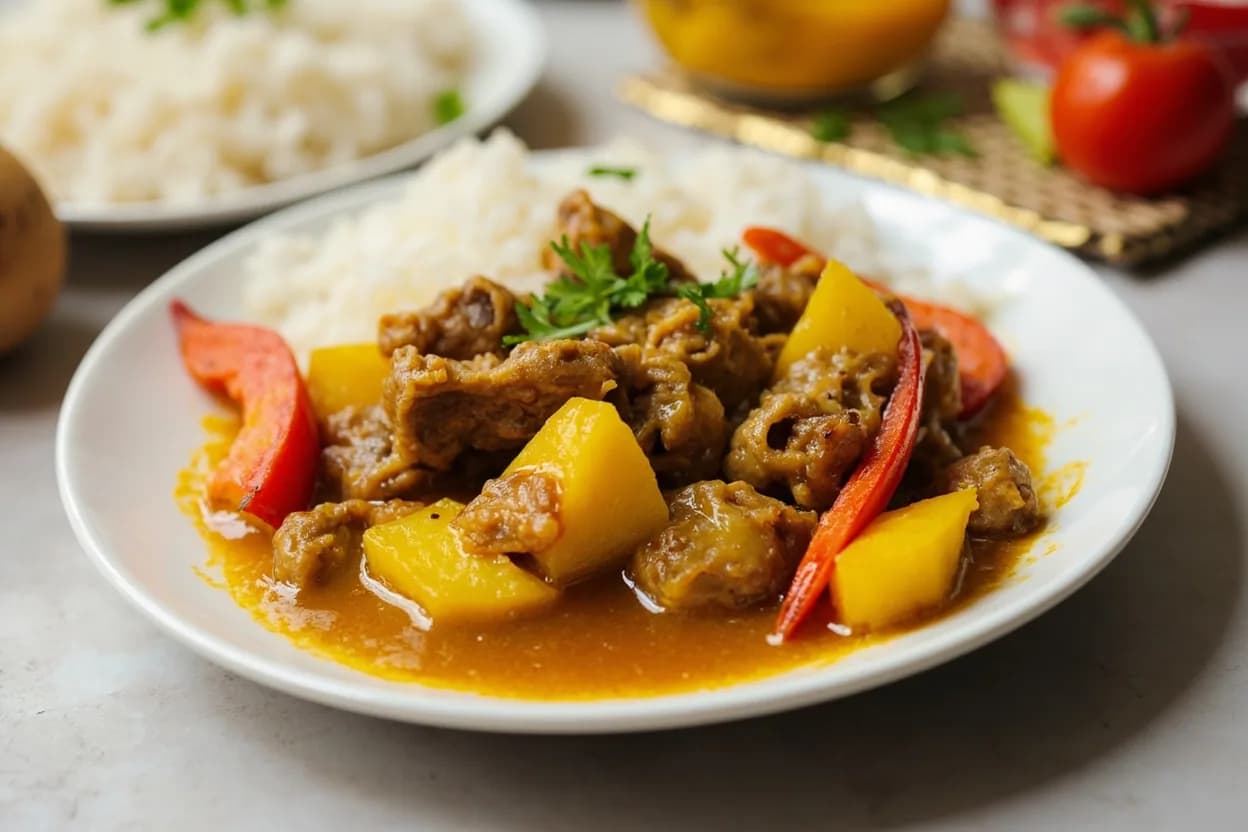
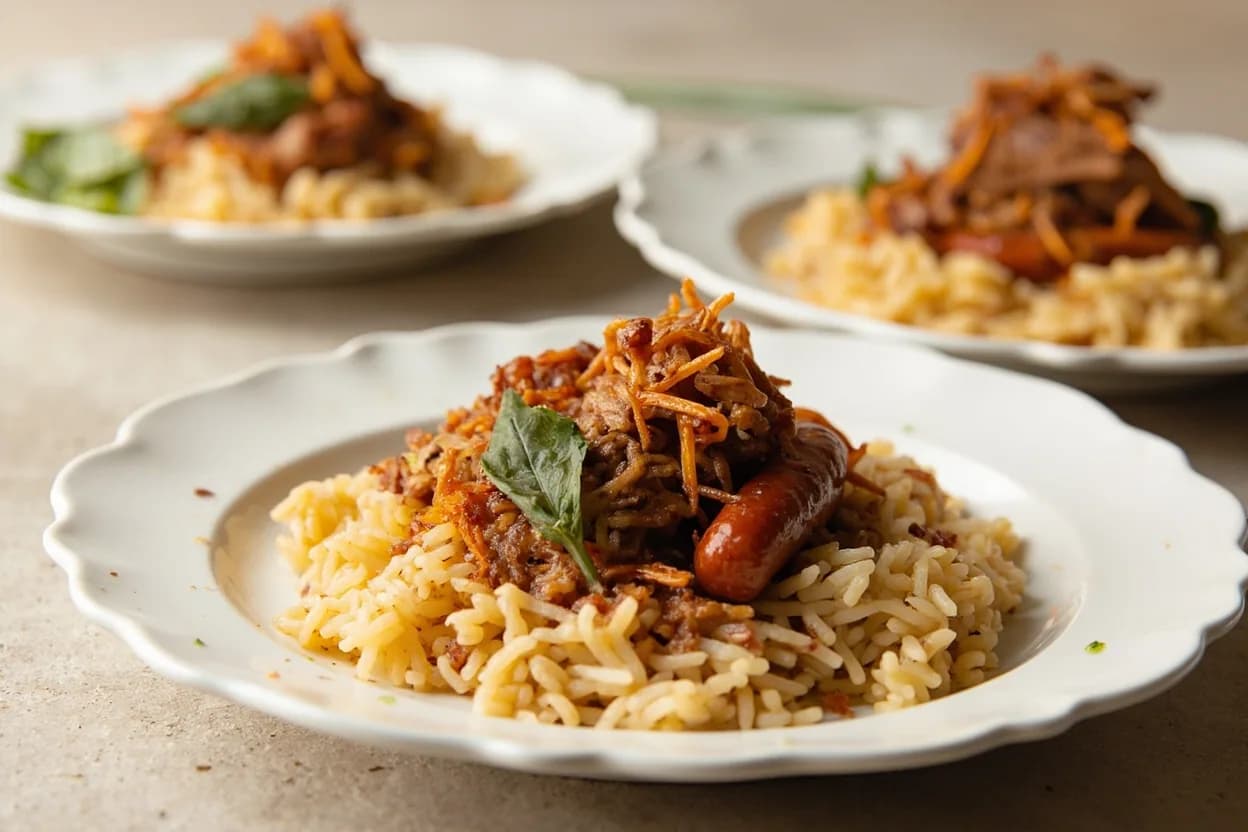
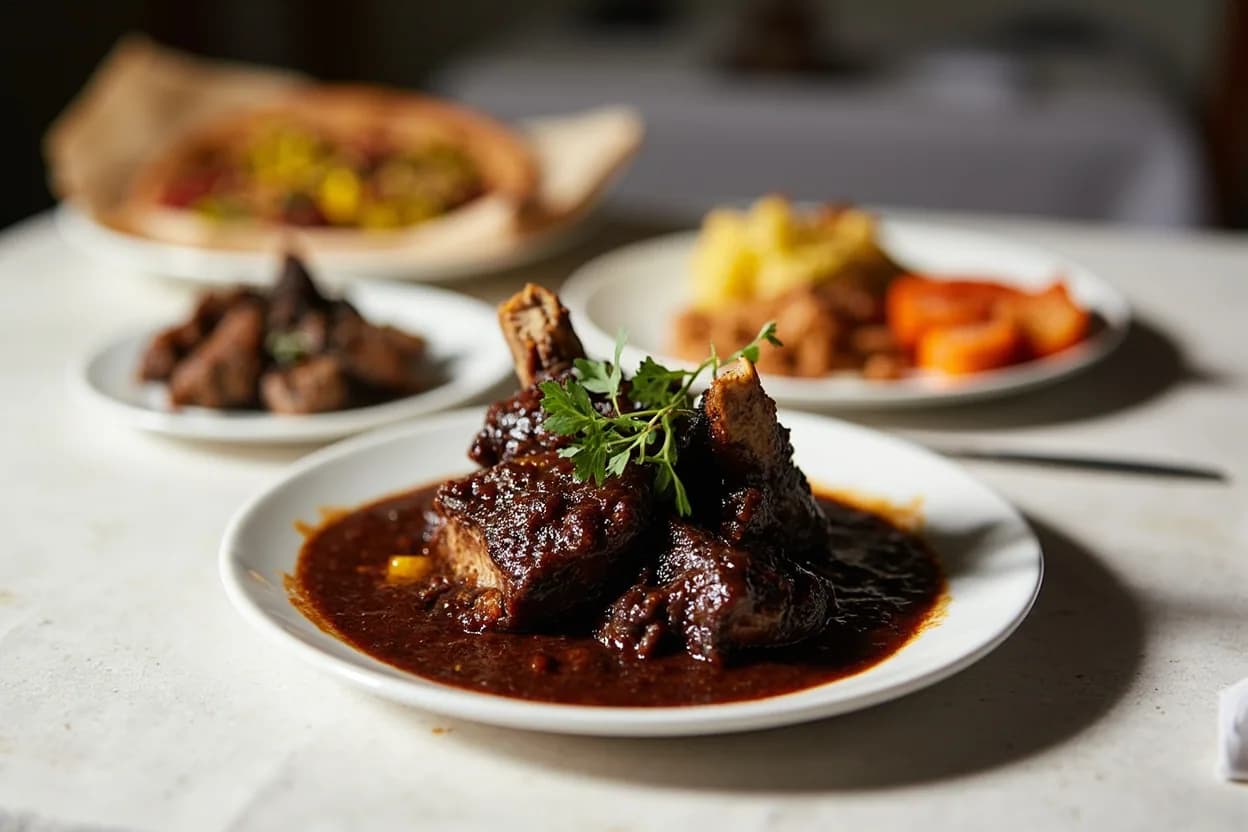
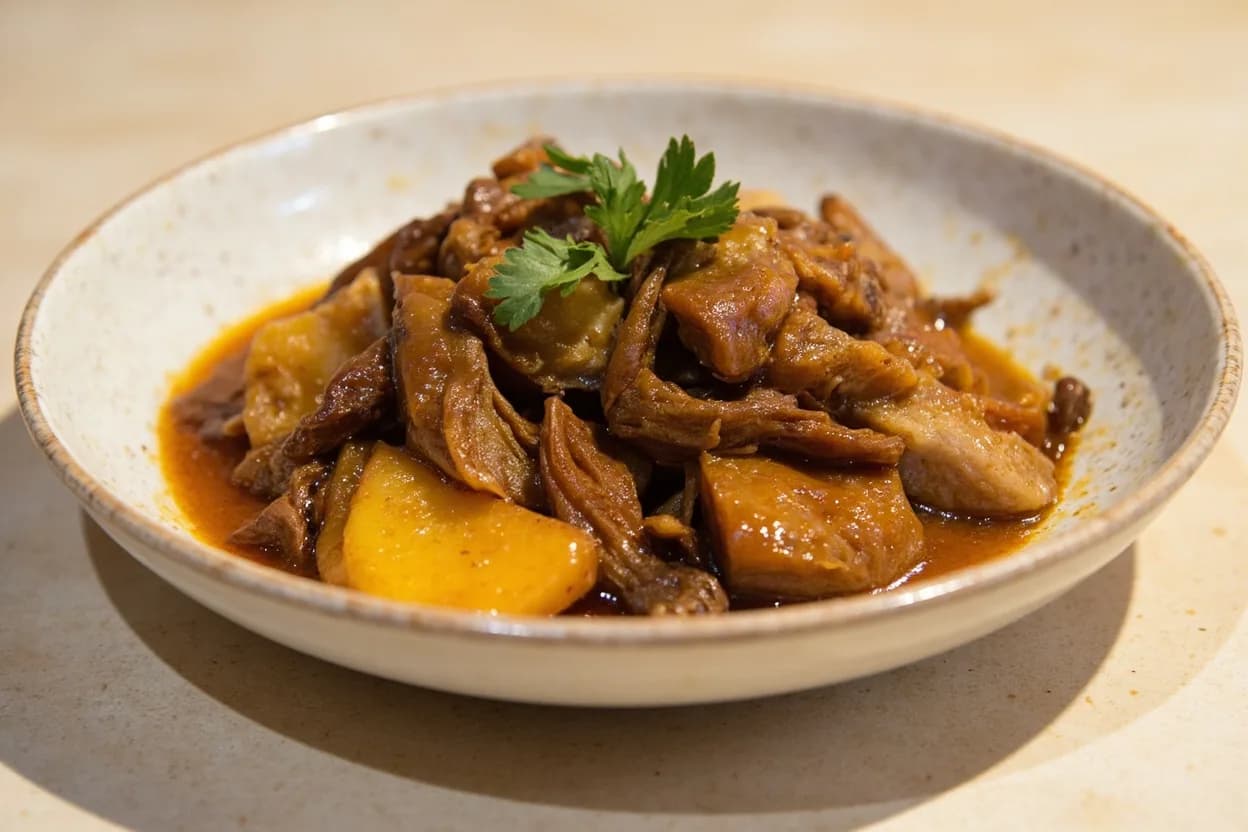
Dishes that rely on it
Related

Boil
Cook in vigorously bubbling liquid at full rolling heat

Simmer
Hold liquid at a gentle shimmer for tender, unhurried cooking

Poach
Cook gently in barely-trembling liquid for silky, tender results

Steam
Cook in rising vapor to keep color, nutrients, and shape intact

Blanch
Plunge briefly in boiling water, then shock cold to lock color

Stew
Simmer bite-sized pieces fully submerged into a rich, unified pot

Sous-Vide
Seal and cook in precise warm water for edge-to-edge doneness

Pressure-Cook
Cook under sealed steam pressure to tenderize in a fraction of the time