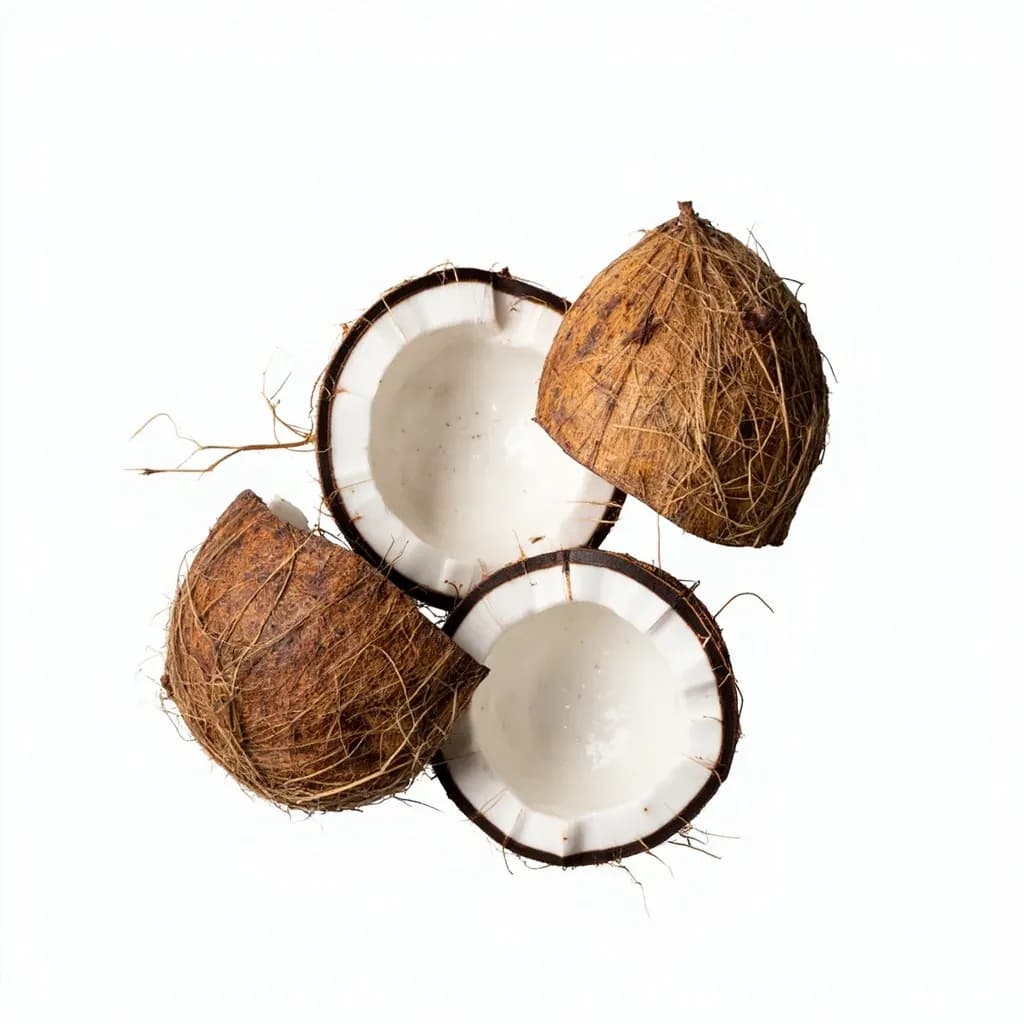
Prep & Assembly
Husking Coconut
Removing the fibrous husk and hard shell to reach the coconut meat and water.
Husking a coconut strips away the thick fibrous outer husk and then cracks the hard inner shell to access the white meat and water inside. It is the first step before grating coconut for milk, chutneys, and curries in tropical cooking. Traditional cooks impale and twist the coconut on a sharpened stake to peel the husk, then tap the shell along its equator to split it cleanly.
Husking a coconut is the first and often most intimidating step in working with a whole mature brown coconut — the removal of the thick, fibrous outer husk (the mesocarp) to expose the hard woody shell (the endocarp) that holds the water and meat. In coconut-growing regions, the task is as routine as peeling a potato; in landlocked kitchens, it is a learned skill that opens the door to fresh coconut milk, grated meat, and the distinctive sweetness that no packaged product matches. The husk is not just waste — it is the source of coir, a fiber used for everything from rope and brushes to garden mulch — and understanding its structure helps a cook work with it efficiently rather than fighting it.
The husk on a fully mature coconut is roughly 1 to 2 inches (2.5–5 cm) thick and densely packed with fibers that resist a clean slice. The shell beneath is about 3–5 mm of hard, brittle endocarp. The trick is to split the husk along its three natural seams, where the fibers are thinnest and the shell's longitudinal ridges lie just below. Done well, husking takes 2–5 minutes; done poorly, with a dull blade or the wrong approach, it can take twenty frustrating minutes and risk a sliced hand. This is why the work is treated as its own technique rather than lumped in with cracking the shell — the two steps use different tools, different forces, and are best done in a deliberate order.
- Difficulty
- Hard
Types & varieties
Traditional Polynesian, South Asian, and Caribbean approach: the coconut is driven onto a sharpened wooden or metal stake, splitting the husk along its weakest seams, then the loosened husk is twisted or pried off.
The most common modern method in home kitchens: a heavy blade is tapped or driven through the husk in a line, then levered to peel the husk away in sections.
The blade is worked around the equator of the coconut in a continuous spiral, separating husk from shell in a single curling strip — slower but very controlled.
Mounted blades or lever-style bench tools used in commercial processing facilities, where motorized machines shear the husk in seconds.
A simpler, knife-only task: the soft green-to-white husk on immature coconuts is shaved away with a serrated blade, usually after the top is cut open for the water.
How to do it
- 1
Set up a safe work area
Place the coconut on a wooden chopping block, stump, or bare ground outdoors. Have a freshly sharpened heavy cleaver or machete, cut-resistant gloves, and a stable stance. Keep the surface dry — a wet block is dangerously slippery under force.
- 2
Locate the weakest seam
Hold the coconut eye-up and look for the three narrow longitudinal ridges running from pole to pole; the husk is thinnest at these seams. Tap around the equator with the heel of your hand to feel where the husk gives slightly under pressure.
- 3
Score a starter line
Steady the coconut firmly between your feet or against the block. Place the blade on a chosen seam near the pointed end and strike the back of the blade with the heel of your other hand or a wooden mallet to drive it 1–2 inches into the husk. Do not try to cut all the way through in one blow.
- 4
Extend the split
Work the blade along the seam, levering it side to side as you go, until the husk splits open along that line from pole to pole. Repeat on the opposite side if a single split is not enough to free the shell.
- 5
Pry the husk away
Insert the blade or a sturdy wedge under the split husk and lever outward. The husk should come off in two or three large curved pieces. Twist and pull stubborn sections by hand, gripping the smooth shell rather than the abrasive fibers.
- 6
Trim residual fibers
Use the tip of the cleaver or a serrated knife to scrape off the remaining brown coir clinging to the shell, then rinse the shell under running water. The clean, hard endocarp is now ready to drain and crack.
- 7
Reserve the husk
Set the stripped coir aside for drying if you want fiber, mulch, or fire starter. The bare shell can be stored in a cool place for several days before cracking, or cracked immediately to extract water and meat.
Husking is not the same as cracking
Many home cooks conflate the two steps, but they are distinct skills with different tools. Husking strips away the fibrous outer layer to reveal a still-intact, hard brown shell. Cracking then breaks that shell to release the water and expose the meat inside. The two are best done in order — husk first, then either drain through one of the three 'eyes' on the exposed shell or crack the shell cleanly with a few well-placed blows. Trying to do both at once usually results in a shattered shell and lost water.
Why hand-husking persists
In regions where coconuts are sold already husked, a motorized dehusking machine has done the work at a processing facility, shearing the husk in seconds with steel teeth. Hand-husking survives in coconut-growing regions for two reasons: the coir is a valuable byproduct that is easier to keep clean and intact when removed by hand, and machine-husking can fracture the shell, which matters when the meat is sold whole or the shell is reused.
Common uses
Tips & pitfalls
- Use a freshly sharpened, heavy blade — a dull knife will skid on the fibrous husk and is the most common cause of injury.
- Wear cut-resistant gloves; coir fibers are abrasive and the shell edges are razor-sharp once exposed.
- Drain the coconut water AFTER husking but BEFORE cracking — once the shell is exposed, pierce one of the three soft 'eyes' at the pole with a skewer or screwdriver tip and pour the water out cleanly. The water sits inside the shell, not the husk, so it cannot be drained any earlier.
- Score a line all the way through the husk first, then lever — do not try to slice the husk off in a single pass, as it tears rather than cuts.
- Work on a wooden block or the ground, never on a thin plastic cutting board; the force required will damage it and can cause the blade to glance off unpredictably.
- Save the husk: coir is excellent as garden mulch, a fire starter, or for making rough scrubbing brushes.
- Practice on older, dried coconuts first — the husk has shrunk slightly from the shell and separates more readily than on a fresh, tightly clinging one.
- If the shell cracks during husking, finish carefully and use the broken pieces for coconut milk rather than trying to preserve intact halves.
Good to know
- Task
- Removing the thick fibrous outer husk (mesocarp) from a mature coconut to expose the hard inner shell (endocarp)
- Husk thickness
- Roughly 1–2 inches (2.5–5 cm) on a fully mature brown coconut
- Shell thickness
- Approximately 3–5 mm of hard woody endocarp once husk is removed
- Typical time
- 2–5 minutes for a practiced hand; 10–20 minutes for a beginner
- Difficulty
- Moderate; requires a sharp, heavy blade and controlled force
- Primary tools
- Heavy cleaver, machete, or purpose-made coconut husking tool; traditional sharpened stake
- Mature vs. young
- Mature brown coconuts have a thick, tough husk; young green coconuts have a soft, gel-like husk that is sliced off with a knife
- Byproduct
- Coir fibers — usable for rope, brushes, mulch, pot liners, and fuel
- Drain timing
- The coconut water sits inside the shell, not the husk, so it can only be drained after the shell is exposed
Also called
Coconut Husking · Shelling/Husking
Related

Whisk
Beat ingredients smooth and aerated with a looping wire motion

Sift
Pass dry ingredients through mesh to aerate and remove lumps

Strain
Pour through mesh to separate solids from liquid for a smooth result

Filter
Pass liquid through fine material to clarify out the smallest particles

Rice
Press cooked potatoes through small holes for fluffy, lump-free texture

Mash
Crush soft cooked food into a rustic, creamy purée

Grind
Crush food into a coarse to fine texture, from spices to meat

Grate
Shred food into fine bits against a sharp-toothed surface