Knife Skills
Trimming
Cutting away excess fat, sinew, or tough bits to shape and refine an ingredient.
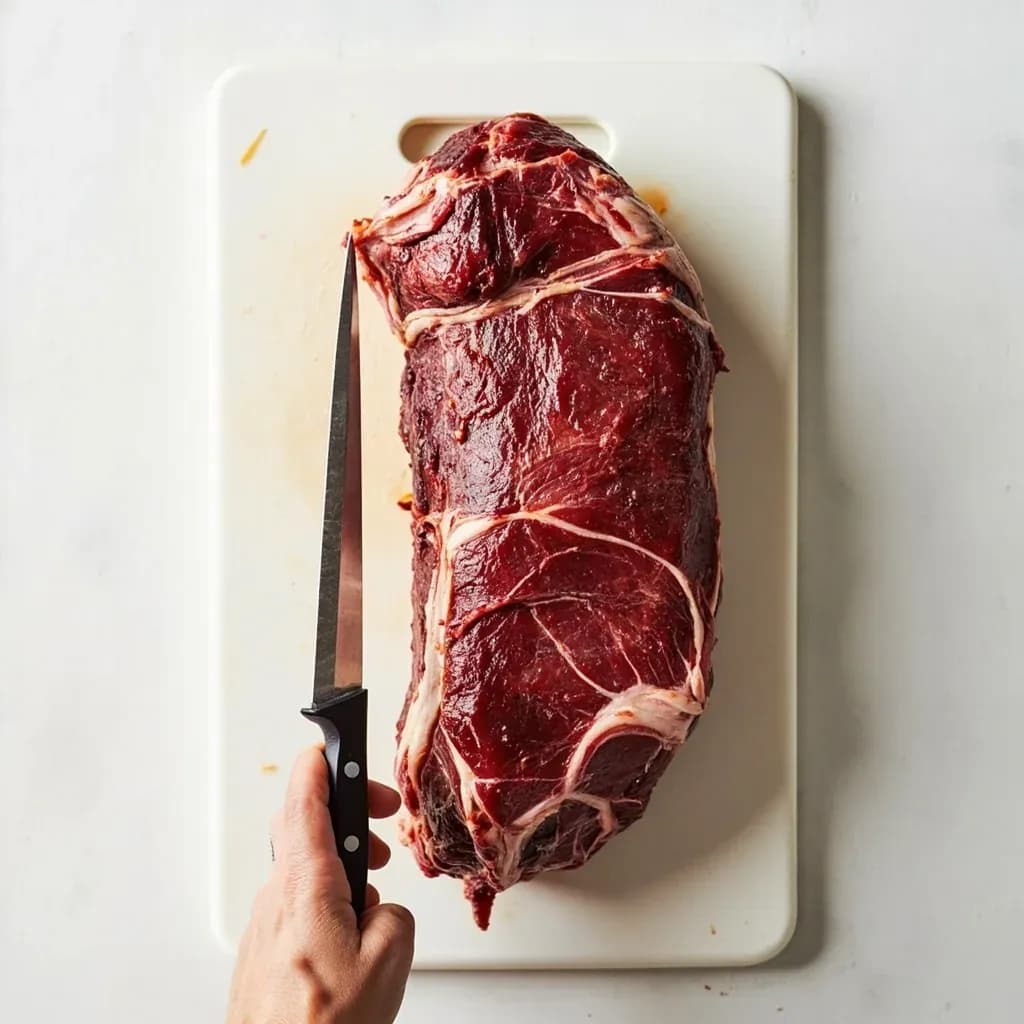
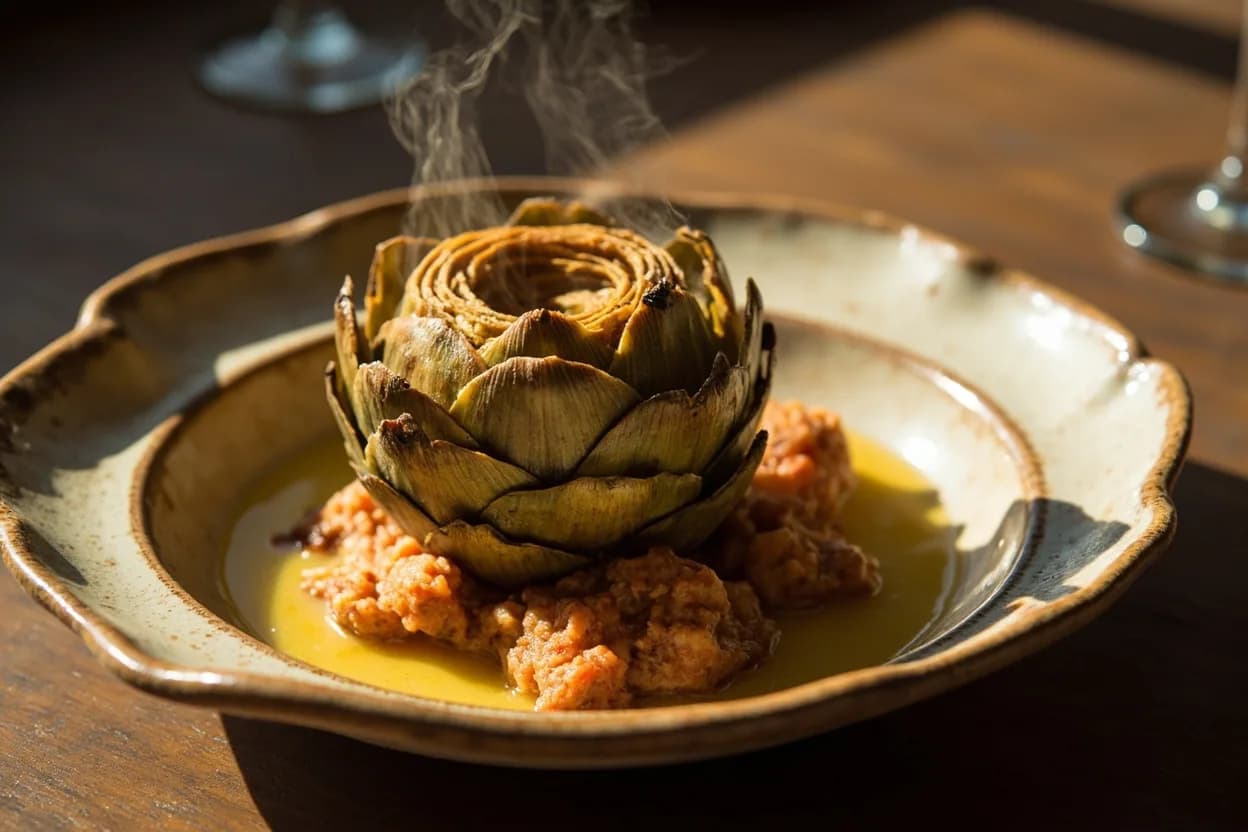
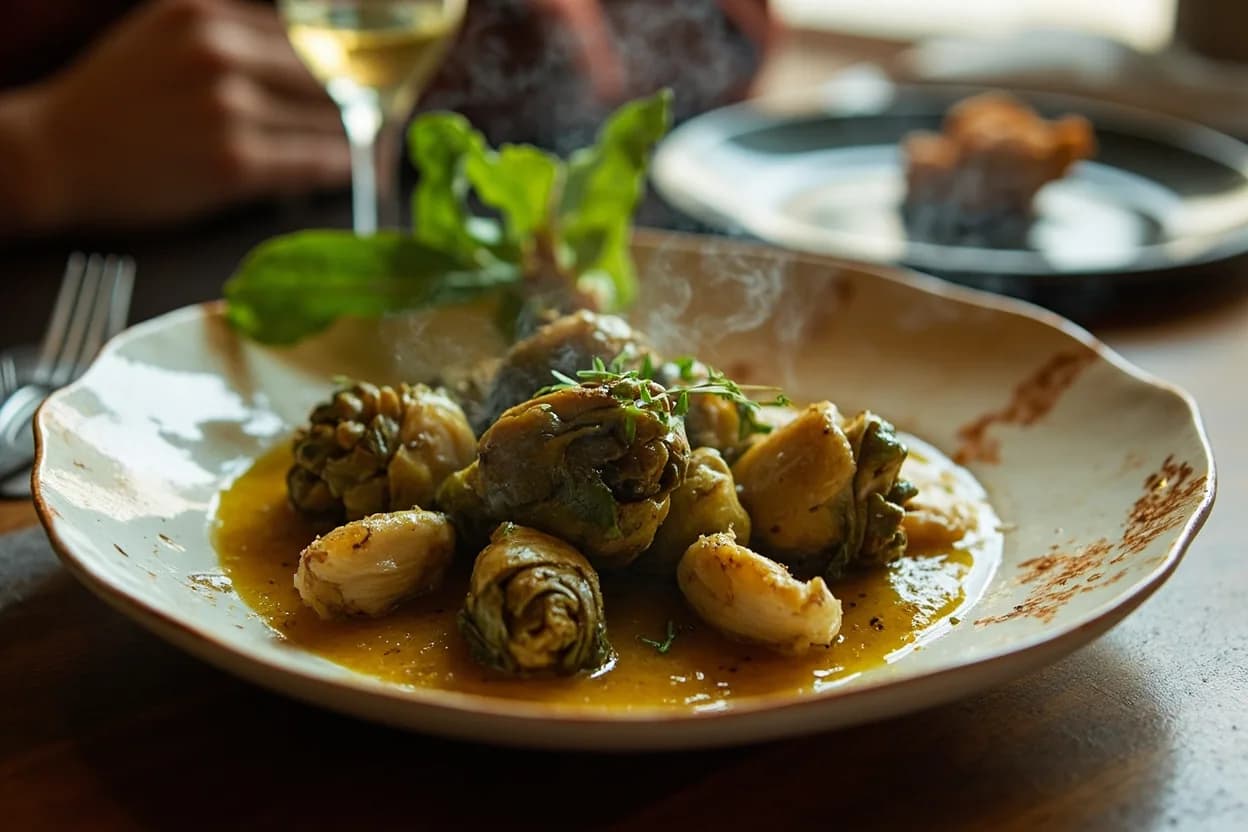
Trimming removes unwanted parts of an ingredient, such as the fat cap on a brisket, silverskin on meat, or the spiny leaves of an artichoke, before cooking. It improves texture, appearance, and even cooking, and on barbecue cuts it controls how fat renders. A sharp boning or paring knife lets you take off just what you want while keeping the usable yield intact.
Trimming is the quiet, unglamorous work that happens before the real cooking begins — the careful removal of inedible, tough, or unsightly parts from an ingredient so what reaches the pan is clean, even, and worth eating. It covers everything from stripping silverskin off a beef tenderloin and peeling the membrane from a rack of ribs, to pulling pin feathers from a chicken, deveining shrimp, or paring the eyes from a potato. Done well, trimming is invisible; done badly, you taste it in the finished dish as a chewy strip, a bitter eye, or a buckle of meat that curled under high heat.
The principle behind every kind of trimming is the same: anchor the piece, pull the unwanted tissue taut, angle the blade slightly upward, and shave off only what shouldn't be eaten. The three conditions that make the work fast, safe, and accurate are a sharp knife, a cold and firm ingredient, and a stable board. Once you understand that template, you can apply it to a duck breast, a bunch of parsley, or a whole fish without rethinking the technique for each one.
Trimming is also where you decide how much of an ingredient to keep. A thin cap of fat on a roast — about 3 mm (1/8 in) — or a strip of skin on a duck breast is usually left in place because it bastes, flavors, and protects the meat from drying out. Trimming too aggressively costs you weight, money, and often flavor; trimming too timidly leaves tough, chewy, or off-flavored bits that no amount of cooking will rescue. Good trimming is conservative but thorough, removing only what truly needs to go.
- Difficulty
- Medium
Types & varieties
Stripping the silvery connective tissue from beef tenderloin, pork loin, duck breast, venison, and other roasts so it doesn't contract and buckle the meat during cooking.
Removing excess external or seam fat; a thin cap of roughly 3 mm (1/8 in) is usually left on roasts and steaks for basting and flavor.
Peeling the tough papery sheet from the bone side of pork or beef spare ribs so rub and smoke can penetrate.
Cutting away tough white cords of connective tissue from cuts like shank, chuck, shoulder, and whole poultry legs.
Scraping meat and connective tissue from the ends of rib bones on a rack of lamb or prime rib for a clean, restaurant-style presentation.
Removing root ends, stems, eyes, bruised spots, woody cores, and damaged outer layers from produce.
Stripping leaves from woody stems (thyme, rosemary, oregano, savory) and cutting off tough lower stalks of parsley and cilantro.
Removing fins, bloodline, dark belly meat, pin bones, and the tough tail sections of steaks and fillets.
Pulling excess fat, pin feathers, the preen (oil) gland, and any loose or torn skin from whole birds.
Slitting the back of shrimp and pulling out the intestinal tract; also used for prawns and small lobster tails.
How to do it
- 1
Identify what to remove
Inspect the piece and separate inedible or tough parts — silverskin, seam fat, blood spots, pin feathers, eyes, woody stems, bruised tissue — from the usable portion. Decide what should stay: a thin fat cap on a roast or a strip of skin on a duck breast is usually kept for flavor and basting.
- 2
Set up your station
Place a stable board at a comfortable working height with a damp towel or non-slip mat underneath. Lay out a boning knife for meat and poultry, a paring knife for produce and detail work, paper towels for drying and gripping, and a small bowl or tray for trimmings destined for stock.
- 3
Chill if needed
Return meat, fish, or poultry to the fridge for 15–30 minutes if it has warmed up — firm tissue trims cleanly and won't smear or tear. Pat the surface dry with paper towels so the knife doesn't slip on moisture or fat.
- 4
Anchor and tension
Hold the ingredient with your non-cutting hand in a claw grip, fingers curled in. Pull the tissue to be removed — silverskin, membrane, skin, or stem — taut, so the knife has a clear path underneath without sawing or tearing.
- 5
Angle the blade up and glide
Start the tip of the knife under one edge of the unwanted layer. Tip the blade slightly upward so you shave just under the membrane, not into the meat below. Slide the knife forward in long, even strokes, letting the tissue release in one piece. Use the tip for short, detailed work near bones and contours.
- 6
Refine and finish
Go back over the surface and lift any remaining tags with the tip of the knife. Trim the edges square or shape them to your recipe's needs, pat the piece dry, and move to the next cut or to cooking. Send trimmings to the stock bowl or freezer bag.
The trickiest targets: silverskin, membrane, and frenching
Most kitchen trimming is quick and forgiving, but three jobs account for the majority of frustration: silverskin on roasts, the rib membrane, and frenching bones. Each has a small trick that makes the difference between a clean result and a torn, ragged one.
- Silverskin: slide the tip of a boning knife under one corner and angle up a few degrees so the blade rides between the membrane and the meat. Pull the tissue up and away with your other hand; long, even strokes release it in one strip.
- Rib membrane: grip a corner with a paper towel for traction, then slide a spoon or dull knife under it to lift, and finish by gripping with the towel and peeling back across the rack. The membrane sits on the bone side, so that's the side you work from.
- Frenching: scrape the bone with the back of a chef's knife to push meat down, then make a shallow circular cut at the base of the exposed bone to release the connective ring. The bone should emerge clean and white.
- If silverskin tears and leaves residue, lay the meat flat and shave a thin cap off the surface to start fresh rather than chasing the fragments.
Common uses
Tips & pitfalls
- Keep the knife sharp: a dull blade skids off slippery silverskin and fat, and is far more dangerous than a sharp one.
- Chill the meat or fish before trimming — cold tissue is firmer and won't tear or smear under the blade.
- Pull the silverskin or membrane taut with your non-cutting hand so the knife slides under it cleanly rather than sawing.
- Tip the blade a few degrees upward and shave just under the unwanted layer; digging straight in wastes meat.
- Use the tip for short, detailed strokes near bones and contours; use the middle of the blade for long, even passes along a roast.
- Don't over-trim flavorful fat from cuts destined for long braises or stocks; much of it will render and add body to the sauce.
- Save trimmed fat, bones, and trimmings in a freezer bag for the next stock, or render them into lard, schmaltz, or tallow.
- If silverskin tears and leaves residue, lay the meat flat and shave a thin cap off the surface to start fresh rather than chasing fragments.
Good to know
- Category
- Knife Skills
- Difficulty
- Beginner to intermediate; precise trimming on tenderloins or racks requires more practice
- Primary tools
- Boning knife (5–7 in), stiff paring knife, chef's knife; tourne or bird's beak for produce detail
- Cutting board
- Stable board with a damp towel or non-slip mat underneath
- Temperature
- Cold ingredients (35–40°F / 2–4°C) trim more cleanly than warm
- Yield impact
- Varies by cut; trim too thin and you lose weight and money, too thick and inedible bits remain
- Common targets
- Silverskin, seam fat, sinew, membrane, pin feathers, blood spots, bruised tissue, eyes, woody stems
- Related skills
- Peeling, frenching, scoring, butterflying, deboning, deveining
Also called
Trimming Fat · Trimming the Fat Cap · Trimming Brisket · Trimming Spiny Artichokes
Dishes that rely on it
Related

Chop
Cut into rough, irregular pieces — the everyday workhorse cut

Dice
Cut into uniform cubes for even cooking and a tidy look

Mince
Cut as fine as possible so flavor melts evenly into the dish

Slice
Cut into even, flat pieces for consistent cooking and presentation

Julienne
Cut into thin matchsticks for fast cooking and elegant garnish

Brunoise
Cut into tiny, precise cubes — the finest dice in the kitchen

Chiffonade
Roll and slice leafy greens into delicate ribbons

Batonnet
Cut into tidy sticks, thicker than julienne — think classic fries