Knife Skills
Boning
Removing the skeleton from poultry or meat, sometimes leaving the shape intact.
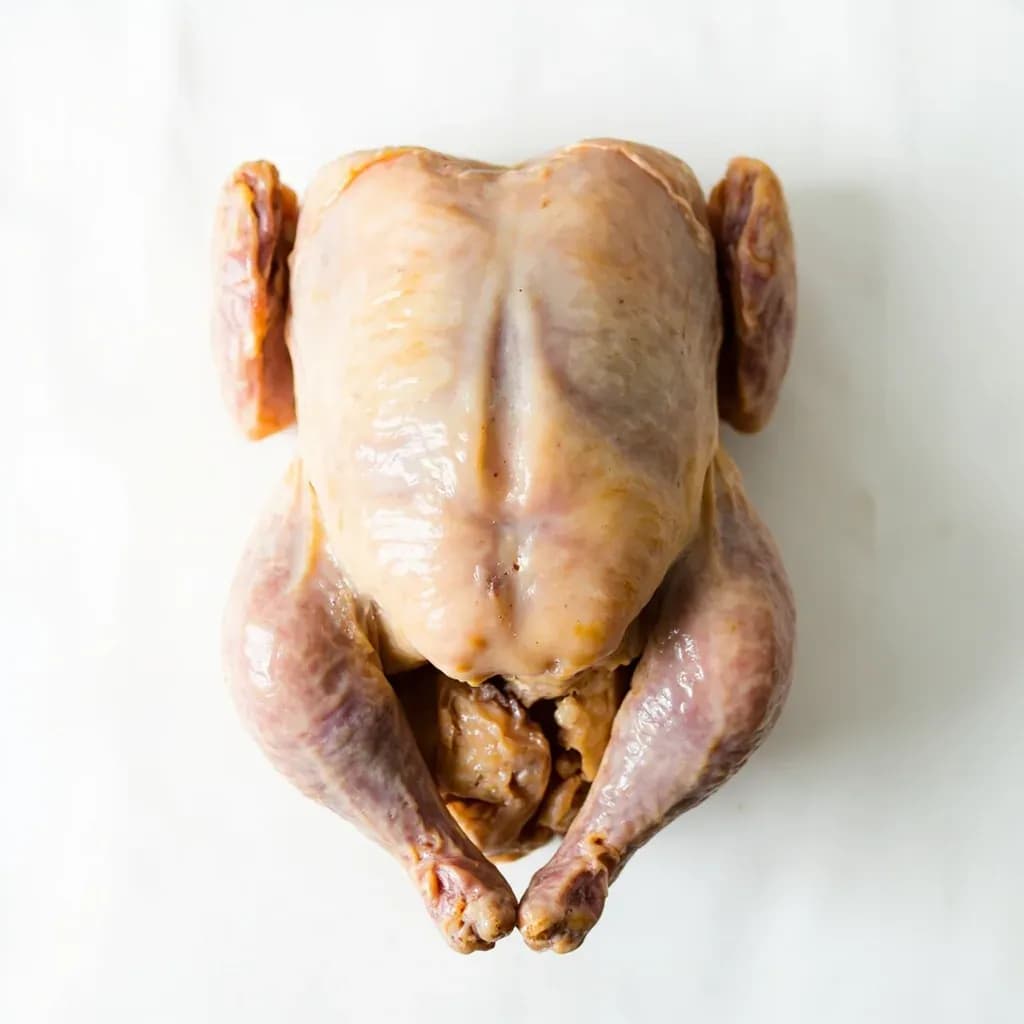
Boning is the removal of bones from a whole bird or joint of meat, ranging from straightforward to advanced tunnel boning that pulls the skeleton out while keeping the bird whole for stuffing. It makes carving effortless and creates a pocket or rollable sheet for fillings. A flexible boning knife and a steady, close-to-the-bone hand keep the meat intact and waste low.
Boning is the butchery technique of separating meat from its skeleton while preserving the overall shape of the cut. It sits between rough breakdown (separating primals from a side) and fine trim work (removing silver skin and fat), and it is one of the foundational knife skills in any working kitchen. Where filleting removes flesh in sections from the bone, boning typically works around an intact carcass or sub-primal so the result can be rolled, stuffed, flattened, or simply carved more cleanly at the table.
The work centers on the boning knife — a narrow, pointed blade, usually 5 to 7 inches long, made in flexible and stiff versions. Flexible blades curl around the curved ribcage of poultry and the delicate pin bones of fish; stiff blades drive through the dense sinew of beef chuck, lamb shoulder, and pork loin without flexing past the bone. Two habits make the difference between clean boning and ragged work: pinching the blade just ahead of the bolster for control, and keeping the edge angled against the bone at all times so the bone itself becomes your guide.
Good boning is also a study in anatomy. Knowing where a chicken's wishbone sits, where a lamb rack's ribs meet the spine, or where cartilage in a pork shoulder will crack under hand pressure turns a struggle into a few precise passes. Nothing is wasted — every bone, skin, and trim goes to the stockpot, where it releases the collagen and minerals that give a good broth its body and gloss.
- Difficulty
- Hard
Types & varieties
Removing the entire skeleton so the item lies flat or can be rolled and stuffed — whole chicken, turkey, leg of lamb.
Removing selected bones only, such as the rib bones from a pork loin or the femur from a leg while keeping the shape intact for stuffing.
Slicing meat open along its length so it opens flat like a book; bones may or may not be removed depending on the dish.
Removing the backbone of a bird with shears or a knife so it lays flat for faster, more even roasting or grilling.
Scraping meat and connective tissue from the end of rib or leg bones to expose clean white bone for presentation, typically on rack of lamb or chicken drumettes.
Working a narrow boning knife through the center of a thick cut to create a pocket for stuffing — used for stuffed pork loin and similar preparations.
Pulling the line of small bones along the lateral line of a fillet with tweezers or needle-nose pliers, done after filleting rather than as part of it.
How to do it
- 1
Set up and inspect
Lay a damp towel under a large cutting board so it cannot slide. Pat the protein dry and identify the major bones by feel — run your fingers along the carcass to map the spine, ribs, sternum, and the ball joints of the wings and legs before making any cut.
- 2
Remove the wishbone (poultry)
Pull the neck skin back to expose the wishbone at the front of the breast. Slice down along each side of the wishbone with the tip of the boning knife, working the blade under the bone to free it, then pull it out with your fingers. Skipping this step makes the final table carve much harder.
- 3
Work along the backbone
Lay the bird or piece skin-side down. Make a long cut along one side of the spine from neck to tail, then angle the blade against the bone and use short strokes, scraping the meat away as you follow the curve of the skeleton. Repeat on the other side of the spine until the backbone comes free in one piece.
- 4
Free the ribcage and sternum
Continue working the blade under the ribs toward the breastbone, keeping the edge pressed to the bone. For the sternum, cut through the cartilage carefully with the knife tip, or crack it by hand once the surrounding meat is loosened.
- 5
Pop the wing and leg joints
Locate the ball joint where the wing or thigh meets the carcass. Slice the skin and tendons around the joint, then pull the limb away from the body to pop the joint and slice through the remaining ligaments. Scrape the meat clean from each removed bone.
- 6
Open and flatten, or roll and tie
Lay the boned item skin-side up and press it flat with the heel of your hand. For a stuffed roll, season the interior, roll tightly from one short end, and tie at 1–2 inch intervals with butcher's twine. For spatchcocked or butterflied preparations, press flat and season directly.
- 7
Trim and reserve
Trim loose scraps, silver skin, and blood spots from the surface. Reserve all bones, skin, and trim in a labeled container for stock — they will give back more flavor than almost any other kitchen scrap.
Choosing flexible vs. stiff
The boning knife's flexibility is the single most important variable after sharpness. A flexible blade follows the curve of a chicken's ribcage and the spine of a round fish without leaving meat on the bone, and it slips under the silverskin on a leg of lamb to lift it cleanly. A stiff blade is the right choice for dense red meat — chuck, shank, short rib, pork shoulder — where you need the point to push through connective tissue and the spine of the knife to resist twisting when popping a joint. Many cooks keep both: a flexible 6-inch for poultry and fish, and a stiff 6- or 7-inch for beef, lamb, and pork.
- Flexible blade (5–6 in): chicken, turkey, duck, rabbit, fish, lamb leg, pork tenderloin
- Stiff blade (6–7 in): beef chuck and shank, pork shoulder, lamb shoulder, venison
- If you own only one, a moderately stiff 6-inch is the most versatile general-purpose choice
Anatomy shortcuts by protein
Each protein has a few anatomical landmarks that make boning dramatically easier once you know them. On poultry, the wishbone is the single biggest obstacle to a clean table carve — remove it first through the neck opening before working along the spine. On a rack of lamb, the rib bones curve away from the spine in a fan; slicing down each rib with short strokes, then scraping the meat off the feather bones between them, gives a clean frenched rack. On round fish like salmon or trout, the pin bones run in a single line along the lateral line and pull out cleanly with pliers once the fillet is off the ribcage.
- Chicken/turkey: wishbone first, then spine, then ribcage, then pop wing and leg joints
- Rack of lamb: scrape along each rib, then french the exposed bones
- Round fish: fillet first, then remove pin bones with tweezers in a single pull toward the head
- Leg of lamb/pork shoulder: tunnel-bone by running the tip along the bone, then scrape the meat away
Common uses
Tips & pitfalls
- Sharpen the boning knife before starting; a dull blade tears the meat and slips dangerously near joints.
- Keep the blade angled against the bone at all times — the bone is your guide and leaves the most meat behind on the carcass if you scrape it clean.
- Use short, slicing strokes rather than long sawing motions to preserve a smooth surface on the meat.
- Chill the protein 20–30 minutes before boning; firmer flesh separates from bone more cleanly than room-temperature flesh.
- Pop joints rather than cutting through them: locate the cartilage with the knife tip, flex the joint to snap it, then slice the surrounding ligaments.
- Don't chase every last scrap of meat in one pass; leave a thin layer on the bone and trim afterward if needed, since overworking the meat damages its texture.
- Pull the skin or surface taut with your non-dominant hand to keep the cutting area visible and stable.
- Save every bone, skin, and trim for stock — this is where deep flavor and body live.
Good to know
- Knife used
- Boning knife, 5–7 in (13–18 cm), narrow and pointed; flexible for poultry and fish, stiff for red meat and dense joints
- Other tools
- Sharp paring knife for detail, kitchen shears for poultry backbones, tweezers or needle-nose pliers for fish pin bones, damp towel to stabilize the board
- Skill level
- Intermediate; requires familiarity with carcass or sub-primal anatomy
- Typical proteins
- Chicken, turkey, duck, rabbit; lamb rack and leg; pork loin, shoulder, and ham; beef chuck and short rib; whole flatfish and round fish
- Time
- Whole chicken 5–10 min; rack of lamb 2–3 min; fish pin-boning 1–3 min per fillet
- Yield
- A whole chicken yields roughly 60–65% boneless meat; a rack of lamb yields about 50% edible meat after frenching
- Related techniques
- Butterflying, spatchcocking, frenching, tunnel boning, pin-boning
Also called
Deboning · Tunnel Boning · Boning Poultry
Dishes that rely on it

Related

Chop
Cut into rough, irregular pieces — the everyday workhorse cut

Dice
Cut into uniform cubes for even cooking and a tidy look

Mince
Cut as fine as possible so flavor melts evenly into the dish

Slice
Cut into even, flat pieces for consistent cooking and presentation

Julienne
Cut into thin matchsticks for fast cooking and elegant garnish

Brunoise
Cut into tiny, precise cubes — the finest dice in the kitchen

Chiffonade
Roll and slice leafy greens into delicate ribbons

Batonnet
Cut into tidy sticks, thicker than julienne — think classic fries