Heat & Fire
Grilling
Cooking over direct radiant heat or coals for char, smoke, and grill-marked surfaces.
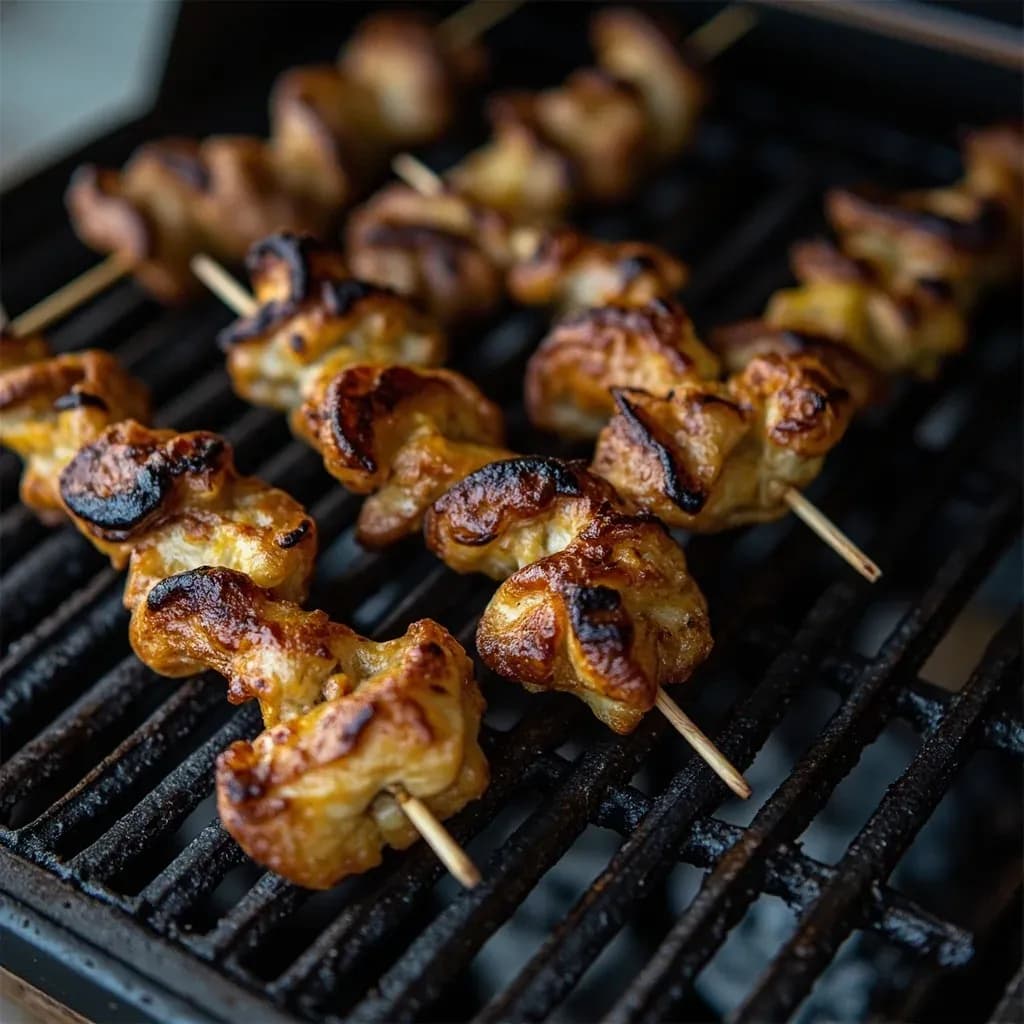
Grilling exposes food to intense direct heat from below, usually live coals or a gas flame, producing caramelized crust, char, and smoky flavor. It suits steaks, kebabs, fish, and vegetables that cook fast over high heat. Open-fire styles like South African braai or Spanish a la brasa lean on hardwood and charcoal for distinctive aroma.
Grilling is dry-heat cooking that places food directly over a radiant heat source — glowing coals, a gas flame, an infrared element, or burning wood — so that browning and smoke happen in minutes rather than hours. The defining traits are intensity and speed: surface temperatures typically run 400–700 °F, enough to drive the Maillard reaction (browning of proteins and sugars starting around 285 °F) and to blister the food's exterior before its interior overcooks. This is what gives grilled food its crust, its char, and the savory, almost meaty flavor that roasting or pan-frying alone cannot match.
What separates grilling from its neighbors is the direction of the heat. In barbecuing, food sits in a low-temperature smoke-filled chamber for hours, trading time for tenderness. In broiling, radiant heat comes from above inside an oven, with no smoke. Grilling sits between them: hot, fast, and smoke-friendly, with the fire doing the work from below. Understanding this distinction is what lets a cook decide when to sear a steak directly over coals versus when to push it to a cooler zone to finish — a choice that separates competent grilling from burnt offerings.
The technique rewards good preparation more than talent. A properly preheated, cleaned, and oiled grate, a dry and well-seasoned surface on the food, and a two-zone fire that lets you move between hot and gentle heat are the levers that determine success. Once those are in place, grilling is among the most forgiving and social cooking methods available.
- Difficulty
- Medium
Types & varieties
Food directly over the heat; for thin, fast items like steaks, burgers, chops, kebabs, fish fillets, and vegetables.
Heat banked to one or both sides with food in the middle; functions like an oven for roasts, whole chickens, and ribs.
Coals or burners stacked to one side, empty on the other; lets the cook sear then move food to gentler heat to finish.
Lump or briquette charcoal; higher radiant heat and pronounced smoke flavor; reaches 600–700 °F easily.
Propane or natural gas; convenient, precise, lower smoke; maxes around 500–600 °F on most residential units.
Splits, logs, or wood chunks (oak, hickory, mesquite, pecan, fruitwoods) for traditional smoke intensity.
Ceramic or glass element radiates even, very high heat with reduced flare-ups.
Egg-shaped ceramic cooker; excellent heat retention, suited to both grilling and smoking.
Small open Japanese charcoal grill; very high heat, traditional for yakitori.
Flat solid steel or cast-iron plate over fire; Spanish origin; cooks on hot metal with little char and no grates.
Japanese skewers cooked over or beside binchotan charcoal, sometimes suspended from a rail.
Brazilian and Portuguese skewer grilling over open wood or coal fires.
Clay cylindrical oven reaching 900 °F; skewered meats and breads seared against the inner walls.
Food turned beside radiant heat; a grilling-adjacent method for whole birds and roasts.
Indirect low-and-slow cook first, then a hard sear over direct heat; favored for thick steaks and tomahawks.
Low-temperature wood smoke followed by a high-heat sear; common for salmon and ribs on offset rigs.
How to do it
- 1
Set up the grill and create heat zones
For charcoal: light with a chimney starter (skip lighter fluid), wait until coals are ashed over (15–20 minutes), then bank to one side for a two-zone fire. For gas: ignite all burners on high for 10 minutes to preheat, then adjust — keep one or two burners on high for direct heat, others off or low for indirect.
- 2
Clean and oil the grates
Scrub hot grates with a grill brush, then grip a folded paper towel in long tongs, dip it in high-smoke-point oil (canola, grapeseed, or avocado), and wipe across the grates. They should smoke lightly when properly oiled.
- 3
Prepare the food
Pat proteins dry with paper towels. Season generously with salt and pepper or a dry rub. Brush or drizzle the food itself with oil so seasonings adhere and the surface browns. Bring thick cuts to room temperature for 20–30 minutes for more even cooking.
- 4
Confirm grill temperature
Hold your hand 4 inches above the grate. If you can keep it there 1–2 seconds, the fire is very hot (steaks, burgers). 3–4 seconds is medium-high (chicken parts, fish). 5–6 seconds is medium (thicker cuts, sausages).
- 5
Place food on the grill
Lay food at a 45° angle to the grates. To get diamond grill marks, rotate 90° halfway through the first side before flipping. Close the lid on gas grills to recover temperature; leave it open on charcoal for maximum sear.
- 6
Manage flare-ups
If fat drips ignite, slide the food temporarily to the cooler indirect zone. Never douse a charcoal fire with water — it will ash the coals. Trim excess fat from proteins before grilling to keep flare-ups in check.
- 7
Flip at the right time
Steaks and chops release easily from the grate when ready to flip — usually 3–5 minutes per side for a 1-inch steak over high heat. Flip chicken pieces as needed to avoid burning. Use a thin metal spatula to preserve the crust.
- 8
Check internal temperature
Probe the thickest part with an instant-read thermometer, away from bone or gristle. Pull the meat 5 °F below your target — carryover cooking will finish it. Reference: chicken 160–165 °F, pork 145 °F, salmon 125–130 °F, steak 130–135 °F for medium-rare.
- 9
Rest the meat
Transfer to a cutting board or warm plate and tent loosely with foil. Rest steaks 5 minutes, roasts 10–15 minutes, whole birds 15–20 minutes. Skipping this lets juices run onto the plate instead of staying in the meat.
- 10
Serve and finish
Slice against the grain for maximum tenderness. Add finishing salt, herb butter, chimichurri, or a quick pan sauce at the table rather than during grilling, so the crust stays intact.
Grilling vs. Barbecue vs. Broiling
The three methods are easy to confuse because all use dry radiant heat, but they are not interchangeable. Grilling is hot, fast, and direct — think a steak finished in eight minutes over glowing coals. Barbecue is low and slow: food sits in a 225–275 °F smoke-filled chamber for hours, transforming tough cuts into tender ones. Broiling is grilling turned upside-down, with radiant heat coming from above inside an oven and no smoke at all. A practical rule: if the cook time is under 30 minutes and you want a crust, grill. If you're cooking a brisket overnight, barbecue. If you want the effect of grilling without firing up the patio, broil.
The Science of the Sear
What makes grilled food taste grilled is largely the Maillard reaction — a cascade of browning between amino acids and reducing sugars that begins around 285 °F and intensifies above 350 °F. To get there, the food's surface must be dry (water boils at 212 °F and will keep the surface below that until it evaporates, stalling browning) and the heat must be high enough to outpace the food's moisture. That is why patting steaks dry, salting them in advance, and preheating the grate matter more than the brand of grill. Smoke flavor adds a second layer: volatile compounds from dripping fat and burning wood dissolve into the crust and contribute the flavor most people call 'grilled.'
Managing a Two-Zone Fire
A two-zone fire is the single most useful grilling setup. Bank hot coals to one side of a charcoal grill, or light only one or two burners on a gas grill, and leave the other side empty. The hot side is for searing; the cool side is for finishing, holding, and recovering from flare-ups. Thicker cuts sear on the hot side, then move to the cool side with the lid closed to coast to temperature. Chicken thighs sear on the hot side and finish skin-up on the cool side to render fat without burning. Vegetables that char too fast get pushed aside to finish gently. Practically every grilling problem — burnt outside, raw inside, uncontrollable flare-ups — dissolves once you have two zones to work with.
Common uses
Tips & pitfalls
- Preheat the grill for 10–15 minutes — a hand held 4 inches above the grate should feel intense heat after 5 seconds; cold grates stick and steam the food.
- Pat food dry and oil the food's surface — moisture on the food delays browning and causes steaming. (Oil the grates as well, in the prep step, to prevent sticking.)
- Set up a two-zone fire so you can sear over direct heat and finish over indirect heat; most burnt-outside, raw-inside disasters are a missing cool zone.
- Salt proteins at least 40 minutes ahead (dry brine) for better seasoning and a drier surface that browns more efficiently.
- Do not press or flatten meat with a spatula — it squeezes out juices and causes flare-ups.
- Resist the urge to flip more than once for steaks and chops; one flip is usually enough. Rotate 90° partway through the first side for diamond grill marks, then flip once.
- Use a digital instant-read thermometer for thick cuts and dark sauces; visual cues fail when char and color are both deep brown.
- Rest grilled meats 5–10 minutes under a loose foil tent — tented, not wrapped tightly, to avoid steaming the crust you worked to build.
- Leave the lid open on charcoal for max searing and close it on gas to maintain temperature; they behave differently.
- Avoid sugary sauces early in the cook — they burn fast; glaze only in the last 2–3 minutes.
Good to know
- Heat method
- Dry-heat, direct radiant heat from below (or beside, in some variants)
- Typical cooking temperature
- 400–700 °F (200–370 °C); infrared can exceed 800 °F
- Cook time profile
- Short and fast — thin cuts finish in under 10 minutes per side
- Primary fuels
- Charcoal, hardwood, propane, natural gas, electric, wood pellets, infrared
- Maillard range
- Browning begins around 285 °F (140 °C); deep crust forms above 350 °F (175 °C)
- Reference doneness (beef)
- Rare 125 °F, medium-rare 130–135 °F, medium 140–145 °F, well-done 160 °F+
- Origin
- Open-fire roasting since the Paleolithic; named grills (parrilla) date to 17th-century Spain
- Difficulty
- Beginner-friendly for basics; advanced for live-fire and multi-zone management
Also called
Grill · Braai · Yakimono · A la Brasa
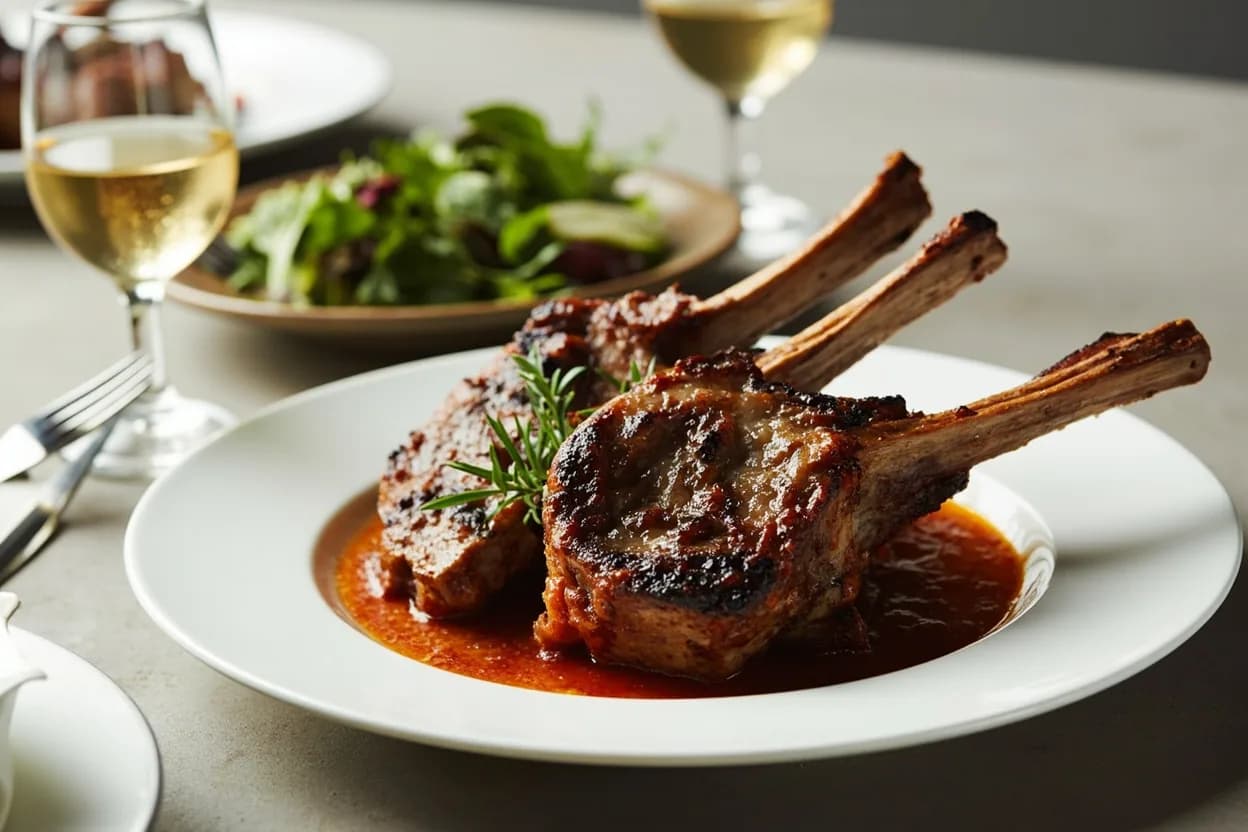
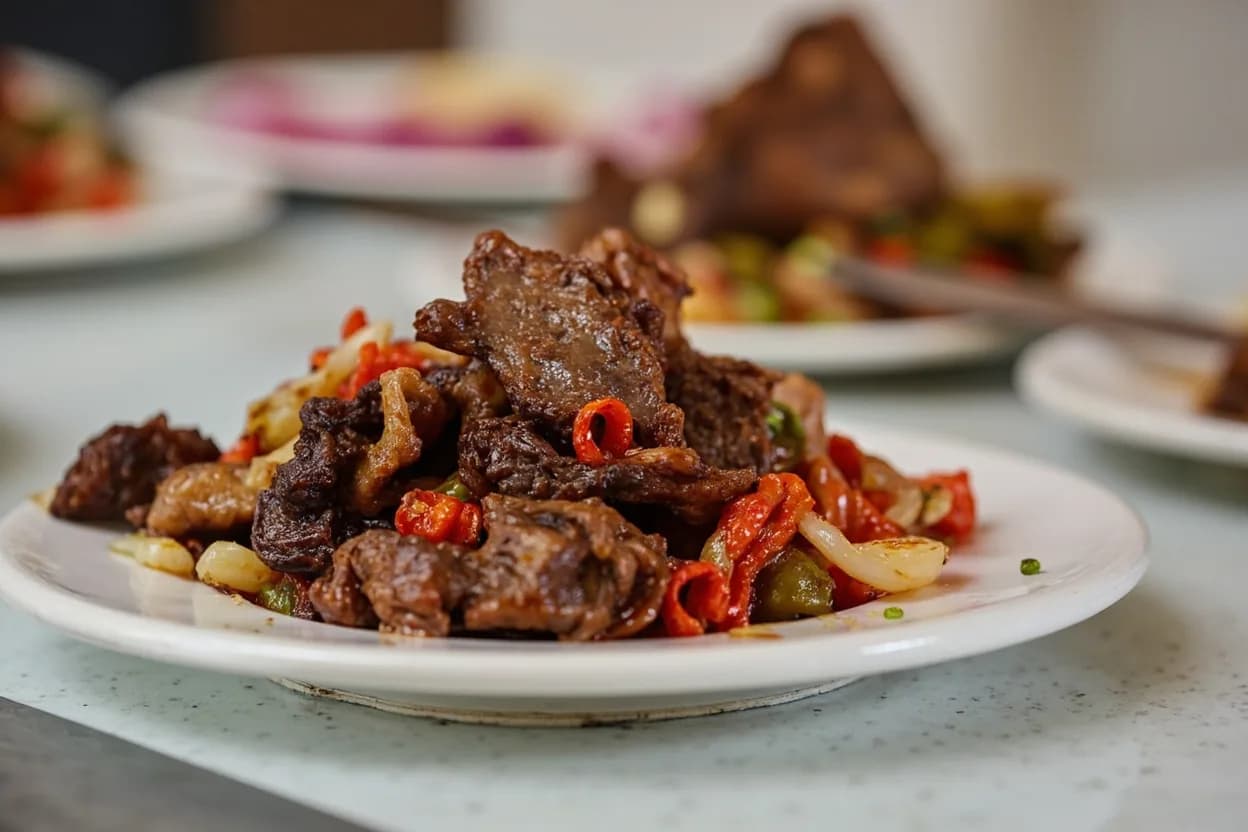
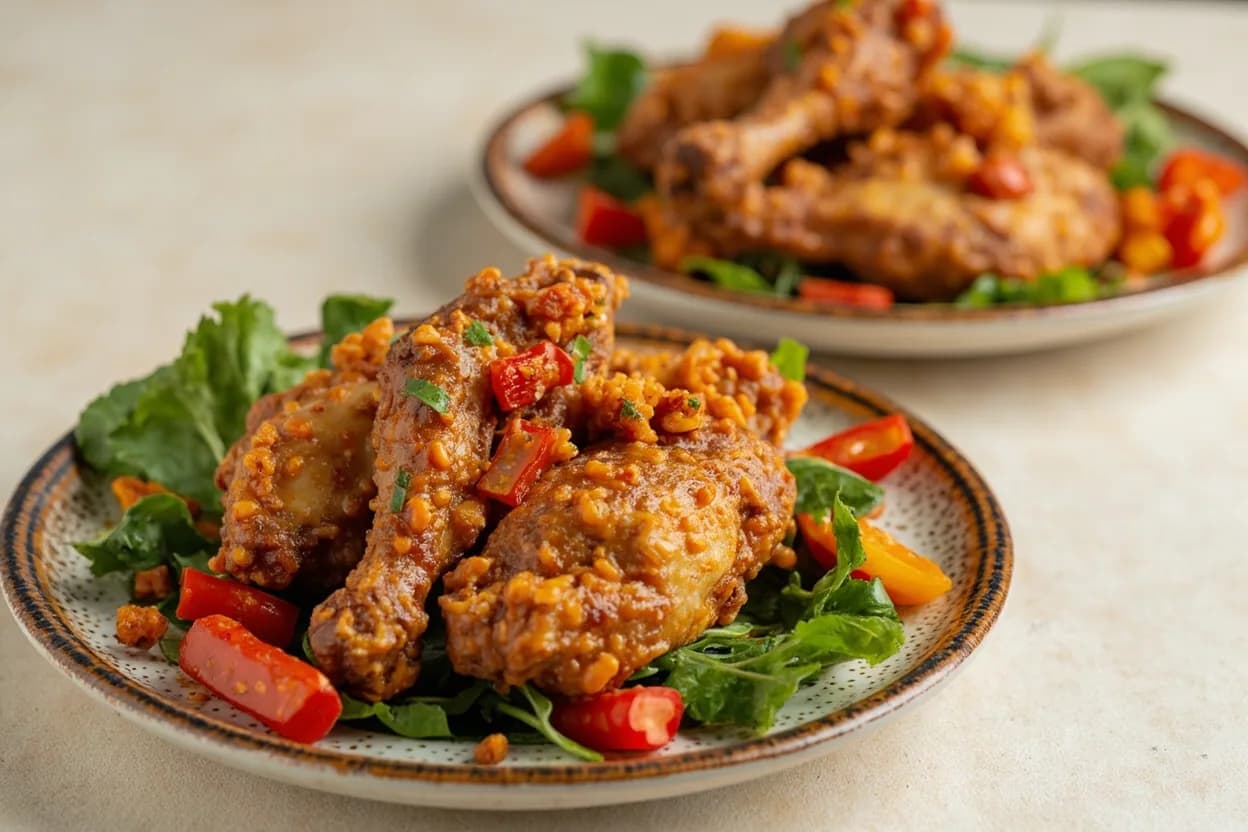
Dishes that rely on it
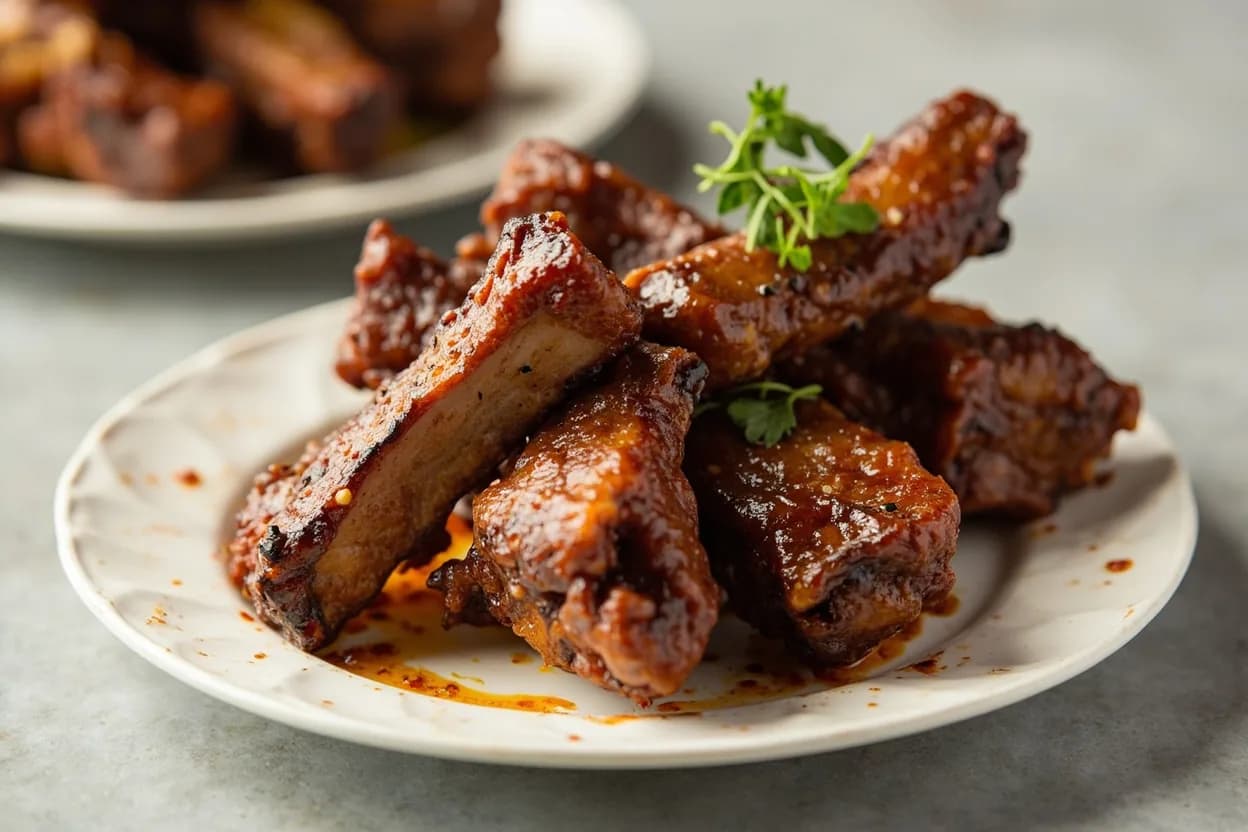
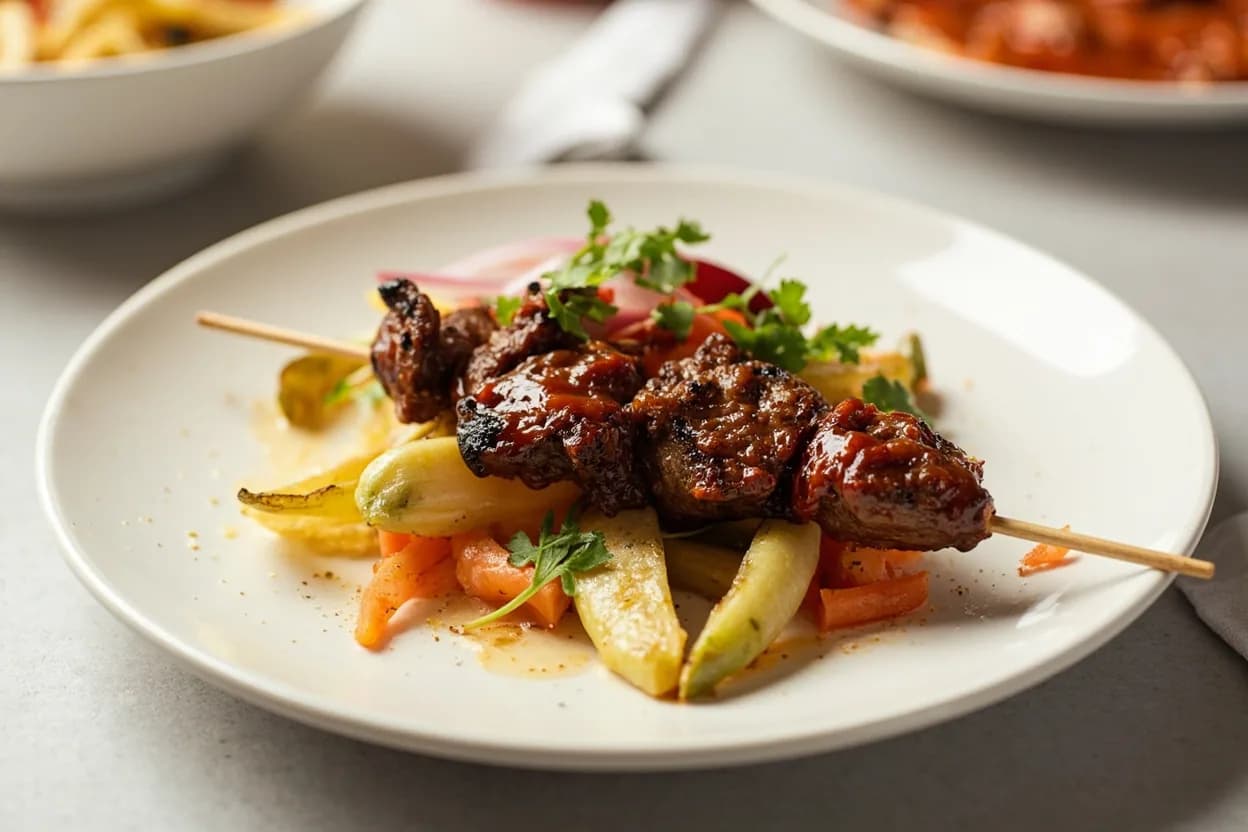
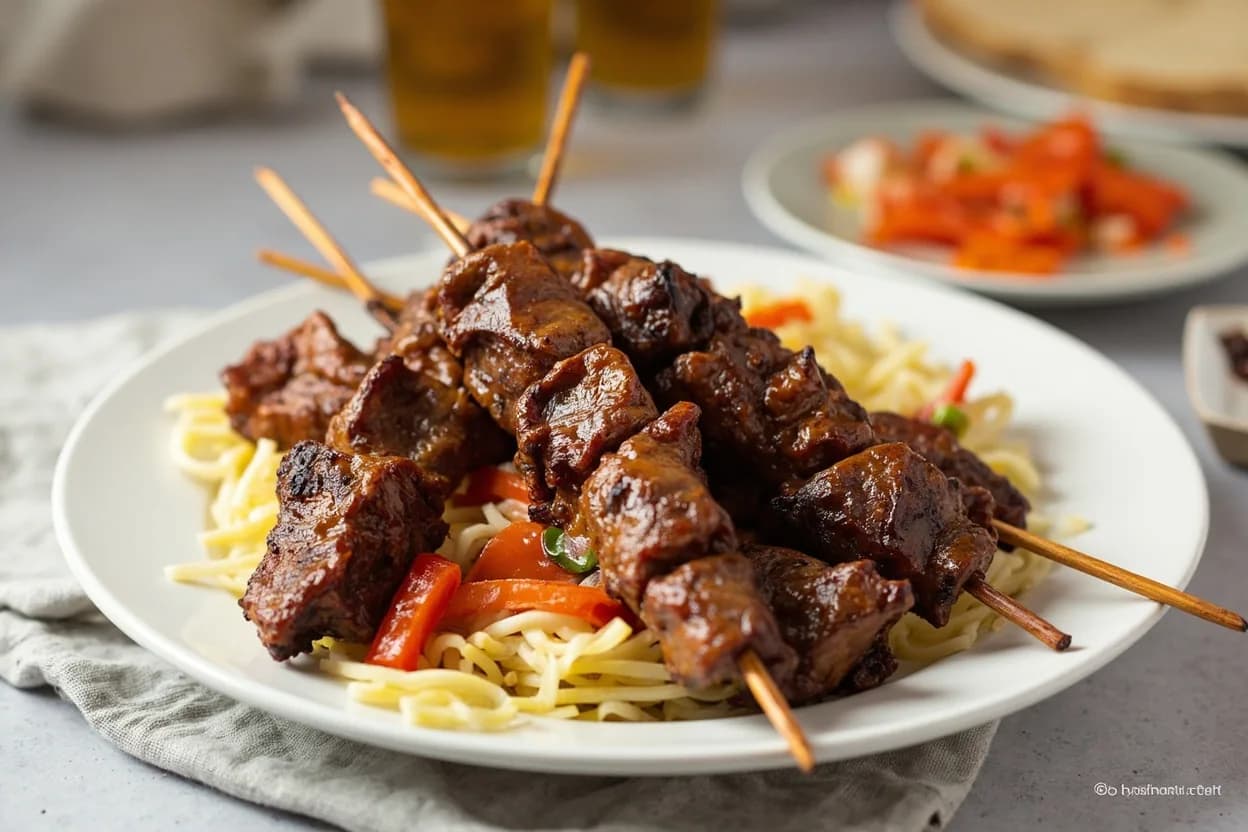
Related

Sear
Blast the surface hot for a deep-browned, savory crust

Sauté
Cook quickly in a little fat over lively heat, tossing as you go

Stir-Fry
Toss bite-sized pieces over roaring heat for fast, smoky cooking

Pan-Fry
Crisp food in a shallow layer of hot fat, turning once or twice

Deep-Fry
Submerge in hot oil for an all-over crackling crust

Roast
Cook uncovered in dry oven heat for browned edges and tender centers

Bake
Cook with steady, surrounding oven heat — the soul of bread and pastry

Broil
Hit food from directly above with fierce overhead heat