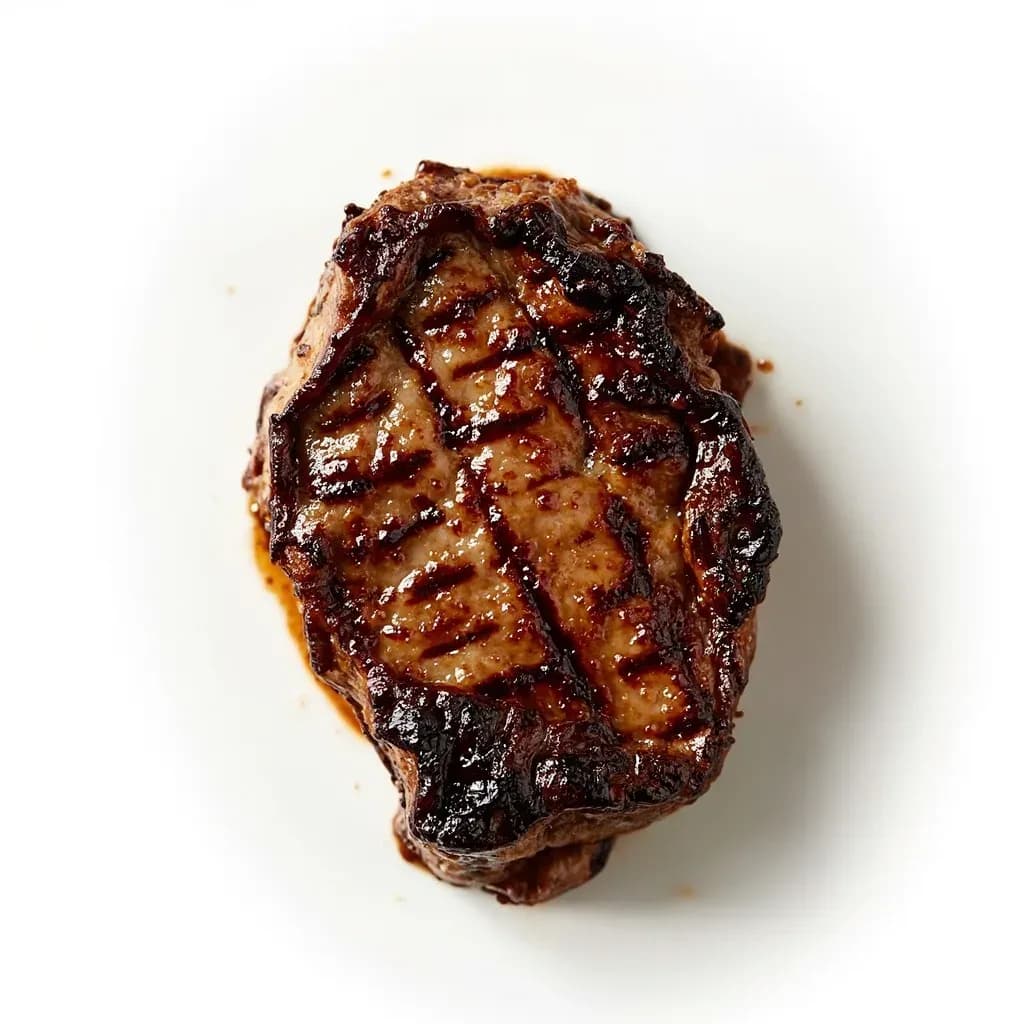
Heat & Fire
Reverse Sear
Slow-roasting meat to temperature first, then searing hard for a crust.
Reverse searing cooks a thick cut at low oven or grill heat until it nears the target internal temperature, then finishes it with a fast, very hot sear. This yields even edge-to-edge doneness and a deeply browned crust without an overcooked grey band. It is favored for thick steaks and roasts, and a meat thermometer makes the gentle first stage easy to control.
The reverse sear flips the traditional steak cook on its head: instead of blasting a thick cut with high heat and hoping the center catches up before the crust burns, you bring the meat gently to temperature first and sear it only at the end. That two-stage approach — long, slow heat followed by a short, hard crust — gives you edge-to-edge color, a thin mahogany shell, and noticeably juicier slices than the sear-first method, because the muscle has had time to relax and the juices haven't been driven to the center by an aggressive thermal shock.
It works because of how proteins and water behave over time. A low oven (225–275°F / 107–135°C) heats the meat slowly enough that myoglobin denatures gradually and pink color spreads from edge to edge with no gray band. Once the interior is within 10–15°F of your target, a brief sear at 500–600°F creates the Maillard crust without overcooking the inside. The technique is forgiving in principle but unforgiving of bad thermometry — a probe that's off by 10°F will ruin the result faster than any other variable.
Reverse searing is built for thick cuts. Anything under about 1.25 inches doesn't have enough interior to benefit, and you spend oven time waiting for something a hot skillet handles in minutes. But for a 1.5-inch ribeye, a tomahawk, a prime rib, or a pork loin roast, the difference between traditional and reverse-seared is one of the most dramatic upgrades you can make in a home kitchen.
- Difficulty
- Medium
Types & varieties
The classic home method: low oven on a rack, then a screaming-hot cast iron or carbon steel sear finished with butter, garlic, and herbs.
Two-zone fire: meat cooks over the cool side with the lid on, then moves over hot coals for the crust. Adds smoky flavor.
Low oven or even refrigerator drying, then a handheld propane or MAPP-gas torch for the crust. Useful in kitchens without a powerful exhaust hood.
A thick salt crust is applied before the low-oven phase; the crust is cracked off before the sear. Adapted from the salt-crusted whole-fish technique.
Low-and-slow in a smoker (often 225–250°F) with wood smoke, then a brief high-heat sear. Bridges reverse sear and barbecue.
How to do it
- 1
Select and trim
Choose a steak or roast at least 1.5 inches thick. Trim excess hard fat from the surface (leave a thin cap for flavor) and pat dry.
- 2
Season and dry-brine
Season generously with kosher salt on all sides, including the edges. For best results, salt and refrigerate uncovered on a wire rack for 45 minutes to 24 hours. If seasoning last-minute, salt and let stand 15 minutes to draw out surface moisture.
- 3
Set up the low cook
Place a wire rack over a sheet pan. Heat the oven to 225–275°F (107–135°C). The lower the temperature, the more even the cook; the higher, the faster the finish.
- 4
Slow-roast to temperature
Put the meat on the rack and roast until a probe reads about 10–15°F (5–8°C) below your final target. For a 1.5–2 inch steak aiming at medium-rare (130–135°F / 54–57°C), pull at roughly 115–120°F / 46–49°C. This can take 25–60 minutes.
- 5
Rest and dry the surface
Let the meat rest 5–10 minutes on the rack so the surface dries further and juices settle. Pat dry with paper towels right before the sear.
- 6
Heat the sear surface
Heat a cast iron or carbon steel skillet over high heat for 3–5 minutes until it just starts to smoke, or set up a two-zone grill with a very hot direct-heat side. Add a thin film of high smoke-point oil and let it shimmer.
- 7
Sear hard on all sides
Lay the meat away from you and sear 45–90 seconds per side, plus the edges, until a deep brown crust forms. Don't move it during the sear except to flip.
- 8
Butter baste (optional)
Reduce heat to medium, add a couple of tablespoons of butter, smashed garlic, and thyme or rosemary. Tilt the pan and spoon the foaming butter over the meat for 30–60 seconds.
- 9
Rest and serve
Transfer to a warm plate or rack and rest 5–8 minutes, loosely tented. Slice against the grain, finish with flaky salt and freshly cracked pepper, and serve.
Pull Temperatures by Doneness
Because the sear and a short rest add roughly 10–15°F to the interior, you pull the meat from the oven before it reaches your final target. The numbers below assume a 1.5–2 inch steak or a small roast; for very large roasts (4 lb and up) carryover can climb to 15–20°F, so pull a few degrees earlier.
- Rare (final ~125°F / 52°C): pull at 110–115°F (43–46°C).
- Medium-rare (final 130–135°F / 54–57°C): pull at 115–120°F (46–49°C).
- Medium (final 140–145°F / 60–63°C): pull at 125–130°F (52–54°C).
- Pork chops (final 145°F / 63°C, the safe target): pull at 130–135°F (54–57°C).
- Lamb chops and roasts follow the beef targets; most cooks prefer medium-rare to medium.
When to Use It (and When Not To)
The reverse sear earns its keep on thick, premium cuts where edge-to-edge color is the goal. It is wasted on cuts that are thin, already trimmed for fast cooking, or destined for long braises where you actually want collagen breakdown.
- Use it for: 1.5-inch-plus steaks (ribeye, strip, porterhouse, tomahawk), prime rib, beef tenderloin roasts, thick pork chops, double-cut lamb chops, pork loin roasts.
- Skip it for: steaks under 1.25 inches — a traditional hot sear is faster and better.
- Skip it for: ground meat patties and thin skirt or flank steak; the technique adds nothing and slows you down.
- Skip it for: tough cuts headed for braise or stew — you want connective-tissue breakdown, not a precise interior.
Common uses
Tips & pitfalls
- Dry-brine with kosher salt for at least 45 minutes (up to 24 hours uncovered in the fridge) before the low cook; this seasons deeply and dries the surface for a better crust.
- Pat the surface very dry with paper towels just before the sear — surface moisture is the enemy of a hard crust.
- Hold the pepper if you're going to sear in a screaming-hot pan; black pepper scorches quickly and turns acrid. Add it after the sear or at the table.
- Use a leave-in probe thermometer so you know the exact moment to pull; instant-read checks work too, but a probe means you don't keep opening the oven.
- Sear in a high smoke-point neutral oil (grapeseed, avocado, refined canola); add butter, garlic, and herbs only after the crust is set, then baste briefly.
- Don't crowd the pan; sear in batches or use two skillets to keep surface temperature high.
- Skip the reverse sear for steaks under about 1.25 inches thick — there's not enough interior to benefit, and a traditional hot sear is faster and better.
- For very large roasts, tent loosely with foil only if the exterior is browning faster than the interior is climbing; otherwise leave exposed.
Good to know
- Origin / Popularization
- Popularized in modern home-cooking literature by J. Kenji López-Alt (Serious Eats, early 2010s); the principle was used earlier in steakhouse and competition barbecue circles.
- Best for
- Thick steaks and roasts, generally 1.5 inches (4 cm) or thicker, where edge-to-edge even doneness is desired.
- Low-oven temperature
- 225–275°F (107–135°C); lower for more even doneness, higher for a faster finish.
- Ideal internal pull temp
- Remove from the low-heat phase about 10–15°F (5–8°C) below the final target; carryover cooking and the sear will finish it.
- Sear surface temp
- Cast iron or carbon steel skillet at 500–600°F (260–315°C), or very hot grill grates.
- Doneness targets (final)
- Rare 125°F (52°C), Medium-rare 130–135°F (54–57°C), Medium 140–145°F (60–63°C).
- Texture result
- Even pink band from edge to edge (no gray ring), thin dark crust, retained juiciness.
- Primary equipment
- Sheet pan, wire rack, reliable instant-read or leave-in probe thermometer, heavy skillet or grill, high smoke-point oil.
Also called
thermal-immersion-searing · reverse searing
Related

Sear
Blast the surface hot for a deep-browned, savory crust

Sauté
Cook quickly in a little fat over lively heat, tossing as you go

Stir-Fry
Toss bite-sized pieces over roaring heat for fast, smoky cooking

Pan-Fry
Crisp food in a shallow layer of hot fat, turning once or twice

Deep-Fry
Submerge in hot oil for an all-over crackling crust

Roast
Cook uncovered in dry oven heat for browned edges and tender centers

Bake
Cook with steady, surrounding oven heat — the soul of bread and pastry

Broil
Hit food from directly above with fierce overhead heat