Heat & Fire
Searing
Browning a food's surface fast over high heat for crust, color, and deep flavor.
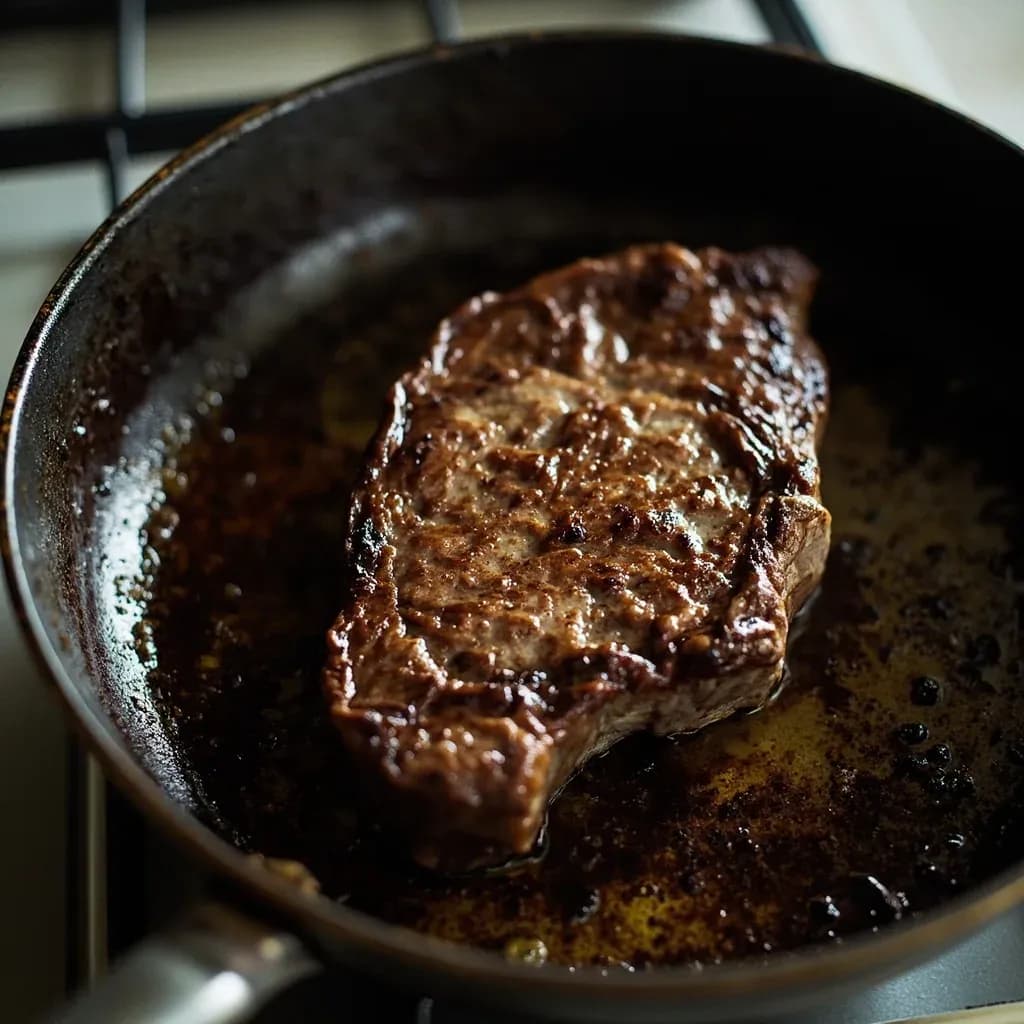
Searing exposes a food's surface to very high heat briefly to brown it via the Maillard reaction, building a flavorful crust and color. It is the first step of many braises and the finish for steaks and fish, and a blazing wok delivers the smoky wok hei. A dry surface and a hot, lightly-oiled pan are essential, since moisture steams instead of browning.
Searing is the dry-heat technique of browning a food's surface quickly at very high temperatures, typically 140–200 °C / 285–400 °F at the point of contact. It is not a separate cooking method so much as the first or final step of one — applied to a steak, a scallop, a chicken thigh, or a wedge of cabbage before the food moves on to roasting, braising, or simply being eaten. The goal is crust: a thin, dark, savory layer built through the Maillard reaction (amino acids meeting reducing sugars) and partial caramelization of the food's own carbohydrates.
What searing actually delivers is flavor and texture, not moisture retention. The old kitchen belief that a hard sear 'locks in the juices' has been disproven by food science going back decades: a crust does not meaningfully reduce water loss during cooking. What a sear does deliver — and this is the entire point — is hundreds of new aromatic compounds (pyrazines, furans, thiophenes) that exist only in browned food, along with the fond of caramelized drippings that becomes the foundation of a pan sauce. The crust is the point, not the seal.
In practice, searing is one of the easiest techniques to do and one of the easiest to botch. Two habits account for almost every success and every failure: the surface of the food must be dry, and the pan must be genuinely hot before the food touches it. Get those right and almost any high-heat method — skillet, grill, broiler, plancha, torch — will produce a good crust. Get either wrong and you end up with gray, steamed, pale food that smells of nothing.
- Difficulty
- Medium
Types & varieties
Hot skillet with a thin film of high-smoke-point oil; the workhorse method for steaks, chops, fillets, and vegetables.
Direct high heat on grates; gives parallel char lines and smoky flavor from drippings hitting the coals or bars.
Top-down radiant heat; useful for thin cuts and for finishing a crust when a pan is full or the food is already cooked.
Sear on the stovetop to build crust, then transfer to a moderate oven to finish; classic for thick roasts, pork tenderloin, and duck breast.
Cook gently first (low oven or sous-vide) to near target internal temperature, then sear at the end. Best for thick steaks ≥ 4 cm / 1.5 in to get reliable edge-to-edge doneness.
Culinary torch for finishing items that cannot go in a pan — crème brûlée, glazes, or a last-minute crust on a long-cooked piece of meat.
Flat steel or cast-iron griddle; large contact area with no flare-ups from dripping fat. Common in short-order and Spanish kitchens.
Sear in neutral oil, then finish with foaming whole butter, herbs, and garlic spooned repeatedly over the food — used for steak, fish fillets, and scallops.
How to do it
- 1
Prepare the food
Pat the item thoroughly dry with paper towels — surface water is the enemy of browning because it cools the pan and turns the cook into steaming. Season with salt (and optionally pepper). For thick cuts, temper out of the fridge for 15–20 minutes so the center is not ice-cold when it hits the pan. For very thick steaks (≥ 4 cm / 1.5 in), consider a reverse sear: cook gently to within ~5 °C of your target internal temperature, then sear at the end for even doneness edge to edge.
- 2
Choose the right pan and fat
Use a heavy pan with high thermal mass: a cast-iron skillet, carbon steel pan, or thick tri-ply stainless. Avoid nonstick — it cannot safely reach searing temperatures. Pick a fat with a smoke point above 200 °C / 400 °F: avocado oil, refined olive oil, grapeseed, or clarified butter. Whole milk butter burns below ideal searing temperatures because of its milk solids; reserve it for basting at the end.
- 3
Preheat until properly hot
Place the empty pan over high heat for 2–3 minutes. Test by flicking a few drops of water onto the surface — they should bead, dance, and skitter across the metal (the Leidenfrost point). Add a thin film of oil and let it shimmer; the oil should be just on the edge of smoking. A not-hot-enough pan is the single most common reason searing fails at home.
- 4
Lay the food away from you
Place each piece down gently, laying it away from your body to avoid splatter. Do not drop it and do not move it once it is down. Leave at least 1–2 cm between pieces so steam can escape; if the pan is full, cook in batches.
- 5
Leave it alone to form the crust
Wait. The Maillard reaction needs time and undisturbed contact. For a steak 2.5 cm / 1 in thick, expect roughly 90–120 seconds per side; for a scallop, 60–90 seconds; for a thin chicken cutlet, 45–60 seconds. The crust will release from the pan on its own when it is ready. If it resists when you try to lift it, give it another 30 seconds — not a harder pull.
- 6
Flip and finish
Flip once. For thick cuts, sear the second side the same way, then transfer to a wire rack on a sheet pan and finish in a 180 °C / 350 °F oven (or sear-roast: sear all sides, then roast to target internal temperature, checking with an instant-read thermometer). For thin cuts and vegetables, both sides may be all you need.
- 7
Deglaze, rest, serve
Remove the seared food to a warm wire rack — not a covered plate, which traps steam and softens the crust. Pour off excess fat if needed, deglaze the pan with wine, stock, or a splash of lemon juice, and scrape up the fond to build a quick pan sauce. Rest thick cuts 5–10 minutes so carryover heat evens out the doneness, then slice against the grain and serve.
The 'seal in the juices' myth
No serious contemporary cooking reference treats the sealing claim as accurate, yet the idea persists because it feels intuitively right: a hard crust must keep moisture in. It doesn't. Controlled experiments going back to the 1970s (notably at the US Army Natick Labs) measured moisture loss from seared versus unseared roasts and found no meaningful difference. A seared steak loses roughly the same amount of water as an unseared one cooked to the same internal temperature.
What a crust does do is slightly slow surface heat transfer, which can give a tiny margin of error at the very end of cooking. More importantly, the crust carries almost all the flavor and most of the textural appeal of a finished piece of meat — a gray, boiled steak and a deeply browned one cooked to the same internal temperature are not remotely the same dish. The reason to sear is flavor, fond, and the pleasure of contrast between a crisp exterior and a tender interior. The 'seal' is folklore; the crust is the technique.
- A seared steak loses no less moisture than an unseared one cooked to the same internal temperature.
- The crust contributes hundreds of aromatic compounds that simply do not exist in unbrowned food.
- Searing before a long braise still helps — but for fond and flavor, not for moisture retention.
- A well-rested, properly seared piece of meat should be sliced against the grain to maximize tenderness on top of crust.
Common uses
Tips & pitfalls
- Pat the food completely dry with paper towels before it goes near the pan. Surface water cools the metal and turns a sear into a steam — the most common cause of gray, pale meat.
- Salt 40–60 minutes ahead for dry-brining (or salt right before, if that is your style). Dry-brining draws surface moisture up and reabsorbs it, which seasons deeply and helps browning; salting right at the last minute can pull moisture to the surface and, if not patted dry again, will prevent a good crust.
- Preheat the pan until a drop of water shimmers and dances across the surface (Leidenfrost). A pan that is merely warm will not brown anything.
- Do not overcrowd. Crowding drops pan temperature, traps steam, and ruins the crust. Cook in batches and keep finished pieces on a wire rack, not a plate — a plate traps steam and softens what you just built.
- Resist moving, flipping early, or pressing down on the food with a spatula. The crust releases from the pan on its own when it is ready; if it sticks, give it another 30 seconds rather than forcing it.
- Oil the food, not the pan, when using cast iron or carbon steel — it prevents oil from pooling in any pitted seasoning and gives a more even film.
- Use clarified butter, ghee, or finish with whole butter at the end. Whole milk butter burns below ideal searing temperatures because of its milk solids, leaving a bitter, black residue.
- Vent the kitchen. Searing produces a lot of smoke and aerosolized fats — open a window, run the hood, and accept that the smoke alarm may briefly live up to its name.
- Common mistake: spraying nonstick cooking spray into a screaming-hot pan. It polymerizes into a gummy residue that is nearly impossible to remove. Use a brushable high-smoke-point oil instead.
Good to know
- Technique type
- Dry-heat surface browning
- Primary chemistry
- Maillard reaction (amino acids + reducing sugars) plus partial caramelization
- Origin of Maillard reaction
- Described by French chemist Louis-Camille Maillard in 1912
- Surface temperature
- Roughly 140–200 °C / 285–400 °F where browning actually occurs
- Best pan material
- Heavy cast iron, carbon steel, or thick tri-ply stainless for thermal mass and heat retention
- Preferred fats
- High smoke-point oils: avocado (~270 °C), refined olive (~240 °C), grapeseed (~215 °C), or clarified butter/ghee (~230 °C)
- Typical cook time per side
- 30 seconds to 3 minutes, depending on thickness and food
- Common misconception
- Does NOT 'seal in juices' — disproven by mid-20th-century food science; a crust does not measurably reduce moisture loss
- Difficulty
- Easy to do, easy to botch — success lives in surface dryness and pan temperature
Also called
Sear · Saisir · Wok Hei
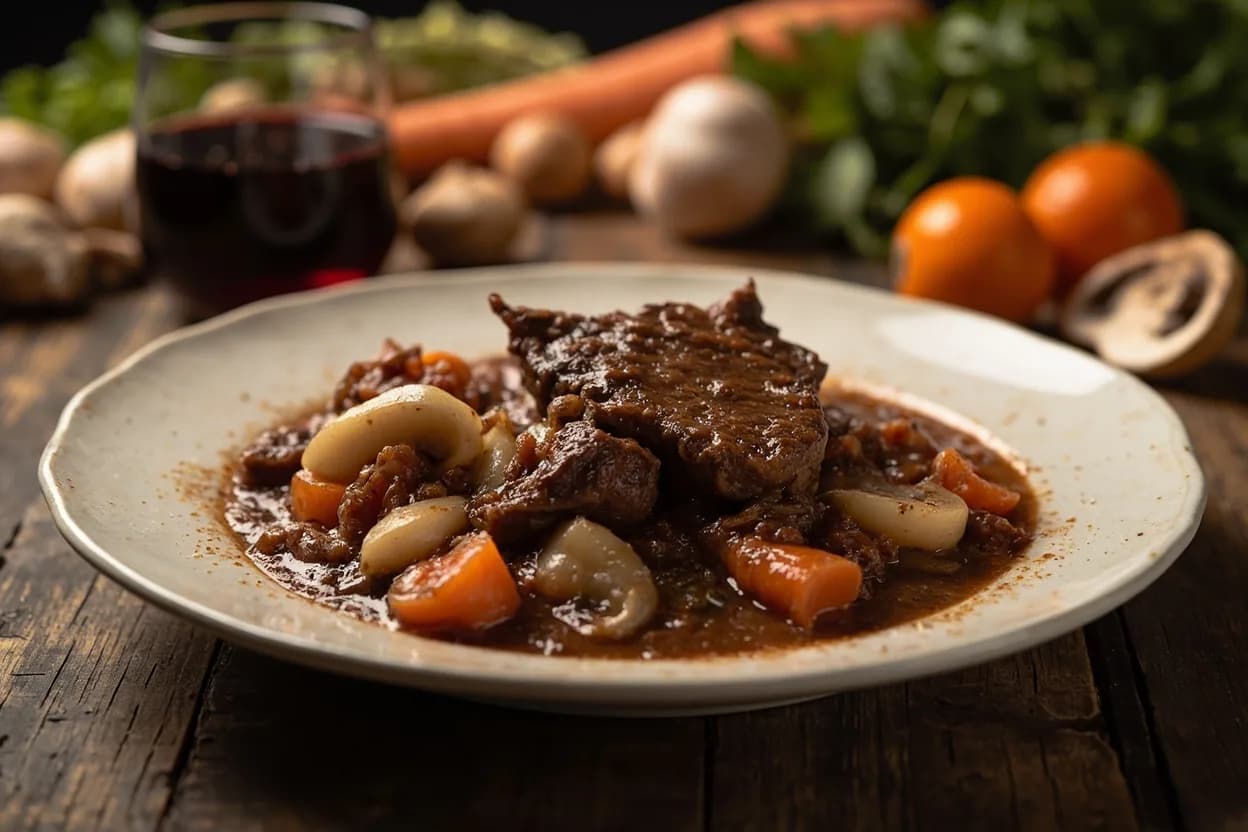
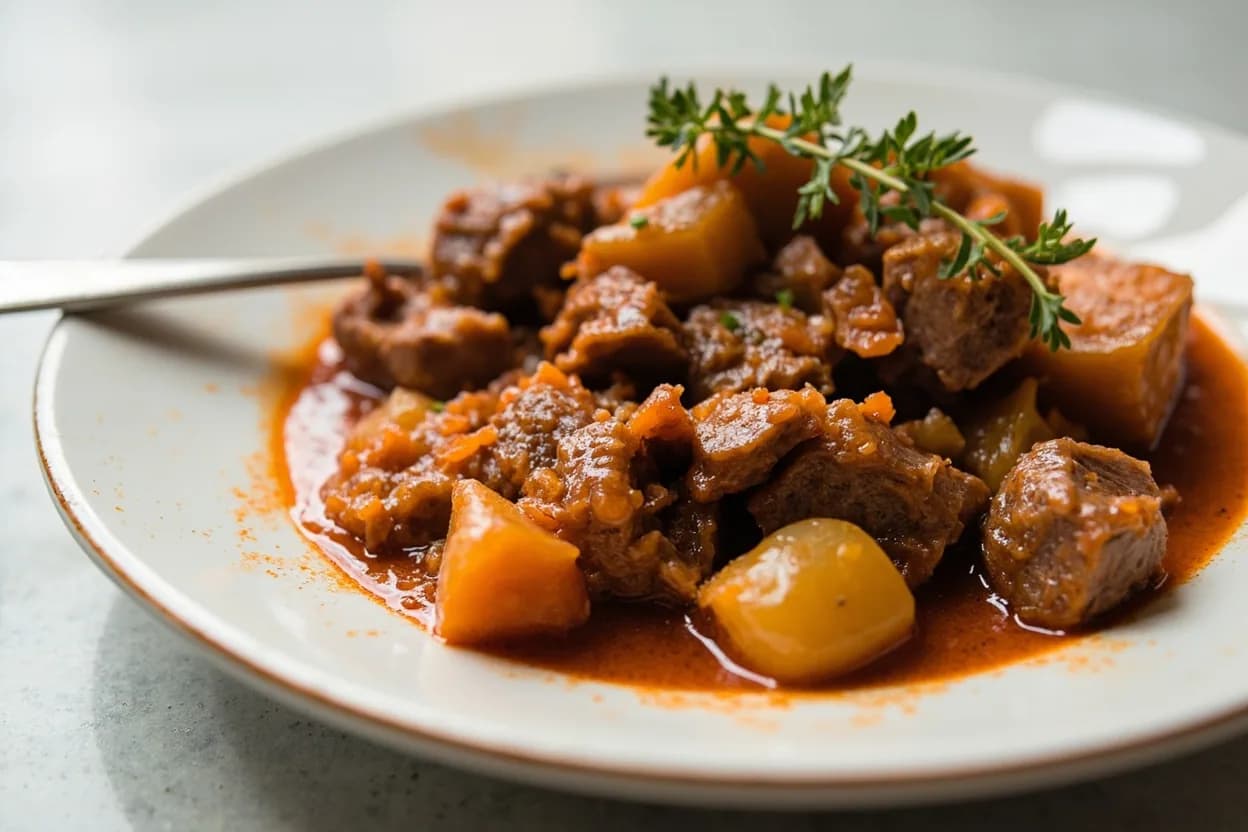
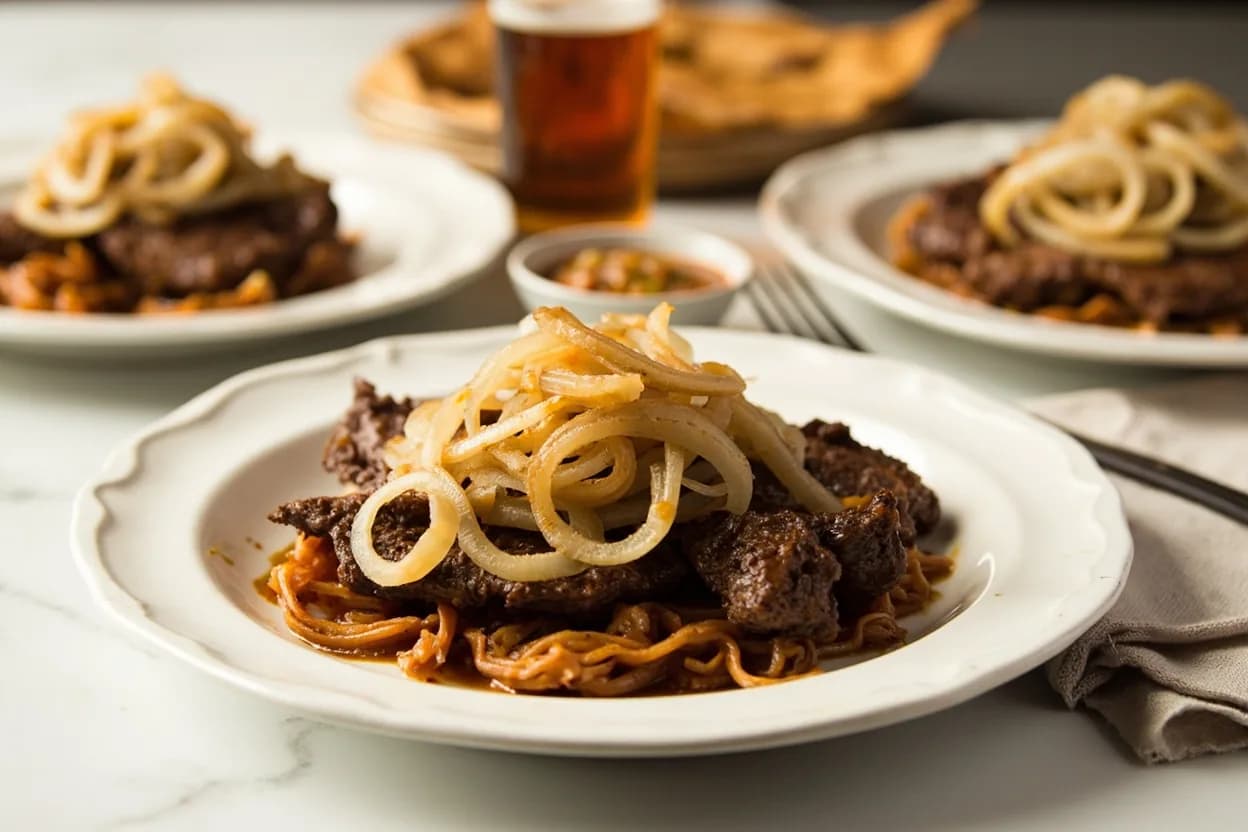
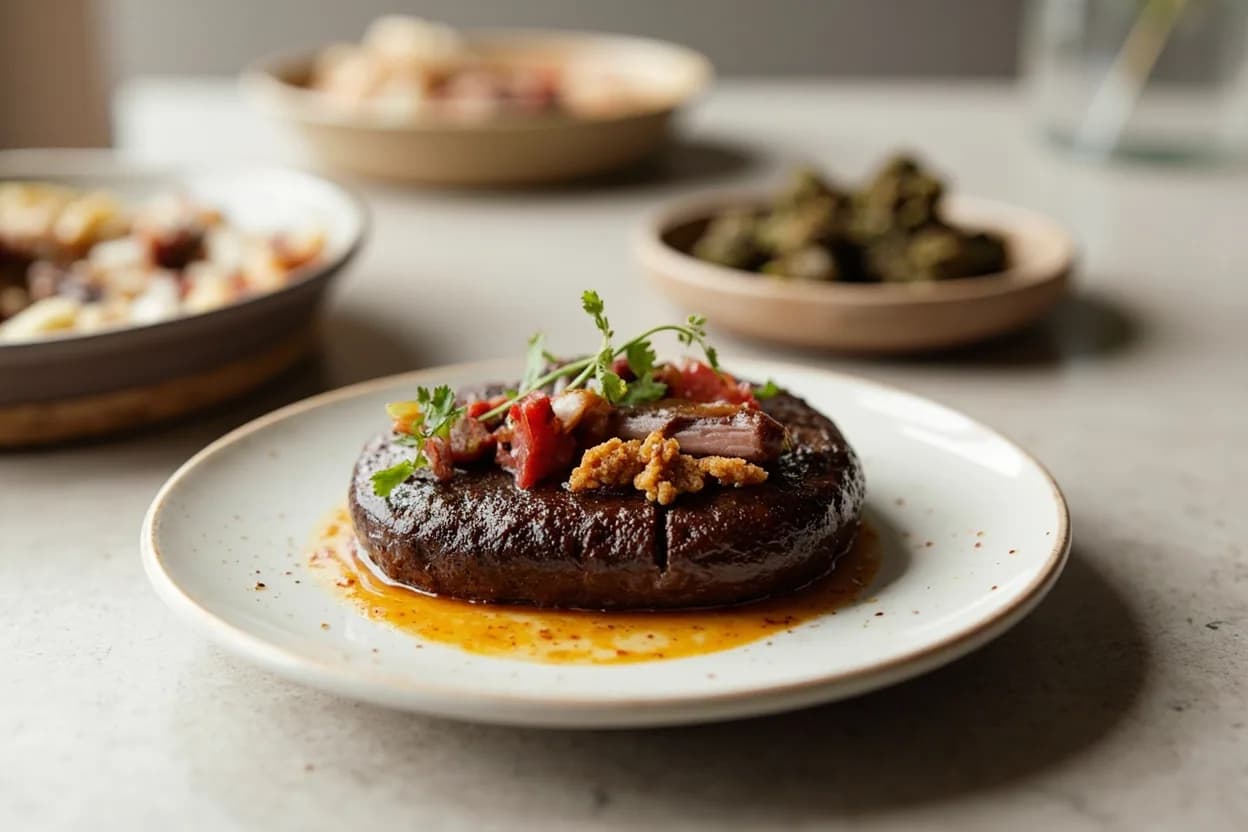
Dishes that rely on it
Related

Sear
Blast the surface hot for a deep-browned, savory crust

Sauté
Cook quickly in a little fat over lively heat, tossing as you go

Stir-Fry
Toss bite-sized pieces over roaring heat for fast, smoky cooking

Pan-Fry
Crisp food in a shallow layer of hot fat, turning once or twice

Deep-Fry
Submerge in hot oil for an all-over crackling crust

Roast
Cook uncovered in dry oven heat for browned edges and tender centers

Bake
Cook with steady, surrounding oven heat — the soul of bread and pastry

Broil
Hit food from directly above with fierce overhead heat