Heat & Fire
Indirect Grilling (Two-Zone)
Cooking beside, not over, the fire to roast larger cuts gently with smoke.
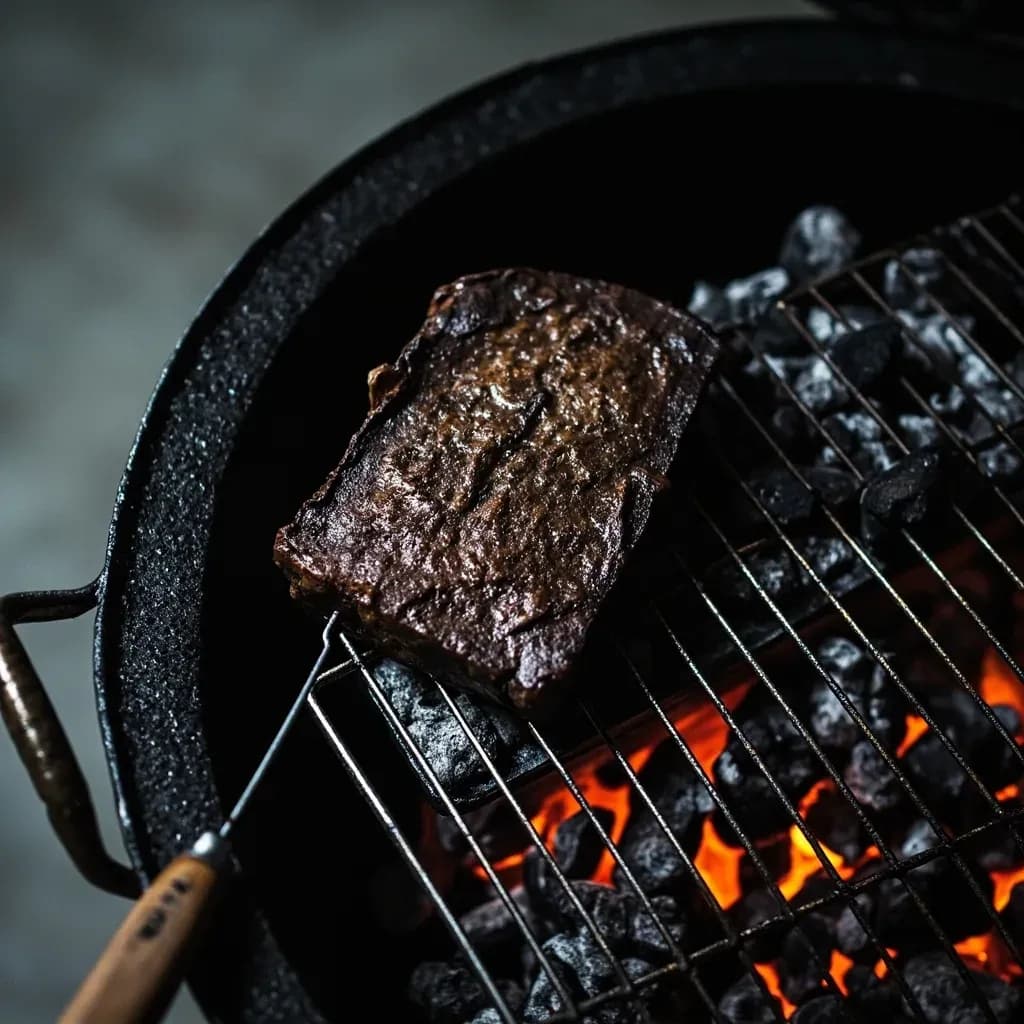
Indirect or two-zone grilling sets up a hot direct zone over the coals or burners and a cooler zone with no fire beneath it. Food cooks slowly in the cool zone by convected heat and smoke, then can be moved over the flame to sear. It is the standard method for thick cuts, whole birds, and ribs that would burn over direct heat before cooking through.
Indirect grilling, most often set up as a two-zone fire, is a method in which food cooks beside the heat source rather than over it. With the lid closed, hot coals banked on one side (or one or two gas burners left on while the others stay off) turn the grill into a convection oven: radiant heat from the fire and hot air circulating inside the dome cook the food gently and evenly, while smoke from wood or fat mingles with that air to flavor the surface. The empty or unlit side of the grate is the cooking zone; the lit side is the heat source and, when needed, a finishing surface for a quick sear.
The technique matters because most of the cuts people want to grill — whole birds, racks of ribs, pork shoulders, briskets, thick steaks, whole fish — are too large or too thick to cook through over direct flame without burning the outside. Indirect heat solves that by decoupling browning from doneness: a steady 225–275°F gives a low-and-slow barbecue cook that tenderizes collagen and renders fat over many hours, while a hotter 300–350°F roasts a chicken or turkey in roughly the time an oven would, with better crust and smoke flavor. Mastering the two-zone setup is, in practice, the difference between a grill that handles only burgers and one that can stand in for a smoker or a roasting pan.
The grill behaves differently depending on the fuel. On charcoal, temperature is controlled by the bottom vents (intake of oxygen) and the top vent (exhaust), and by how often you add fuel; on gas, you simply turn a knob. A closed lid is non-negotiable: every opening drops the interior temperature 25°F or more and lets smoke escape before it has deposited flavor. Once a cook understands that the lid, the vents or knobs, and a probe thermometer are the actual controls, indirect grilling becomes a calm, predictable way to handle the cuts that intimidate most backyard cooks.
- Difficulty
- Medium
Types & varieties
All hot coals piled on one side of a charcoal grill, opposite an empty grate; a drip pan often sits between for fat control.
One or two burners lit, the opposite burner(s) off; the cleanest and most repeatable way to set cooking temperature.
Two hot zones flanking a cooler middle, useful for searing edges while the center finishes gently, or for cooking different items at different rates.
Briquettes arranged in a ring around the perimeter for very long, low burns without refueling; a low-and-slow indirect variant.
An indirect zone paired with a hot direct zone reserved for finishing or searing at the end of the cook, or for a side dish.
How to do it
- 1
Set up the two zones
On a charcoal grill, light a full chimney of briquettes and pour them to one side once they are ashed over, leaving the other side empty. On a gas grill, light one or two burners and leave the others off. Set a foil drip pan on the cool side, under where the food will sit, to catch fat and reduce flare-ups.
- 2
Preheat with the lid closed
Open the bottom vents fully on a charcoal grill, close the lid, and preheat 10–15 minutes. The grate over the coals should read 450–500°F; the cool side should settle to your target cooking temperature, typically 225–275°F for barbecue or 300–350°F for roasting poultry.
- 3
Add smoke if using
Toss 2–4 dry wood chunks directly on the coals, or place a smoker box over a lit gas burner. Soak wood chips only for cooks under 30 minutes; for anything longer, use chunks, which smolder steadily and last.
- 4
Season and place the food
Pat the food dry and season. Place it on the cool side of the grate, skin- or fat-side up, directly over the drip pan if possible. Put thicker pieces closer to the heat and thinner pieces farther away so they finish around the same time.
- 5
Cook with the lid down
Close the lid and adjust the vents (charcoal) or burner knobs (gas) to hold the target temperature. Leave the lid closed for at least the first 30–45 minutes so heat stabilizes and smoke can do its work.
- 6
Monitor and turn
Check the grill temperature every 20–30 minutes and add lit coals or adjust burners in small increments as needed. Turn large roasts once or twice for even browning. Begin probing the meat well before the estimated finish — visual cues and timing are unreliable on long indirect cooks.
- 7
Finish over direct heat (optional)
For a crust or char, slide the food to the hot zone for 60–90 seconds per side at the end of the cook. Watch closely; the gap between a sear and a flare-up is seconds, and the interior is already done.
- 8
Rest and serve
Transfer to a board or platter, tent loosely with foil, and rest 10–30 minutes depending on size — large roasts can rise 5–10°F in internal temperature as they rest. Slice against the grain and serve.
How Two-Zone Heat Behaves
Once the lid is closed, the lit side of the grill becomes a heat source and the empty side becomes an oven. Hot air rises, hits the lid, circulates around the dome, and exits — usually through a vent on the far side. The further food sits from the coals or burners, the gentler the heat; the closer, the more radiant and direct it becomes. This is why thick pieces are placed nearest the hot zone and thinner pieces farther away, and why the lid vent (on charcoal) should sit on the side opposite the food so heat and smoke pull across the meat as they exit. Hot spots are inevitable, especially on gas grills, which is why rotating food 180° once mid-cook evens the browning.
Working With Smoke
Smoke is part of the appeal, but it is easy to overdo. Wood chunks on coals or in a gas smoker box smolder and release thin blue smoke for 1–2 hours each; chips burn out in 20–30 minutes and suit only short cooks. Soaking chips is largely unnecessary on a covered grill and just delays ignition. Mild hardwoods — fruitwoods like apple and cherry, or pecan — flatter poultry, pork, and vegetables; stronger woods like hickory and mesquite suit beef and ribs but can turn acrid on fish or chicken if overused. A clean, almost invisible smoke plume means flavor is being deposited; thick white smoke means the wood is smoldering too cool and is leaving a bitter, creosote-like film on the food.
Common uses
Tips & pitfalls
- Preheat the whole grill: close the lid for 10–15 minutes before cooking so the lid and grates act like a hot oven. Placing cold food on a cold grill costs you 20–30 minutes of cook time.
- Use a drip pan on the cool side: a foil pan under the food catches fat, prevents flare-ups, and keeps the grill cleaner. Add a cup of water to the pan to moderate the heat and add humidity for long cooks.
- Trust the thermometer, not the clock: use two probes if possible — one for the grill air at grate level, one for the meat. Pull large cuts 5–10°F below target to account for carryover cooking during the rest.
- Open the lid only when you must: each peek drops the interior temperature by 25°F or more and lets smoke escape. Plan flips and probes in batches rather than one at a time.
- Add fuel in small amounts: top up a charcoal fire with a lit chimney of fresh coals rather than dumping cold briquettes on a hot fire, which will drop the temperature sharply. On gas, simply bump a burner up a notch.
- Bank coals opposite the lid vent: heat and smoke should pull across the food as they exit. If the vent is on the same side as the coals, smoke escapes before it reaches the meat and you lose both flavor and evenness.
- Use chunks, not chips, for long cooks: chips burn out in 20–30 minutes; chunks smolder for an hour or more and deliver steady, clean smoke throughout the cook.
- Finish with a brief sear, not a long one: a minute or so per side over direct heat sets a crust without cooking the interior further. Move quickly — the meat is already at temperature, and the grill is hot.
Good to know
- Method
- Cooking beside, not over, the heat source on a covered grill so convection and radiant heat do the work, not flame contact.
- Fuel setup
- Charcoal banked to one side, or a gas grill with one or more burners left off; the unlit side is the cooking zone.
- Typical cooking temperature
- Roughly 225–275°F for low-and-slow barbecue; 300–350°F for roasting poultry, ribs, or thick steaks.
- Best for
- Large or thick cuts that would burn before cooking through over direct heat: whole chickens, turkeys, pork shoulder, brisket, ribs, roasts, and whole fish.
- Equipment
- Covered grill with a lid, drip pan, instant-read or leave-in probe thermometer, tongs, and optional wood chunks or chips for smoke.
- Cook time range
- 1–2 hours for a whole chicken, 4–8 hours for pork shoulder, 8–14 hours for brisket.
- Origin
- A modern backyard adaptation of the offset pit and pit-roasting methods long used in Southern U.S. barbecue.
- Difficulty
- Beginner-friendly for weeknight roasts; intermediate to advanced for steady low-temperature holds of many hours.
Also called
two-zone-cooking · two-zone-fire · indirect heat
Dishes that rely on it
Related

Sear
Blast the surface hot for a deep-browned, savory crust

Sauté
Cook quickly in a little fat over lively heat, tossing as you go

Stir-Fry
Toss bite-sized pieces over roaring heat for fast, smoky cooking

Pan-Fry
Crisp food in a shallow layer of hot fat, turning once or twice

Deep-Fry
Submerge in hot oil for an all-over crackling crust

Roast
Cook uncovered in dry oven heat for browned edges and tender centers

Bake
Cook with steady, surrounding oven heat — the soul of bread and pastry

Broil
Hit food from directly above with fierce overhead heat