Heat & Fire
Ember / Charcoal Grilling
Cooking food directly over or in glowing wood or charcoal embers for smoky char.
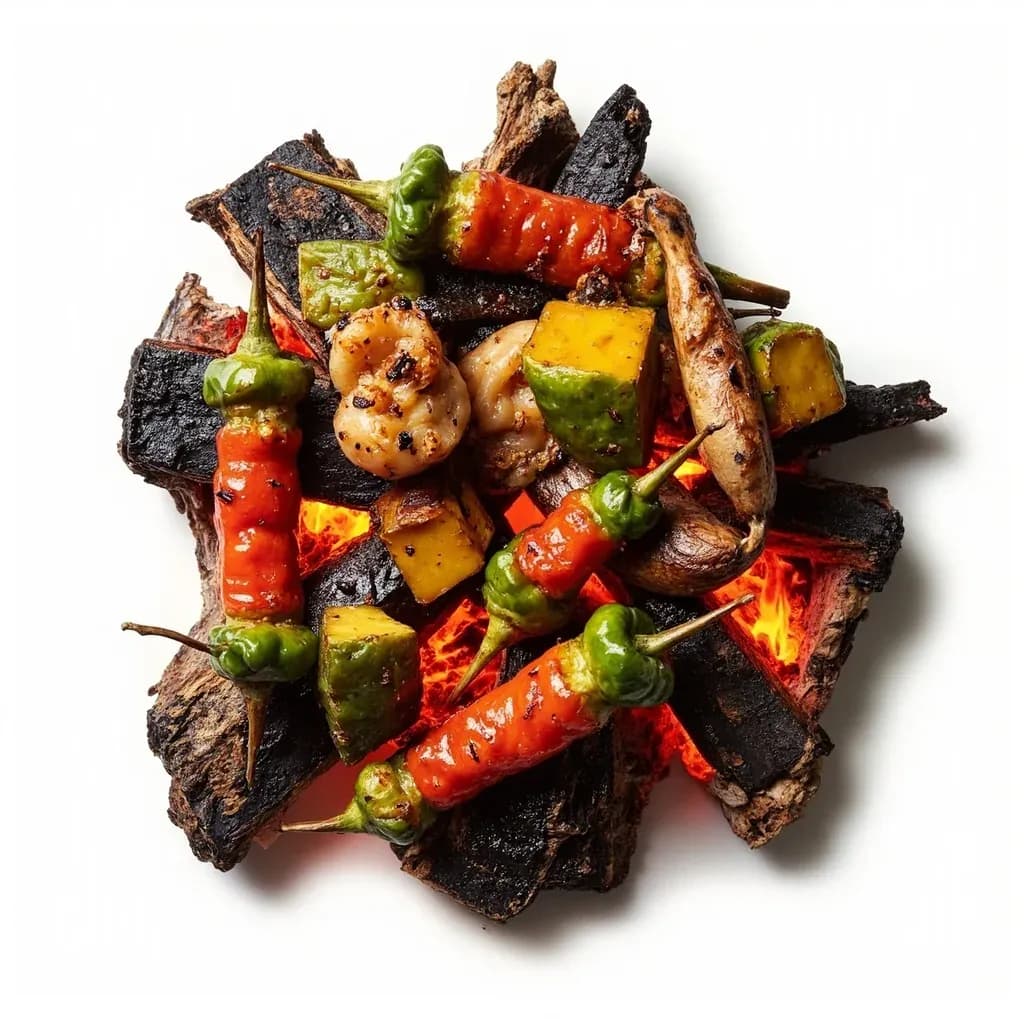
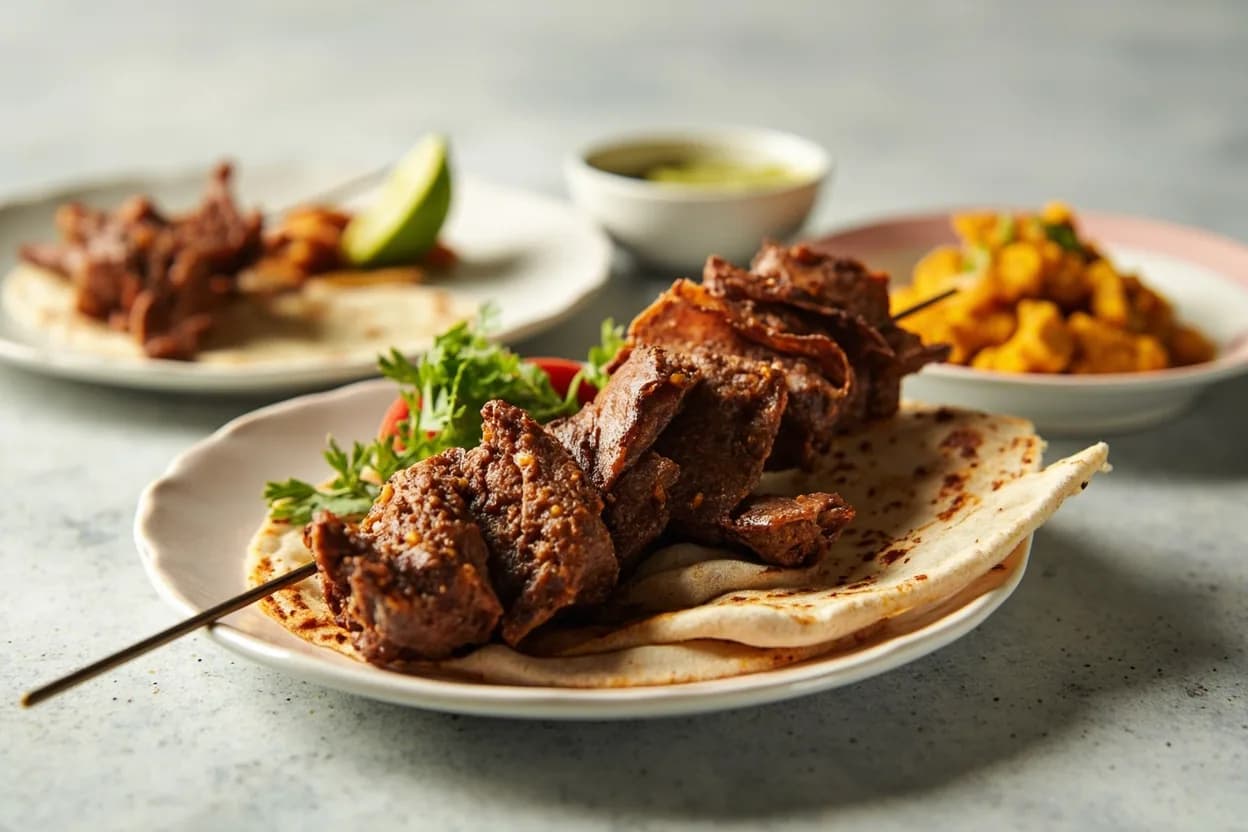
Ember grilling cooks food over the radiant heat of glowing charcoal or wood embers, sometimes nestling vegetables right among the coals for a rustic char. The live fire imparts smoke and a distinctive blistered crust that gas heat cannot replicate. Letting the flames die down to steady embers gives even heat and prevents flare-ups from scorching the food.
Ember grilling is the original way humans cooked once fire was tamed, and it remains the technique that gives food its most distinct char. The cook sits above or beside a bed of glowing hardwood charcoal — glowing embers, not a steady open flame, not a hot gas element — and the food is kissed by radiant heat, a thin veil of wood smoke, and the Maillard browning that turns amino acids and sugars into crust.
What separates it from a gas grill isn't nostalgia; it's flavor chemistry. Combusting hardwood releases hundreds of aromatic compounds, and dripping fat hitting hot coals pyrolyzes into a thin layer of savory, faintly acrid smoke compounds that re-deposit on the food — the signature "charcoal" note a gas grill cannot reach. The trade-off is control: charcoal runs hot, reacts slowly to your inputs, and rewards a cook who builds the right fire and trusts the ash rather than the dial.
In practical terms the method splits into two speeds. Hot-and-fast grilling (around 450–600 °F at the grate) handles steaks, burgers, chops, and vegetables in minutes. Low-and-slow ember cooking (250–350 °F on an indirect zone) finishes whole birds, ribs, and shoulder cuts that need time to tenderize. Both run on the same fuel; what changes is how the coals are banked and how high the grate hangs.
- Difficulty
- Medium
Types & varieties
Food placed directly above the embers on a grate; the default for steaks, burgers, chops, and vegetables.
Coals banked to one side; food seared over direct heat then moved to the cool side to finish without burning.
White Japanese oak charcoal that burns nearly smokeless at very high heat, favored for yakitori and delicate seafood.
Japanese hearth style: long skewers fished in and out of a wide, low bed of binchotan embers.
Japanese cooking over charcoal on a ceramic or clay-lined binchotan grill; food may be wrapped in bamboo leaf or paper.
Low, adjustable grate over a wide bed of embers; whole cuts slow-grilled at a near-horizontal angle.
Large skewers rotated beside or over glowing coals; long, slow exposure with frequent basting.
California ranch tradition using red-oak wood on an adjustable, wheel-raised grate over an open pit.
Thin-sliced marinated meats grilled over hardwood charcoal at the table on a domed or slatted grate.
Middle-Eastern and Mediterranean rectangular charcoal box, often used with skewers or a flat griddle plate on top.
Clay cylinder fired with charcoal or wood at the bottom; food skewered and lowered into the radiant dome.
Japanese chicken skewers over binchotan, brushed with tare or salted, flipped in stages by piece (negima, kawa, reba, etc.).
Māori and Polynesian technique: food buried in a pit with pre-heated stones and embers for several hours.
Food buried directly in hot ash — whole fish in banana leaf, root vegetables, pit-roasted pork — slow, smoky, steamy.
How to do it
- 1
Choose and prep the fuel
Pick hardwood lump charcoal for hot, clean searing or quality briquettes for long, even cooks. Set aside a handful of hardwood chunks (oak, hickory, cherry) for smoke. Make sure the fuel is bone-dry — damp charcoal is the most common reason for a stubborn, bad-tasting fire.
- 2
Set up the grill for two zones
For most cooks, bank a tall mound of charcoal to one side of the grill and leave the other side empty. This gives a direct-heat sear zone and an indirect-finish zone in the same fire. If you only want a single hot grate for a fast sear, spread the coals evenly instead.
- 3
Light the charcoal safely
Fill a chimney starter with charcoal, stuff a sheet of newspaper or a paraffin cube underneath, and light it on a non-flammable surface. Alternatively, use an electric starter buried in the mound. Avoid lighter fluid — it taints flavor and can flare back.
- 4
Wait for the white-ash stage
After 20–30 minutes the top coals will be covered in a thin gray-white ash and the flames will have died down. At that point the fire is ready to cook on. Coals that still glow orange with visible flame are too young and will soot the food with combustion residue.
- 5
Clean and oil the hot grate
While the coals light, scrub the grate with a stiff wire brush. Set the grate in place, close the lid, and let it preheat for 5 minutes. Grip a folded paper towel in long tongs, dip it in high-smoke-point oil (grapeseed, canola), and wipe a thin film across the bars — never oil a cold grate.
- 6
Adjust cooking height
On a kettle or barrel grill, raise or lower the grate, or open or close the top vent, to land at the right temperature — about 4 inches of headroom for thick steaks, 6–8 inches for chicken and fish. On a Santa Maria or Argentine parilla, raise and lower the wheel-grate instead.
- 7
Sear, then manage the cook
Pat food dry, season, and lay it on the hottest part of the grate at a 45° angle to the bars for crosshatch marks. Close the lid, leave it for 2–4 minutes, rotate 90° for diamond marks, then flip once. Move thicker or more delicate items to the indirect side to finish.
- 8
Use wood and smoke thoughtfully
Toss hardwood chunks directly onto the coals early so they char and smolder steadily. For short cooks, use small chips in a smoker box or foil pouch. Thin blue smoke flavors the food; thick white smoke acridly coats it — if you see heavy white, the fire needs more air or less green wood.
- 9
Check doneness and rest
Pull meat 5–10 °F below the target internal temperature; carryover will finish it. Probe with an instant-read thermometer in the thickest part, away from bone or fat. Transfer to a warm plate or board, tent loosely with foil, and rest 5–10 minutes before slicing.
- 10
Close out the fire
When done, close all vents to starve the fire of oxygen and let the coals snuff out naturally. Never move hot ashes into a combustible bin — douse, stir, and wait 48 hours, or soak in a metal bucket of water before disposal.
Reading the fire
The single biggest variable on a charcoal grill is the fire itself, and the cues are visual rather than numeric. The white-ash stage — a thin gray-white film over glowing coals, with no visible flame — is the green light to cook. Black, flame-spitting coals will soot food with combustion residue. Smoke is the second cue: thin blue smoke flavors, thick white smoke coats food acridly. If the fire is billowing white, it needs more air or drier fuel.
- White-ash stage = ready to cook; black flames = wait or stir.
- Thin blue smoke = wood is smoldering well; thick white = poor combustion.
- A clogged bottom vent chokes oxygen and produces acrid smoke — crack it open.
- Lift the lid, don't peer; lids off every 30 seconds drops grate temp 50–100 °F.
Lump vs briquettes
Lump charcoal is carbonized hardwood, broken into irregular pieces. It lights faster, burns hotter, and leaves a fraction of the ash, which is why competition cooks and steak houses favor it. Briquettes are compressed sawdust and ground charcoal bound with starch and shaped uniformly; they burn more evenly, hold temperature longer, and are cheaper, which is why they dominate low-and-slow barbecue. The honest answer: buy both, lump for searing, briquettes for long cooks.
- Lump: hot, fast, clean flavor, less ash, more expensive, burns out faster.
- Briquettes: even, long, cheaper, more ash, slight binder flavor on ignition.
Why it tastes different from gas
Charcoal grilling has three flavor sources that gas simply can't replicate. First, the volatile compounds released by combusting hardwood — guaiacol, syringol, and dozens more — land on the food as smoke. Second, fat that drips onto coals pyrolyzes into a thin layer of polycyclic aromatics that re-deposit on the food, producing the faintly bitter, savory "charcoal" note. Third, the radiant heat from glowing embers is drier and more intense than convective heat, driving the Maillard reaction faster and producing a deeper crust.
- Hardwood smoke contributes phenols and carbonyls absent in gas combustion.
- Dripping fat → pyrolysis on coals → light creosote redeposit = signature flavor.
- Drier radiant heat drives browning faster than steamy convective heat.
Common uses
Tips & pitfalls
- Wait for the white-ash stage before cooking — coals covered in a thin gray ash burn cleanly; black, flame-spitting coals will soot the food.
- Use a chimney starter instead of lighter fluid; even 'odorless' fluid can leave a petroleum note on the first cook.
- Build a two-zone fire by banking coals to one side — it is the single most useful trick for any charcoal grill and turns one fire into two appliances.
- Oil the grate only after it is hot (folded paper towel with high-smoke-point oil, held in long tongs); cold oil on a cold grate burns off immediately and does nothing.
- Add hardwood chunks at the start of the burn so they smolder with the coals rather than flare up — chips in a box burn out in minutes, chunks last an hour.
- Resist the urge to flip constantly — most items need one turn; multiple flips prevent the Maillard browning that defines charcoal cooking.
- Never press burgers with a spatula — squeezing out fat steams the meat instead of searing it, and you lose the flavorful drippings.
- Use an instant-read thermometer; charcoal runs hot and visual doneness cues are unreliable on a flame-lit grate.
- Avoid resinous softwoods (pine, fir, untreated cedar) — the smoke is acrid and deposits creosote on the food.
Good to know
- Category
- Dry-heat cooking over solid-fuel embers
- Heat source
- Glowing embers, not open flame
- Direct grilling temperature
- Roughly 450–600 °F (230–315 °C); can spike above 700 °F on a fresh chimney
- Indirect / two-zone temperature
- Around 250–350 °F (120–175 °C) on the cool side
- Time from light to cook-ready
- 20–30 minutes with a chimney starter
- Preferred wood
- Hardwoods only — oak, hickory, mesquite, pecan, apple, cherry, maple, almond, grapevine; never resinous softwoods
- Lump vs briquettes
- Lump burns hotter, faster, and cleaner with less ash; briquettes burn more evenly and longer but contain starch binders and ash fillers
- Indoor use
- Not safe — produces carbon monoxide and particulates; outdoors only
Also called
Grilling Over Embers · Ember Cooking · Wood-Fire Cooking · Charcoal Grilling
Dishes that rely on it
Related

Sear
Blast the surface hot for a deep-browned, savory crust

Sauté
Cook quickly in a little fat over lively heat, tossing as you go

Stir-Fry
Toss bite-sized pieces over roaring heat for fast, smoky cooking

Pan-Fry
Crisp food in a shallow layer of hot fat, turning once or twice

Deep-Fry
Submerge in hot oil for an all-over crackling crust

Roast
Cook uncovered in dry oven heat for browned edges and tender centers

Bake
Cook with steady, surrounding oven heat — the soul of bread and pastry

Broil
Hit food from directly above with fierce overhead heat