Prep & Assembly
Enrobing / Dipping
Fully coating a food in chocolate, batter, or glaze to seal and finish it.
Enrobing covers a center, such as a truffle, candy, or fruit, in an even outer layer of melted chocolate, fondant, or glaze, either by dipping or by pouring the coating over it. It gives confections a smooth, protective shell and a polished finish. For chocolate enrobing, the coating must be properly tempered so it sets glossy and snaps cleanly.
Enrobing — also called dipping, masking, or simply coating — is the act of giving a food a continuous outer shell by passing it through a fluid coating and letting that coating set into a thin, even film. In its most familiar form, a ganache, nut, or piece of fruit is submerged in tempered chocolate and lifted out cloaked in a glossy layer. But the technique covers more ground than confectionery: batters for tempura and fritters, hot fondant poured over éclairs, sugar syrups built up in a rotating pan for dragées, and gelatin-set mirror glazes poured over frozen mousse cakes are all forms of enrobing. The unifying principle is the same — a fluid layer is applied, drained, and crystallized or cooked into a defined crust that protects, decorates, or transforms the food beneath.
The coating is doing real work, not just looking pretty. In chocolate, a properly tempered enrobage delivers the snap, gloss, and shelf stability of well-made confiserie; in fried batters, it creates the crisp shell that defines the dish; in mirror glazes, it is the entire visual identity of the cake. Each variant behaves differently once applied: tempered chocolate crystallizes as it cools and contracts slightly, fondant sets by air-drying, batter crisps by steam and oil, mirror glaze gels against a frozen surface. Understanding which behavior you are working with — and controlling its temperature, the temperature of the center, and the room around you — is what separates a professional enrobage from a streaky, bloomed, or slumping one.
In a home kitchen, the technique is approachable but unforgiving of small mistakes. Centers must be at the right temperature (cool but not frigid for chocolate, room-dry for batters, deeply chilled for mirror glaze). Real chocolate must be tempered; compound coating must simply be melted. The room should be cool and dry. A dipping fork, a tap against the bowl, and a clean strip of parchment to catch the foot are the only tools a cook truly needs. Get those right, and the chocolate sets glossy, snaps cleanly, and peels away from the paper in one motion.
- Difficulty
- Medium
Types & varieties
Full coating in tempered real chocolate; standard for bonbons, mendiants, bars, and dipped fruits.
Chocolate-flavored vegetable-fat substitute that melts, dips, and sets without tempering — tolerant of warmer rooms and forgiving for beginners.
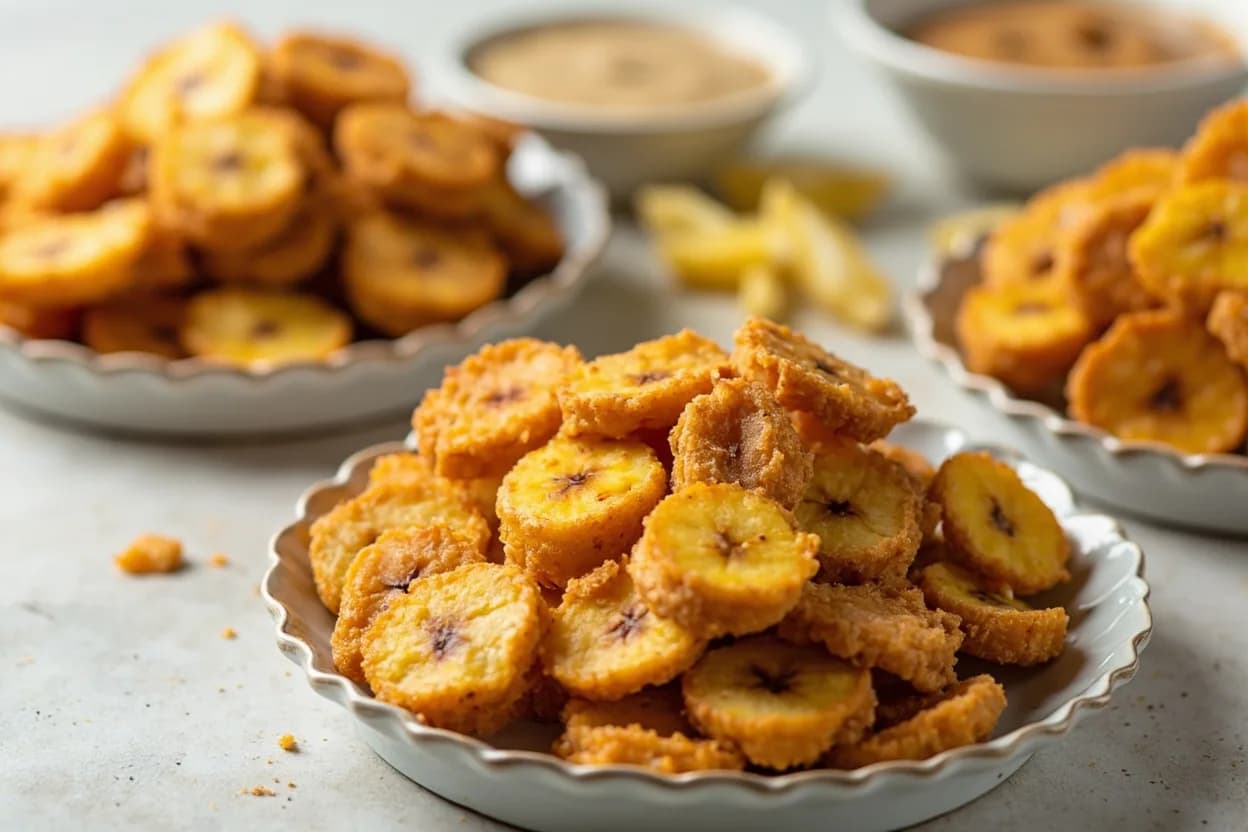
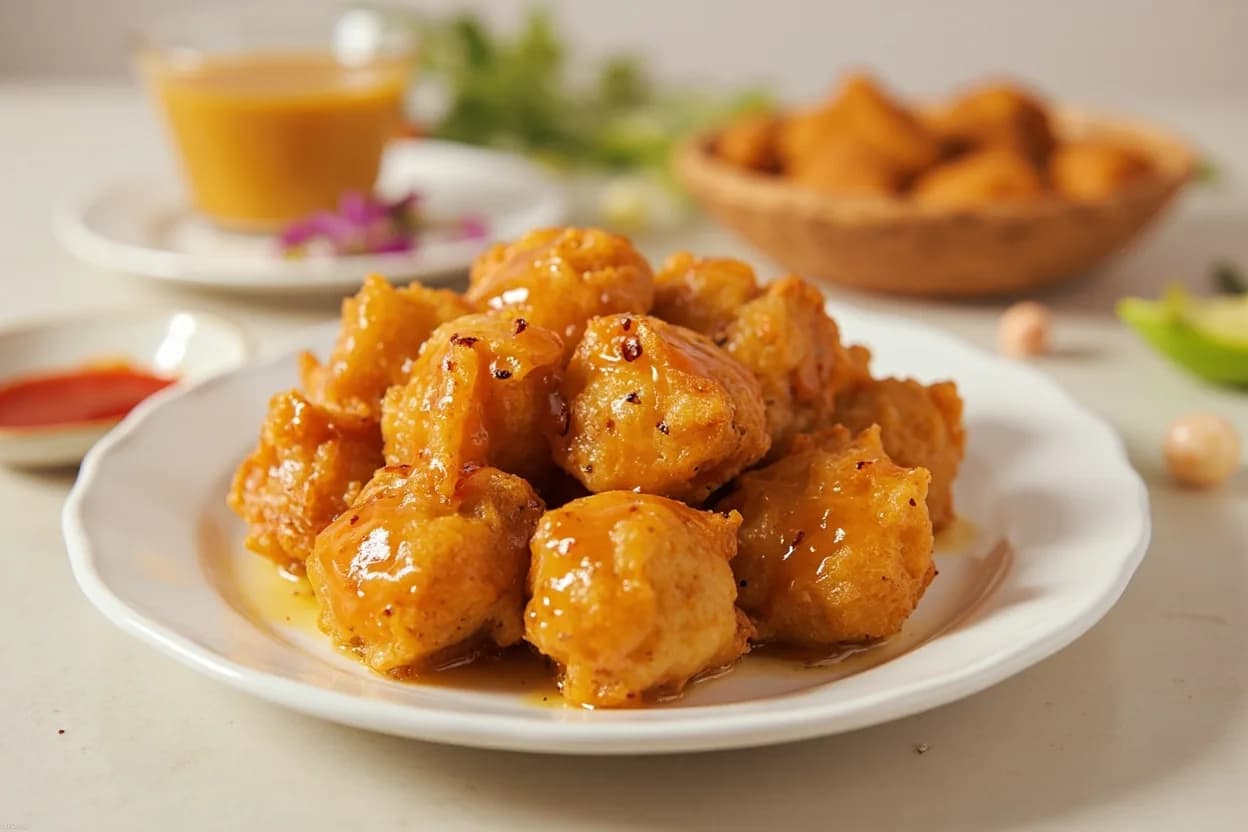
Wet batter applied to a dry food before frying to build a crisp, lacy or nubby shell.
Poured or dipped sugar fondant used to coat petits fours glacés and the tops of choux pastries like éclairs.
Successive layers of sugar syrup built up in a rotating pan to form a hard, glossy shell — Jordan almonds, sugared almonds, chocolate-panned espresso beans.
Thin pour of neutral, gelatin-set glaze over a deeply chilled entremet for a glassy, mirror-like finish.
Repeated dips in concentrated sugar syrup to seal candied fruit and add gloss.
After a thin dip, rolling truffles and bonbons in cocoa, chopped nuts, or coconut to finish.
Pâtés and terrines sealed in dough or rendered fat for cooking and preservation — a centuries-old application of the same idea.
How to do it
- 1
Prepare the coating
Temper couverture chocolate (or melt compound coating) to its working temperature. Dark 45–50°C, milk 43–45°C, white 40–43°C. The chocolate should flow smoothly, look glossy, and leave a thin, even film on a knife when dipped in.
- 2
Prepare the centers
Bring the items to be dipped to roughly 24–27°C and surface-dry them with a paper towel. Wet centers make chocolate seize; overly cold centers make it crack and split as the coating contracts.
- 3
Set up the working station
Line a tray with parchment or a silicone mat. Have a chocolate dipping fork, a small offset spatula, a scrap bowl for drips, and the room at 18–20°C with low humidity. Close any windows — drafts are the enemy of chocolate.
- 4
Dip the item
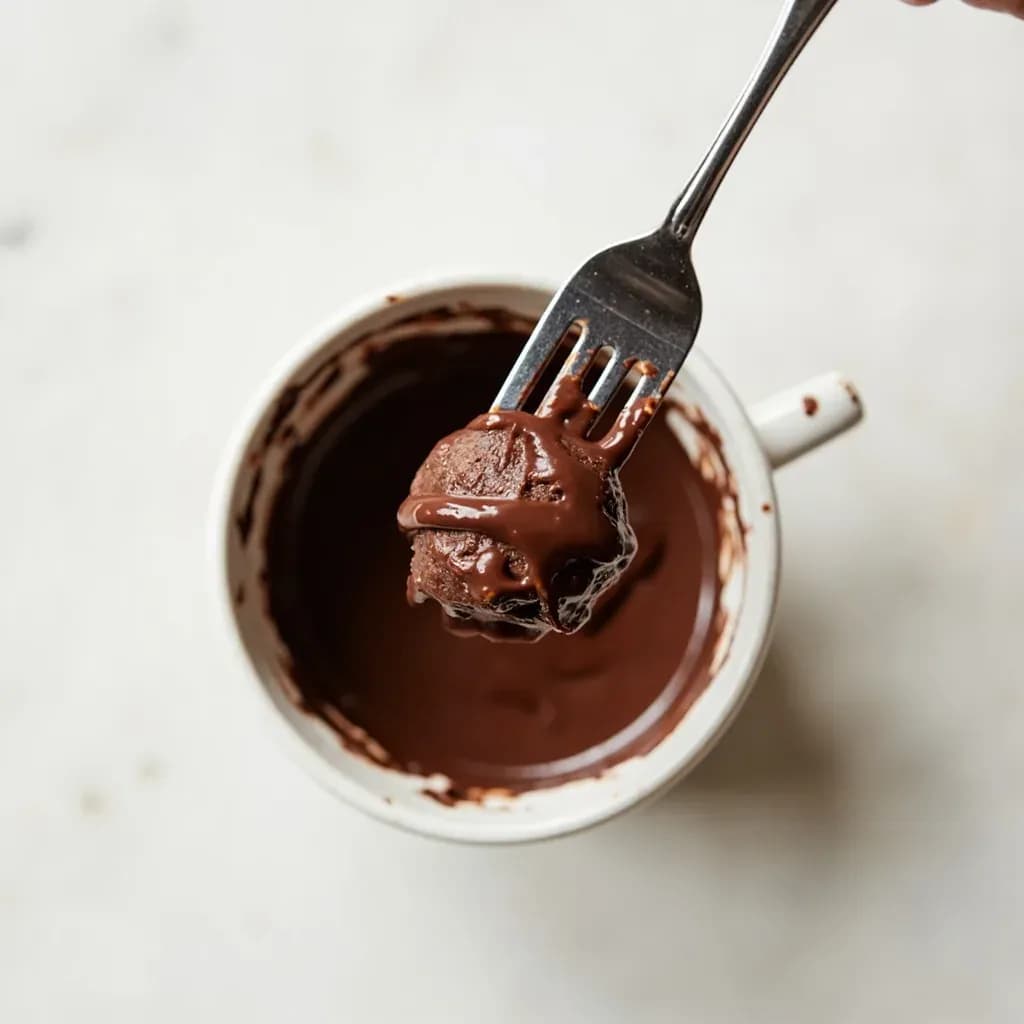
Balance the item on the dipping fork and submerge it fully in one smooth motion. Hold it under for a beat, then lift it out and let the excess drip for a second or two.
- 5
Remove excess and shape
Tap the fork gently two or three times against the side of the bowl to dislodge excess and even the coat. Optionally draw the bottom of the piece across the surface of the chocolate to leave a clean, even foot.
- 6
Deposit and finish
Slide the item off the fork onto the prepared tray, or set it on a strip of parchment so the chocolate doesn't pool into a thick base. While the coating is still wet, add any finishing touches — flaky salt, chopped nuts, cocoa, gold leaf.
- 7
Let the coating crystallize
Allow the items to set at 18–20°C for 5–10 minutes. Refrigeration is fine for 3–5 minutes if you are in a hurry, but longer than that risks sugar bloom. Properly tempered chocolate will release cleanly from the paper and snap audibly when bitten.
- 8
Store properly
Keep finished pieces in a cool, dry place at 15–18°C, in an airtight container, away from strong odors. Chocolate readily absorbs aromatics; do not store it next to spices, onions, or coffee unless you want it to taste of them.
Common problems at the dipping station
Most enrobing failures are environmental or temperature-related, and most have quick fixes once you recognize them. Work in a calm, cool room and you will avoid more than half the issues below.
- Fat bloom (gray-white streaks) — chocolate warmed above its working range or stored in a warm room. Re-temper and keep the room under 20°C.
- Sugar bloom (gritty white patches) — moisture condensed on cold chocolate. Keep dipped items out of the refrigerator while still warm, and never cover hot pieces.
- Cracking or splitting coat — centers too cold, or chocolate too thick. Warm the centers to 24–27°C and add a small amount of seed chocolate to bring the bowl back to working viscosity.
- Thick, pooling 'foot' at the base — too much chocolate left on the underside. Tap harder, draw the bottom across the chocolate surface, and set the piece on a strip of parchment rather than flat paper.
- Batter sliding off in the fryer — food was wet, batter was thin, or oil was too cool. Pat the food dry, rest the batter briefly to thicken, and fry at 175–180°C.
- Mirror glaze running off the cake — the cake was not frozen solid, or the glaze was poured too warm. Refreeze the entremet and bring the glaze to 30–32°C for a pour that flashes on contact.
The fourchette: signature of a hand-dipped piece
The small fork-mark left on the underside of a hand-dipped bonbon is called the fourchette, and in artisan chocolate work it is a mark of the technique rather than a flaw. It tells the eater that the piece was dipped by hand, with a tool, rather than mechanically enrobed. You can minimize or eliminate it by drawing the dipped item across the surface of the chocolate before depositing it, which seals the base with a clean pool rather than a peaked fork mark. Some chocolatiers embrace it; others smooth it away with the back of a slightly warm spoon once the chocolate has just set.
Common uses
Tips & pitfalls
- Always temper real chocolate before enrobing; untempered chocolate blooms within hours and never sets with a proper snap.
- Match the temperature of the center to the coating — ganaches and fruit purées at 24–27°C, frozen entremets at -18°C for mirror glaze, room-dry for battered foods.
- Tap the dipped item firmly two or three times against the bowl edge; that single motion is what produces a thin, even coat.
- Use a dedicated dipping fork or a two-pronged confectionery fork — a regular table fork tears the surface and leaves the wrong kind of mark.
- Work in a cool, dry room. Above 22°C or 60% humidity, chocolate refuses to set cleanly and bloom is almost guaranteed.
- For batter enrobage, keep the batter cold and the food bone-dry; moisture causes violent splattering and an uneven, dragging coat.
- Re-temper chocolate that has sat in the bowl and begun to thicken or streak — never add water, and never stir unmelted chocolate straight into working chocolate, as it will seed too aggressively.
- Avoid drafts and direct sunlight at the dipping station; both cause fat bloom and uneven crystallization.
Good to know
- Also known as
- Dipping, masking, coating; panning is a related but distinct drum-based variant
- Primary materials
- Tempered couverture or melted compound coating, dipping fork or tool, parchment or silicone mat, wire rack
- Chocolate working temperatures
- Dark 45–50°C (113–122°F), milk 43–45°C (109–113°F), white 40–43°C (104–109°F)
- Ideal room conditions
- 18–20°C (65–68°F) with humidity below 60%
- Setting time
- 3–5 minutes at 18°C for a thin layer; longer in a warmer room
- Coating thickness
- Hand-dipped work typically lays down 1–3 mm; industrial enrobers can apply a uniform 0.5–1 mm film
- Industrial method
- Belt-fed enrobing machine with a falling curtain of tempered chocolate
- Difficulty
- Beginner to intermediate; mastery depends on control of temper, timing, and ambient conditions
Also called
Dipping · Coating
Dishes that rely on it

Related

Whisk
Beat ingredients smooth and aerated with a looping wire motion

Sift
Pass dry ingredients through mesh to aerate and remove lumps

Strain
Pour through mesh to separate solids from liquid for a smooth result

Filter
Pass liquid through fine material to clarify out the smallest particles

Rice
Press cooked potatoes through small holes for fluffy, lump-free texture

Mash
Crush soft cooked food into a rustic, creamy purée

Grind
Crush food into a coarse to fine texture, from spices to meat

Grate
Shred food into fine bits against a sharp-toothed surface