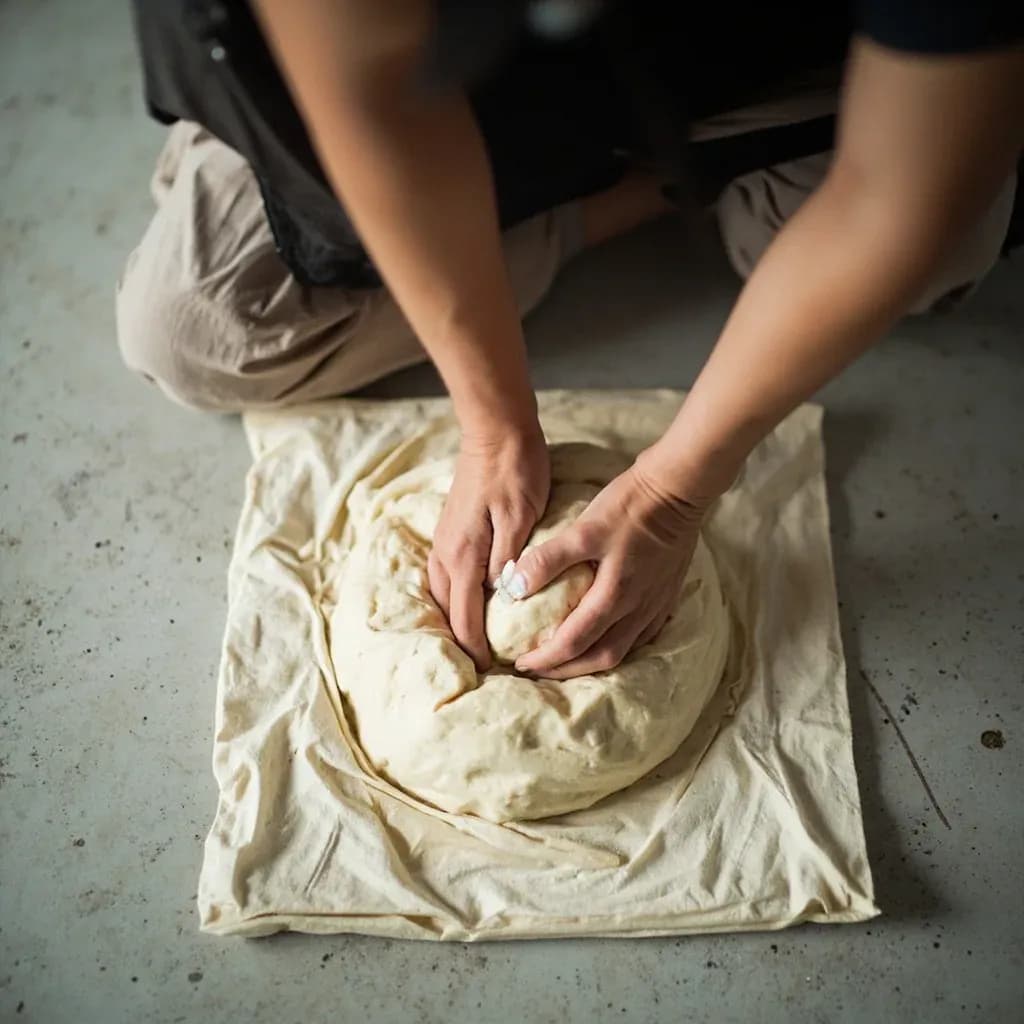
Prep & Assembly
Foot Kneading
Kneading stiff dough by treading on it with the feet to develop strong gluten.
Foot kneading develops very stiff, high-hydration-resistant doughs by stepping on the dough, usually bagged, to apply more force than hands can manage. It is the traditional method for Japanese udon, where the firm dough needs heavy working to build its signature chewy texture. The dough is folded and re-trodden repeatedly until it becomes smooth and elastic.
Foot kneading — also called foot treading or trampling — is a traditional technique for working very stiff, low-hydration doughs (typically 50–60% hydration) that would be exhausting or impractical to knead by hand. The baker uses body weight, applied through a clean barrier, to compress and work the dough in a trough or large basin, the way one might crush grapes in a wine vat. The method is documented across rural Portugal (especially in the making of broa de milho), Galicia and Asturias, pockets of rural Italy, and parts of Mexico where nixtamalized corn dough is processed in quantity.
The reason the technique exists is straightforward physics: a 5 kg batch of stiff cornmeal-and-rye dough will exhaust an arm-kneader in 25 minutes but can be properly developed in 10–15 minutes underfoot. Body weight supplies sustained, even pressure across the entire mass, and the rhythmic stepping — heel to toe, edge to center — delivers a kneading action comparable to 15–20 minutes of vigorous hand work. What the foot contributes is mechanical advantage, not magic; modern stand mixers with heavy dough hooks can achieve the same result in a fraction of the time, which is why the method survives today mainly for cultural authenticity and very large community batches.
Hygiene is the single non-negotiable element. Every documented modern recipe that uses foot kneading specifies a clean food-grade barrier between skin and dough and a sanitized surface, and treats the trough exactly as a food-contact surface. Strip away those precautions and the technique is not worth the risk; honor them and it is a perfectly workable, even elegant, response to a dough that no other method handles as gracefully at scale.
- Difficulty
- Medium
Types & varieties
Used for broa de milho, a rye-and-cornmeal sourdough from northern Portugal; the dough is kneaded by treading in a wooden masseira until smooth and elastic.
Applied to dense pan de millo and borona doughs in northwestern Spain, using the same edge-in, fold-and-turn rhythm.
Historically used for stiff mixed-grain loaves in Tuscan and Piedmontese villages, often after an initial hand mix.
Used in some regions to work masa for large-batch tortillas or tamales after the initial mixing of nixtamalized corn.
Recorded in medieval European monasteries for very large batches of heavy whole-grain bread baked for the community.
How to do it
- 1
Mix the dough to a shaggy mass
Combine flour, water, salt, and any leaven in a large bowl or directly in the kneading trough. Mix only until no dry flour remains — the dough should be stiff, slightly crumbly, and definitely too firm to knead by hand comfortably.
- 2
Transfer to the kneading vessel
Move the dough into a wooden trough (a Portuguese masseira is traditional), a heavy ceramic bowl, or a sturdy plastic tub wide enough to stand in. Lightly flour the interior if the surface is not non-stick.
- 3
Prepare the feet
Wash and dry the feet thoroughly. Slip each foot into a clean, thick food-grade or contractor bag and tie loosely at the ankle, or wear a dedicated, freshly laundered rubber boot over a clean cotton sock.
- 4
Begin treading at the edges
Step into the trough and start at the outer edge of the dough, pressing the heel down firmly and shifting weight from heel to toe. Work slowly around the perimeter before moving toward the center. Avoid sharp, jumping motions — the aim is sustained pressure, not impact.
- 5
Establish a rhythm
Aim for about one step every 1–2 seconds, covering the entire dough surface before repeating. Spend roughly 2–3 minutes per full pass.
- 6
Fold and turn the dough
After each pass, step out, lift the far edge of the dough, and fold it over toward you. Rotate the dough 90° and repeat. This folding is essential — treading alone compresses but does not develop gluten structure.
- 7
Repeat passes until the dough is smooth
Continue for 3–5 full passes, roughly 8–15 minutes total. The dough is ready when it holds together as a single mass, feels smooth and slightly elastic underfoot, and springs back from a thumb press.
- 8
Rest, shape, and bake as usual
Cover the dough and let it rest (autolyse and/or proof) according to the recipe. Shape by hand once it has relaxed — the dough will still be too stiff for delicate shaping immediately after treading.
- 9
Clean everything immediately
Discard the foot coverings, scrape and wash the trough with hot soapy water, and sanitize the floor area. Treat all surfaces that contacted the dough as food-contact surfaces.
Why the foot works where the arm struggles
Low-hydration doughs resist hand kneading because their crumbly, dense structure fights the small, repetitive force a hand can deliver. Body weight solves this by supplying a constant downward force distributed through the heel and ball of the foot. The rhythm matters as much as the force: heel-to-toe pressing, advancing around the perimeter before working inward, mimics the press-and-fold action of hand kneading far more effectively than a single downward stomp. Folding the dough over itself between passes is essential; treading alone compresses but does not align gluten strands, and without the folds the dough will simply pack tighter rather than develop structure.
- Sustained pressure beats impact — sharp, jumping steps tear the dough rather than knead it.
- Edge-first patterning ensures every part of the mass receives equal work, avoiding a smooth outside and a lumpy core.
- Folds between passes are the developmental step; the treading is the distribution step.
Hygiene and modern practice
The technique's main modern objection is contamination risk, and the solution is not to abandon it but to insist on a clean, food-grade barrier and a sanitized work area. A thick, unscented contractor bag or dedicated rubber boot worn over a clean cotton sock is reliable; thin bin liners tear under foot pressure and should be avoided. The trough, the floor beneath it, and any tools that contact the dough are treated like any other food-contact surface — hot soapy water before and after, and a rinse with a mild food-safe sanitizer if the trough is wood. Practiced this way, foot kneading is no less sanitary than hand kneading; without it, it is not worth attempting.
- Use a sturdy bag — bin liners tear too easily under heel pressure.
- Damp towel under the trough prevents the vessel from sliding on smooth floors.
- Treat the floor and trough as food-contact surfaces before, during, and after.
Common uses
Tips & pitfalls
- Always use a clean, food-grade barrier between the feet and the dough — a thick unscented plastic bag tied at the ankle is the most reliable modern option.
- Work on a non-slip surface: a damp towel under the trough prevents it from sliding mid-pass.
- Begin at the edges of the dough mass and work inward in a slow, rhythmic pattern rather than stomping the center, which packs unevenly.
- After each minute or two of treading, stop and fold the dough over itself, turning it 90° before resuming — skipping the folds is the most common mistake and leaves the dough dense rather than developed.
- Stop as soon as the dough feels smooth and springs back lightly to a thumb press — over-treading a low-hydration dough will tear the gluten strands and produce a tough, cracked loaf.
- Wear flat-soled, well-washed rubber boots or clean cotton socks inside the bag; bare feet are strongly discouraged in any modern kitchen context.
- Reserve the technique for doughs that genuinely need it (under roughly 60% hydration); softer enriched doughs should always be hand-kneaded or stand-mixed.
- Clean the trough, the floor, and the foot covering thoroughly with hot soapy water before and after — this is a food-contact surface like any other.
Good to know
- Also known as
- Foot treading, trampling, pisa (in Portuguese contexts)
- Dough hydration range
- Roughly 50–60%, well below the comfort zone of hand kneading
- Active time per batch
- 8–15 minutes, depending on size and stiffness
- Gluten development
- Comparable to 15–20 minutes of vigorous hand kneading for low-hydration doughs
- Traditional vessel
- Wooden trough (masseira in Portuguese), stoneware bowl, or heavy-duty plastic tub
- Hygiene barrier
- Thick food-grade plastic bag, heavy cloth, or clean rubber boot worn over a sock
- Cultural origin
- Rural Portugal, Galicia, Asturias, parts of rural Italy, and some Mexican nixtamal traditions
- Typical batch size
- 3–10 kg of dough, often for family or community baking
Also called
Udon Foot Kneading · Treading Dough
Related

Whisk
Beat ingredients smooth and aerated with a looping wire motion

Sift
Pass dry ingredients through mesh to aerate and remove lumps

Strain
Pour through mesh to separate solids from liquid for a smooth result

Filter
Pass liquid through fine material to clarify out the smallest particles

Rice
Press cooked potatoes through small holes for fluffy, lump-free texture

Mash
Crush soft cooked food into a rustic, creamy purée

Grind
Crush food into a coarse to fine texture, from spices to meat

Grate
Shred food into fine bits against a sharp-toothed surface