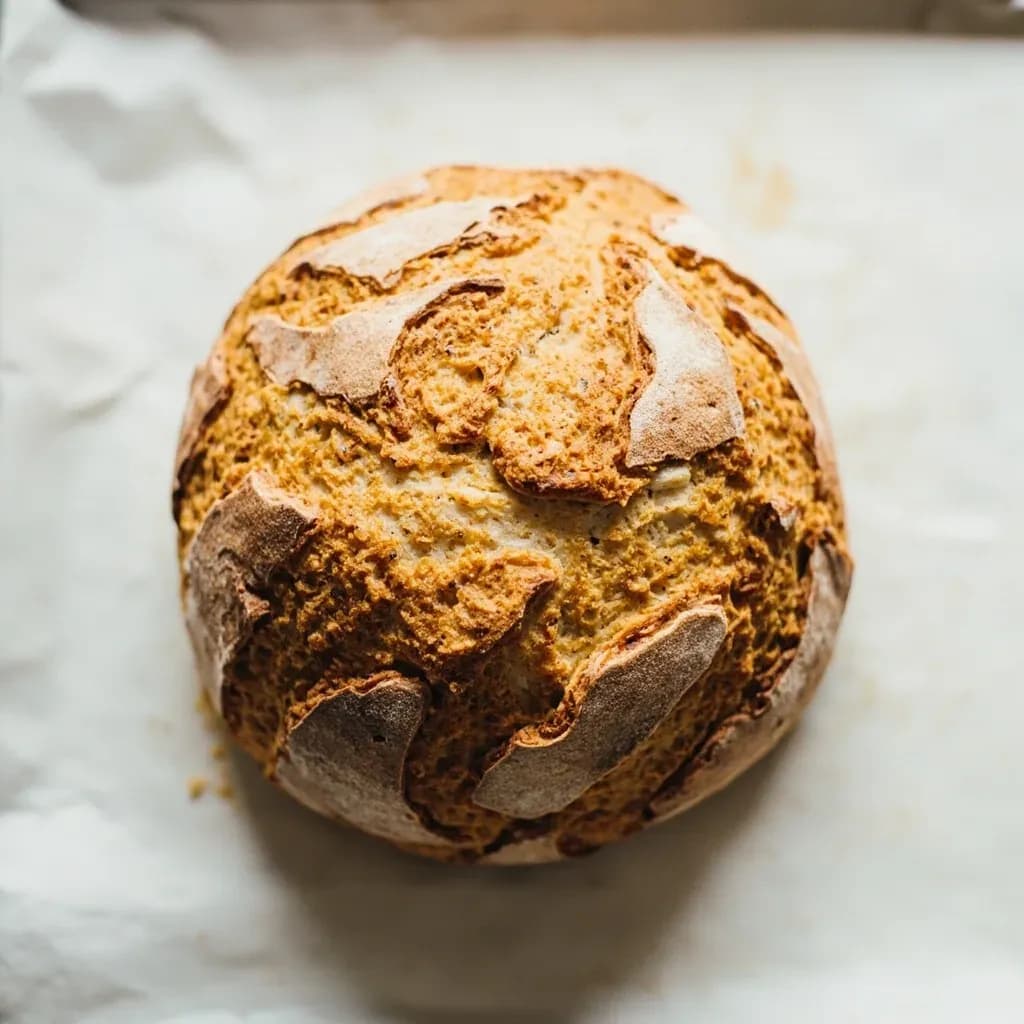
Heat & Fire
Baking
Cooking with surrounding dry oven heat for breads, pastries, and casseroles.
Baking surrounds food with steady dry heat in an enclosed oven, setting structure in doughs and gently cooking dishes through. It is essential for breads, pastries, gratins, and clay-oven flatbreads like those from a tannour or tatakua. Preheating the oven fully ensures the right initial spring and crust formation, especially for breads.
Baking is dry-heat cooking in an enclosed chamber: food sits inside a closed cavity of hot air rather than over or above a flame, so heat reaches it through convection and radiation from the oven walls. That enclosed environment lets bakers build structure, color, and flavor in foods that would otherwise collapse or dry out under direct heat — bread that needs an even crust, pastry that must set without toughening, custards that have to coagulate gently. The technique is broad precisely because the oven is so controllable: change the temperature, humidity, airflow, or steam and the same machine produces a flaky croissant, a dense rye loaf, a creamy cheesecake, or a deeply browned roast, and mastering it means reading the underlying physical transformations — starch gelatinization around 60–80 °C, protein coagulation at 70–90 °C, Maillard browning between 140–165 °C, and sugar caramelization above 160 °C — and what the oven is doing at each stage.
- Difficulty
- Medium
Types & varieties
Static top-and-bottom heating elements; the default for most recipes.
Fan-circulated hot air; typically reduce temperature about 25 °F (≈15 °C) and start checking roughly 25% earlier than stated.
Pre-baking a pastry shell lined with parchment and weighted with beans or rice before adding a wet filling.
Partial bake to set structure before a later finish; common for breads and tart shells.
An initial burst of steam delays crust formation so bread can rise fully before the surface dries.
Bread baked in a covered cast-iron pot that traps its own steam, mimicking a hearth oven.
Pan set inside a larger pan of hot water; gentle, even heat for custards, terrines, and cheesecakes.
Food (often whole fish or root vegetables) encased in a salt crust that is broken away after baking.
Long, gentle bakes at 120–150 °C (250–300 °F) for confit-style meats and ultra-tender roasts.
How to do it
- 1
Preheat and position the rack
Place the rack in the middle of the oven (upper third for browning tops, lower third for crisp bottoms) and preheat for at least 15 minutes. A long preheat matters more for baking than for almost any other cooking method because the oven's stored heat is what drives the early rise of cakes and breads.
- 2
Prepare the pan and ingredients
Grease, line with parchment, or dust the pan with flour or cocoa as the recipe directs. Bring butter, eggs, and dairy to about 20 °C (68 °F) so they emulsify cleanly into the batter; cold butter stays in lumps and cold eggs can resolidify softened butter or chill dairy fats.
- 3
Combine the batter or dough
Mix dry and wet ingredients separately, then fold together only until no streaks of flour remain. Overmixing develops gluten in cakes and cookies (tough) and knocks air out of whipped egg foams (flat).
- 4
Load and bake without interruption
Transfer the mixture to the pan, smooth the top, and place it on the rack. Resist opening the door for at least the first two-thirds of the bake — each opening drops cavity temperature by 25 °F or more and can collapse a rising cake or bread.
- 5
Rotate and watch the cues
At the halfway mark, quickly rotate the pan front-to-back to correct for hot spots. Watch the edges (they should set first), the color (deep golden rather than pale), and the rise (a slight crack on the surface of bread or cake is normal).
- 6
Test for doneness
Use the test that fits the food: an instant-read thermometer (90–96 °C / 195–205 °F for bread, about 95 °C / 205 °F for cake), a toothpick that comes out with a few moist crumbs, a gentle touch that springs back, or a hollow knock on the underside of a loaf.
- 7
Rest, unmold, and cool on a rack
Let the item sit in its pan for the time the recipe specifies — usually 5–15 minutes — so the structure sets. Then turn it out onto a wire rack so air circulates underneath; cooling in the pan traps steam and turns crisp bottoms soggy.
The chemistry of the oven
Every baked good is the result of four overlapping reactions, and reading them in the oven is what separates a cook from a baker.
- Starch gelatinization (60–80 °C) — starch granules absorb water and swell, setting the crumb of bread and the body of a sauce.
- Protein coagulation (70–90 °C) — gluten in flour and proteins in egg and dairy form networks that trap gas and hold structure.
- Maillard browning (140–165 °C) — amino acids and sugars react to produce the savory color and crust on bread, cookies, and roasts.
- Caramelization (above 160 °C) — sugars alone break down into nutty, bitter compounds; responsible for the color of pretzels and dark cookies.
Reading your oven
Every oven has a personality. Built-in thermostats routinely run 10–25 °F off the dial, and most cavities have hot spots from the walls and the elements. A full preheat, an independent thermometer, and a willingness to rotate pans are the cheapest upgrades a baker can make.
- Preheat for at least 15–20 minutes; thermal lag is the most common cause of sunken cakes and flat breads.
- Place a thermometer on the rack where the food will bake, not on the floor or the door glass.
- Front-to-back rotation evens out side-to-side hot spots without deflating a soufflé or spilling batter.
- In convection mode, drop the temperature about 25 °F (≈15 °C) and start checking doneness 25% earlier than the recipe states.
Common uses
Tips & pitfalls
- Preheat for the full 15–20 minutes: a cold oven kills the oven spring of bread and the rise of cakes.
- Put an independent oven thermometer inside the cavity; built-in thermostats routinely run 10–25 °F off and silently ruin bakes.
- Use light-colored aluminum pans for cakes and cookies (gentler browning) and dark or heavy steel for breads and pizza (more bottom heat).
- Resist opening the oven door in the first two-thirds of bake time; each opening drops cavity temperature 25 °F or more and can collapse a rising loaf.
- Rotate pans front-to-back at the halfway point, not 180°, to even hot spots without deflating a soufflé or spilling batter.
- For crusty bread, create an initial burst of steam — a pan of boiling water, ice cubes on a hot tray, or a spritz of water — and vent the oven later to dry the crust.
- Measure flour by spooning it into the cup and leveling with a straight edge; scooping directly from the bag compacts the flour and adds up to 20% more, producing dry, dense bakes.
- Cool baked goods on a wire rack, not in the pan, so steam escapes from the bottom and the crust stays crisp.
Good to know
- Method type
- Dry-heat cooking in an enclosed chamber
- Heat transfer
- Convection from hot air and radiation from oven walls
- Temperature range
- 120–260 °C (250–500 °F); low for custards and confit, high for breads and pizza
- Rack position
- Center for most items; upper rack to brown tops, lower to crisp bottoms
- Origin
- Closed clay and brick ovens in Egypt, Greece, and Rome from roughly 3000 BCE
- Modern form
- Cast-iron box stoves (18th–19th c.) evolved into thermostatic electric and gas ovens in the 20th century
- Key equipment
- Sheet pan, loaf pan, cake pan, pie dish, Dutch oven, wire rack, oven thermometer
- Doneness cues
- Internal temperature, toothpick test, visual color, spring-back touch, hollow knock (bread)
Also called
Bake · Cuocere al Forno · Oven Baking
Dishes that rely on it
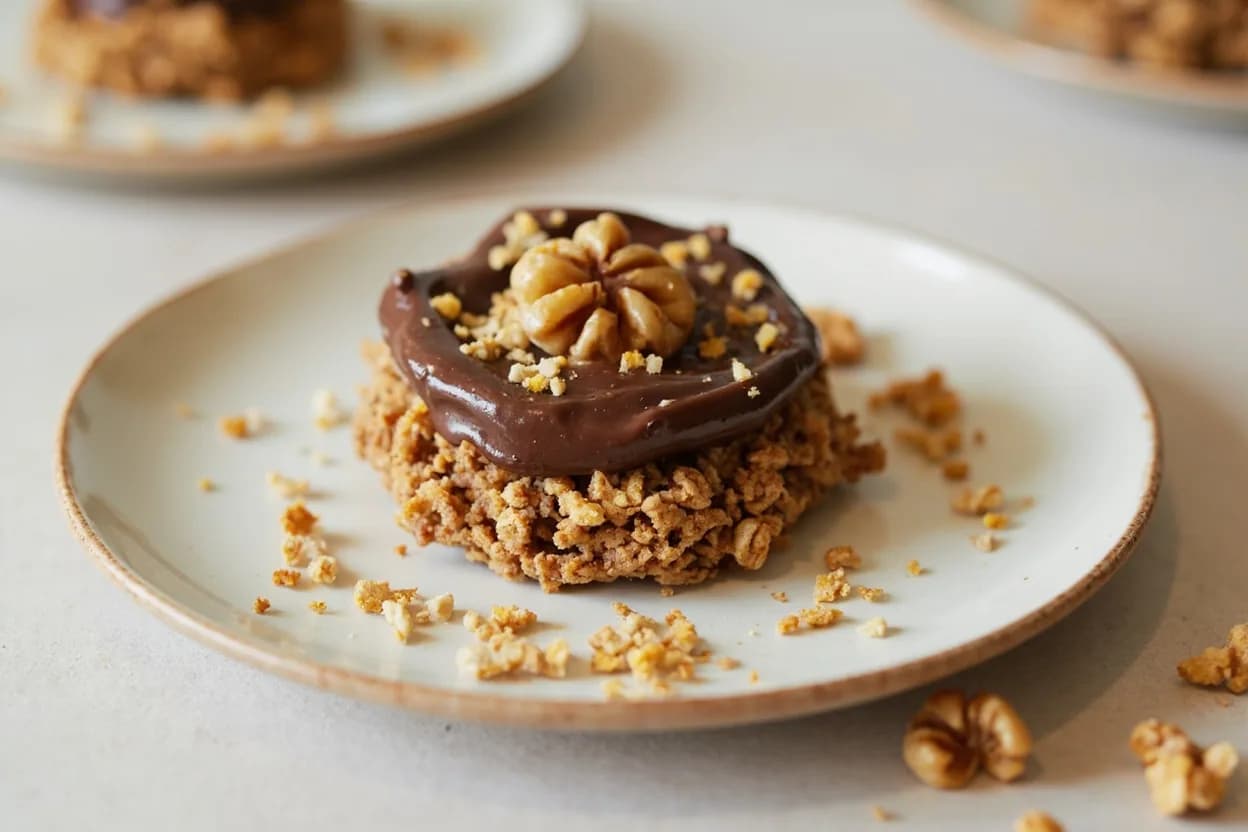
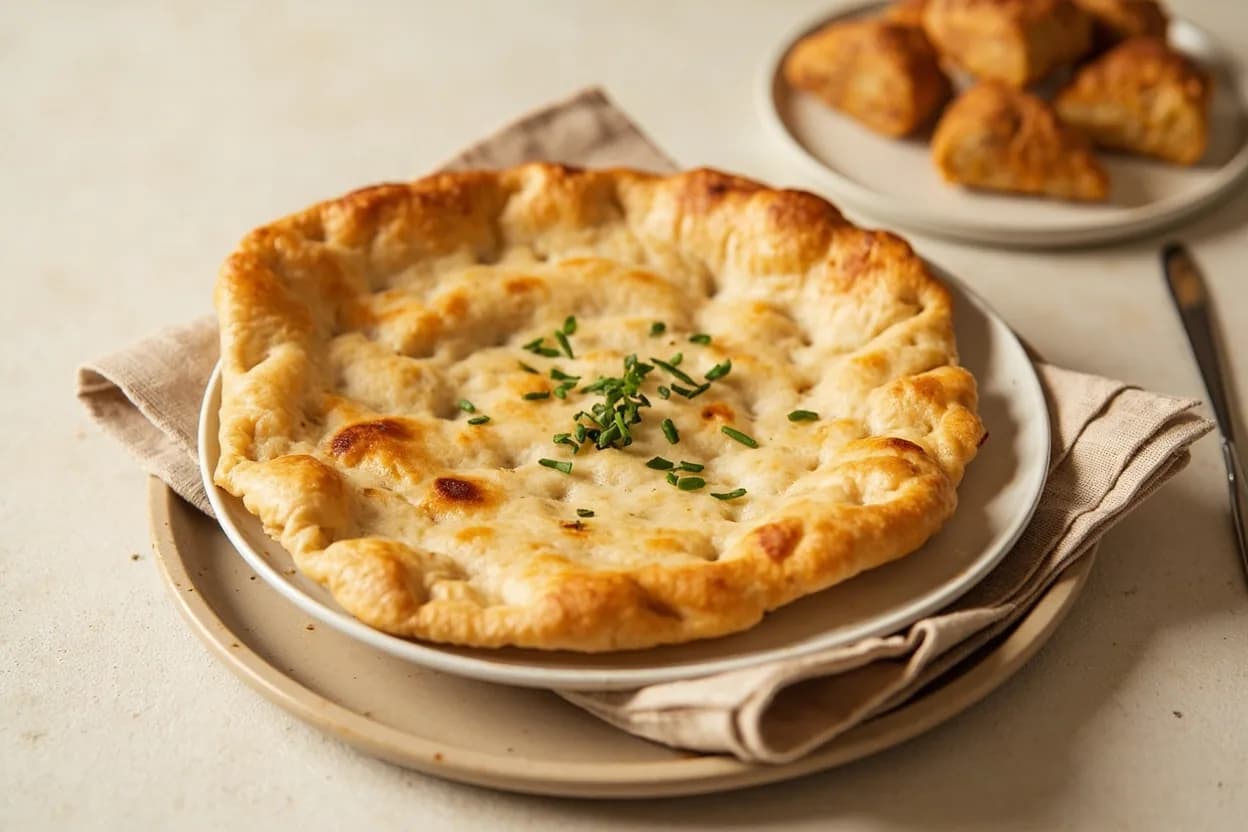
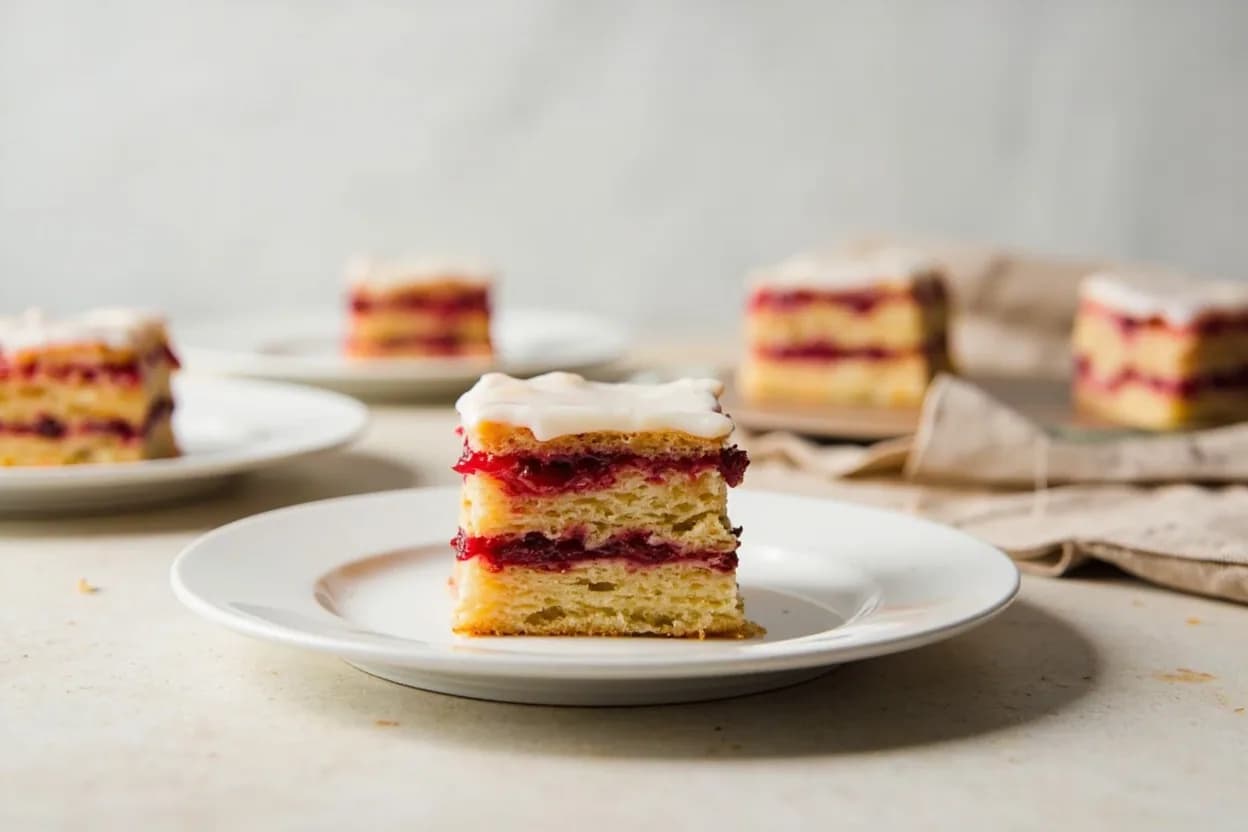
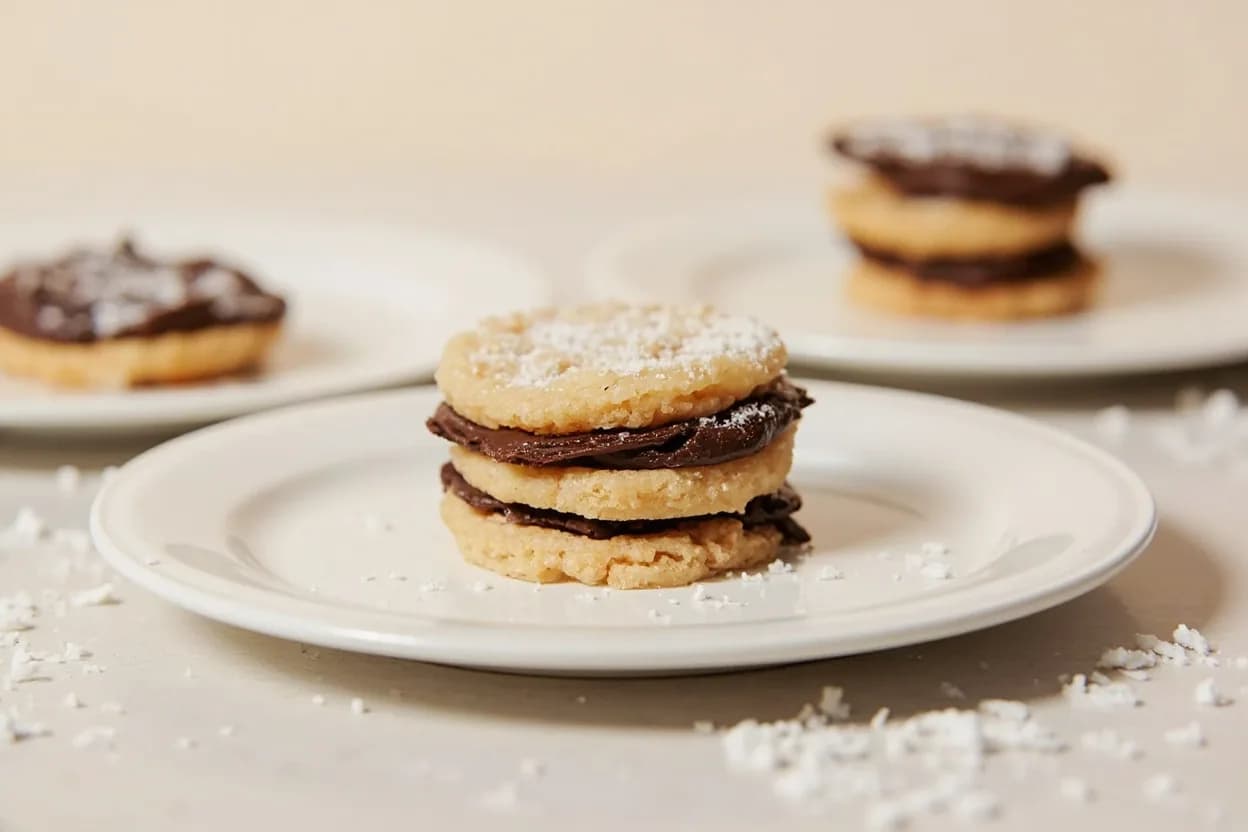
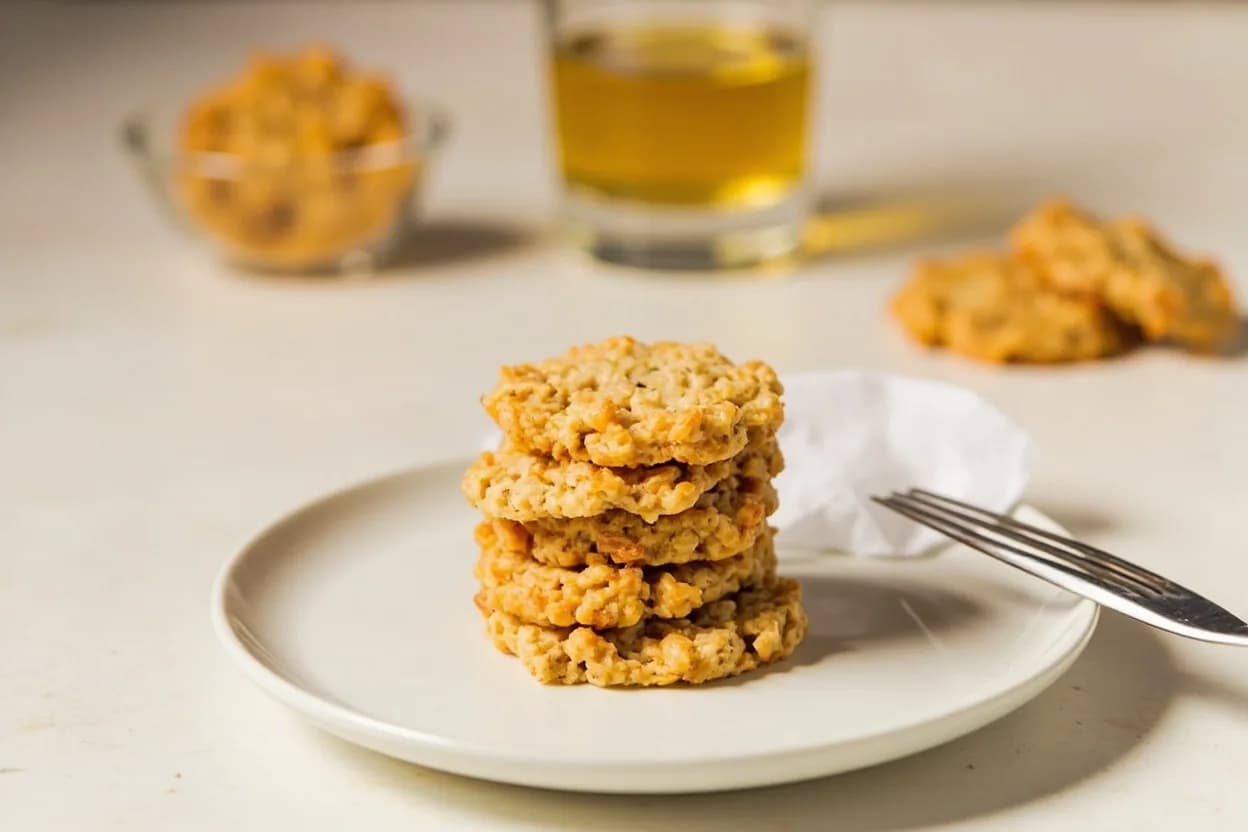
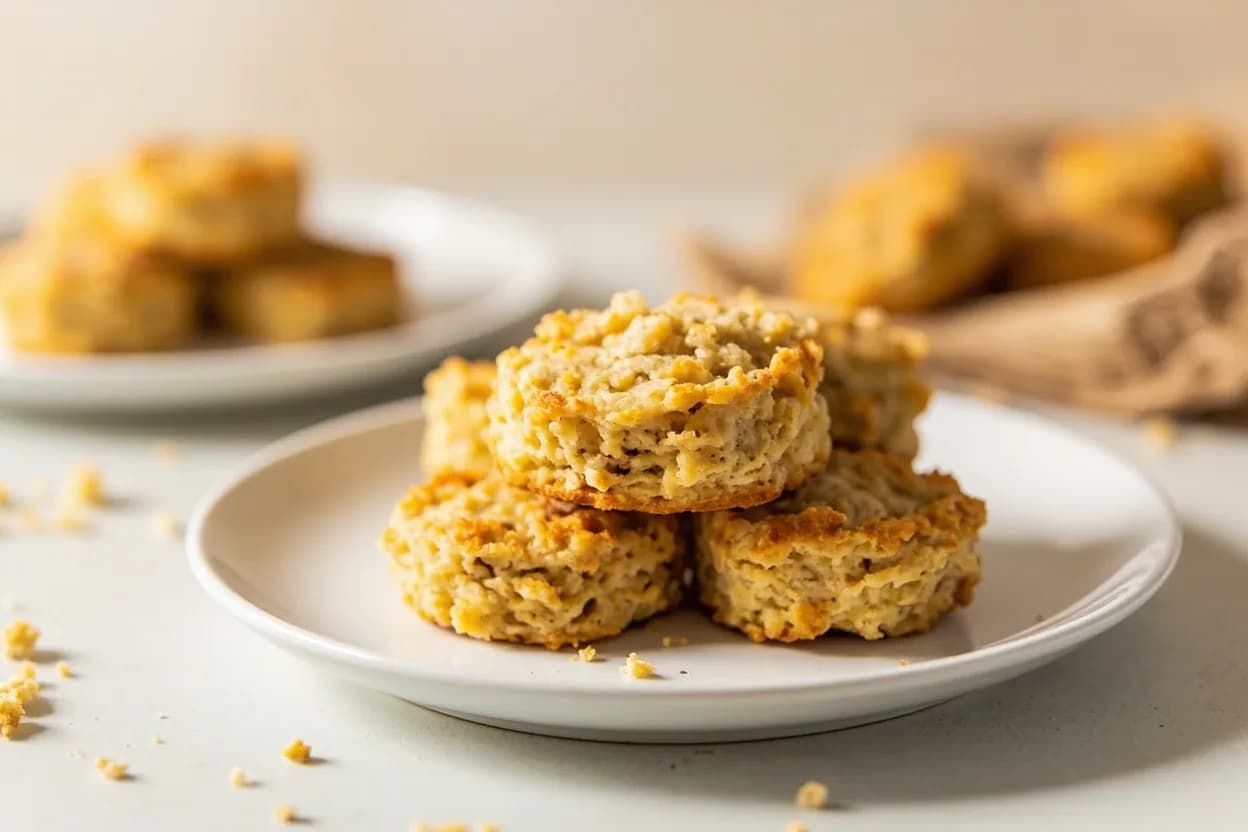
Related

Sear
Blast the surface hot for a deep-browned, savory crust

Sauté
Cook quickly in a little fat over lively heat, tossing as you go

Stir-Fry
Toss bite-sized pieces over roaring heat for fast, smoky cooking

Pan-Fry
Crisp food in a shallow layer of hot fat, turning once or twice

Deep-Fry
Submerge in hot oil for an all-over crackling crust

Roast
Cook uncovered in dry oven heat for browned edges and tender centers

Bake
Cook with steady, surrounding oven heat — the soul of bread and pastry

Broil
Hit food from directly above with fierce overhead heat