Heat & Fire
Par-Baking
Partly baking bread or pastry, then cooling it to finish baking fresh later.
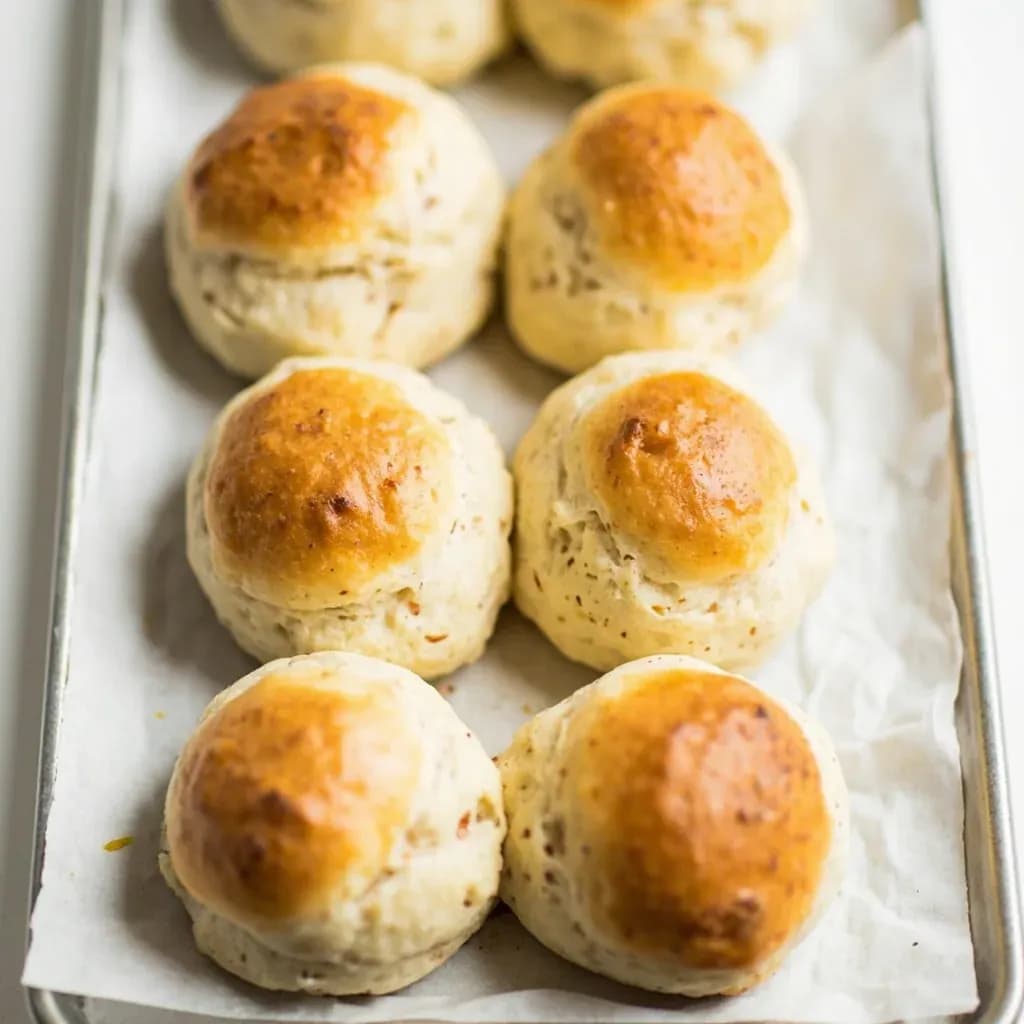
Par-baking bakes dough only until it is set and structured but not fully browned, then cools and stores it to be finished in a hot oven just before serving. The method lets bakeries and home cooks produce crusty, oven-fresh breads and crusts on demand without baking from raw each time. The partial bake locks the crumb structure while leaving the final color and crispness for the second bake.
Par-baking is the technique of baking a dough partway, then pulling it from the oven before it is fully colored or cooked through, so it can be cooled, stored, or finished later under different conditions. In the first bake the dough accomplishes the most important structural work: starches gelatinize, surface proteins set, and excess surface moisture begins to drive off. Pulling the piece before Maillard browning is complete leaves a pale, dry, structurally sound shell that will crisp and color during a second, shorter bake — without collapsing, soaking through, or burning.
The technique splits into two broad uses. In pastry it is called blind baking, and its job is to give a pie or tart shell a sealed, sandy base that can stand up to a wet custard, cream, or fruit filling without turning soggy. In bread and pizza it is a workflow tool: a crust or roll is baked just enough to set its shape, then refrigerated or frozen, and finished hot and fast to order. Both uses rely on the same principle — that you can split a bake into two stages without sacrificing texture, as long as the first stage is judged by dryness and set, not by color.
Par-baking is also the backbone of the modern frozen-bread aisle. Croissants, sandwich rolls, baguettes, and pizza crusts are produced in factories, baked roughly two-thirds of the way, blast-frozen, and shipped; the consumer or line cook provides the finishing bake. Understanding the technique at home, with a pie shell or a pizza skin, gives the same control: you decide when the structure is set, and the final bake becomes a brief, predictable step rather than a gamble.
- Difficulty
- Medium
Types & varieties
Pre-baking an empty pastry shell with weights before adding a wet filling such as custard, cream, or fruit
A brief high-heat bake of shaped dough so it can be topped and finished in minutes; standard in pizzerias and home pizza ovens
Rolls, sub loaves, or sandwich buns baked partway, cooled, and frozen for finishing later; a workhorse of catering and commercial bakeries
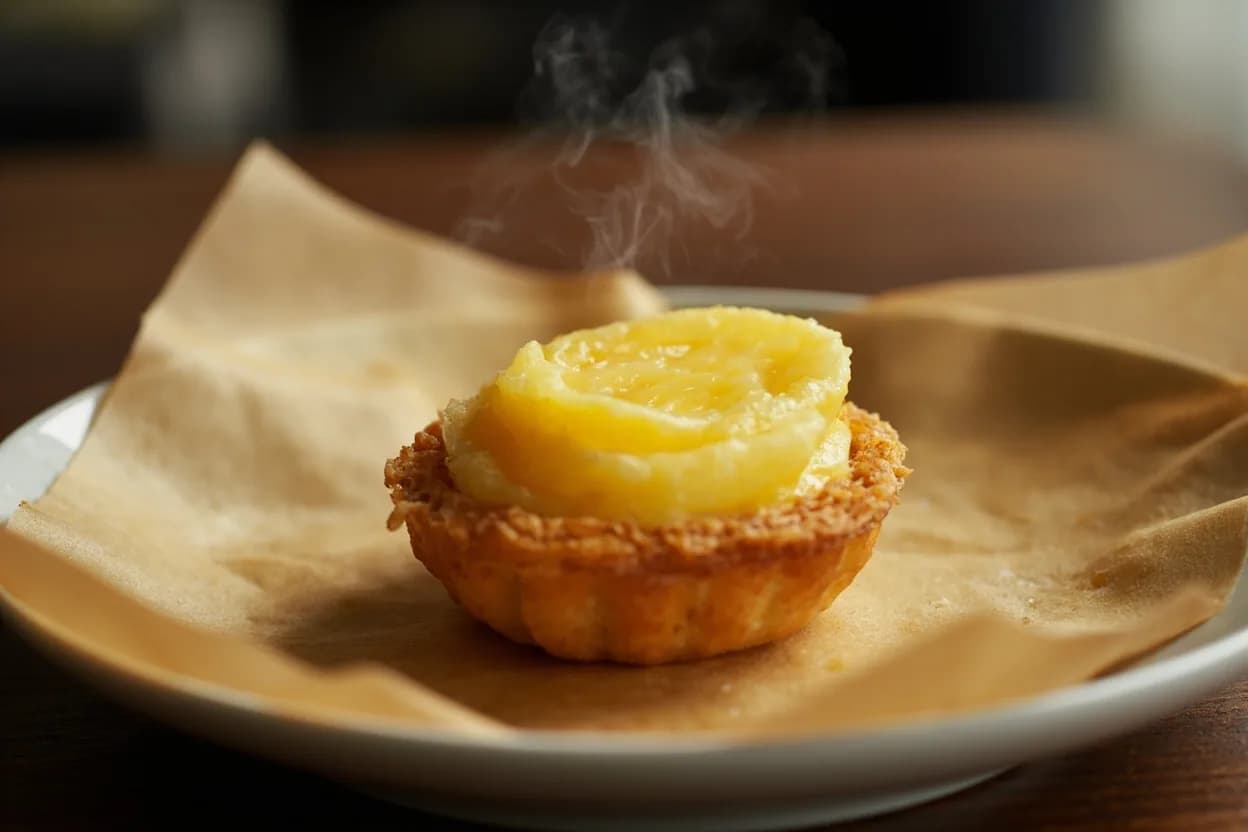
Tartlet or vol-au-vent shells baked mostly through, then dried briefly to crisp so they store well and re-crisp on the final bake
An industrial product shaped, proofed, and partially baked, then frozen for retail; the consumer completes the bake at home
How to do it
- 1
Shape and chill the dough
Roll or shape the dough to its final form — pie dish, tart ring, pizza peel, or sheet pan. Cover and chill thoroughly, at least 30 minutes for a standard pie dough and longer for enriched or laminated doughs, so the fat stays firm and the gluten is relaxed. Cold dough holds its shape in the oven and shrinks far less than warm, slack dough.
- 2
Dock and weight the surface
For pastry shells, press a parchment round into the shell and fill with ceramic pie weights, dry rice, or dried beans to roughly two-thirds depth. For flat doughs such as pizza or flatbread, prick the surface evenly with a fork or docker. Weighting and docking prevent the base from puffing and buckling under oven spring.
- 3
Bake partway at the correct temperature
Place the piece on the middle or lower-middle rack and bake at 350–425°F (175–220°C) until the surface is dry, just set, and pale gold at the edges. An 8–9 inch pie shell needs roughly 15 minutes weighted; a pizza crust 4–7 minutes; bread rolls about two-thirds of their full bake. Resist the urge to bake to color.
- 4
Remove weights and dry the base (pastry shells only)
Lift out the parchment and weights and return the shell to the oven for another 5–10 minutes so the exposed base dries and sets. This is the step that prevents a soggy bottom under custard or fruit. Stop when the base looks sandy and dry, not deeply browned.
- 5
Cool completely on a rack
Transfer the piece out of its pan (or off its sheet) onto a wire rack. Moving air stops steam from softening the crust. Do not wrap, stack, or fill while any warmth remains — trapped steam is the most common cause of a ruined par-bake.
- 6
Store or finish
Use within 1–2 days wrapped at room temperature, or wrap tightly in two layers and freeze up to 2–3 months. To finish, fill and bake as your recipe directs. If a frozen shell has softened in storage, re-crisp it in a hot oven for 3–5 minutes before adding cold fillings.
Reading partial doneness
The single most important skill in par-baking is knowing when to pull the dough. Forget color — a par-baked piece should be pale, dry to the touch, and structurally set. For a pie shell, the base should look sandy and opaque rather than translucent or damp, and the rim should feel firm rather than soft. For pizza, the surface should be matte and the underside should show a few scattered golden spots when you lift it with a peel. For bread rolls, the crust should look tight and dry even if it is barely tan. Any browning you see now will deepen during the second bake, so overbaking the first pass is the fastest route to a dry, cracked, or burnt finish.
- Pale and dry beats golden and set — color comes from the second bake
- A sandy, opaque base on a pie shell signals the starches have set
- A matte, just-firm pizza crust will crisp properly under toppings
- Lift a bread roll and tap the bottom; a firm, dry feel with a slightly hollow sound signals it is ready to pull — not the deep hollow of a fully baked loaf
- If the dough still looks wet or shiny in the center, give it another few minutes
Why weights and docking matter
Uncontrolled expansion is the enemy of a clean par-bake. When heat hits the dough, water turns to steam and trapped gases expand, pushing the base upward, which is wonderful for bread but disastrous for a tart shell you intend to fill flat. Pie weights — ceramic beads, dry rice, or dried beans — hold the base down so steam vents through the sides instead of lifting the middle. Docking, pricking the dough all over with a fork or a docker, gives that steam an easy exit path through the bottom. The combination produces a flat, even base that dries uniformly and will not buckle when filled.
- Always line with parchment first so weights never touch or imprint the dough
- Fill weights to at least two-thirds of the shell's depth for even pressure
- Dock flat doughs (pizza, flatbread, tart bases) every inch or so
- Reusable ceramic beads are worth buying if you bake tarts more than a few times a year
- Save dried beans used as weights for baking only — they are not pleasant to cook with afterward
Common uses
Tips & pitfalls
- Always chill shaped dough thoroughly before par-baking to minimize shrinkage and slumping in the oven
- Line the shell with parchment and fill with pie weights, dry rice, or dried beans; dock flat doughs with a fork or docker to prevent puffing
- Cover the dough with parchment first so weights never imprint or stick to the surface
- For pie shells, bake weighted until just set, then remove weights and finish 5–10 minutes to dry the base
- Pull the piece when it looks dry and pale gold, not fully browned — color will develop on the second bake
- Cool completely on a rack before wrapping; trapped steam is the number one cause of soggy, ruined par-bakes
- For freezing, wrap tightly in two layers of plastic or foil, then a freezer bag, to block freezer burn
- Re-crisp a softened or thawed par-baked shell in a hot oven for 3–5 minutes before filling
- Avoid overbaking on the first pass — overdone par-bakes dry out and crack rather than crispen properly on finishing
- For pizza, par-bake plain crusts only until matte, with no browning; sauce and toppings will carry the second bake
Good to know
- Also called
- Blind baking (for empty pie or tart shells); sometimes "pre-baking"
- Etymology
- "Par" from Latin and Old French, meaning "partially" or "by half"
- Primary purpose
- Set crust structure and drive off surface moisture so a dough can hold wet fillings, be stored, or be finished later without sogginess or underbaking
- Typical oven temperature
- 350–425°F (175–220°C), adjusted for dough richness and application
- Typical time
- Pie and tart shells 12–20 minutes weighted plus 5–10 minutes uncovered; pizza crust 4–7 minutes; bread rolls about two-thirds of a full bake
- Core equipment
- Oven, parchment, pie or dough weights (ceramic beads, dry rice, or dried beans), fork or docker, wire rack
- Storage after par-bake
- Cool fully, wrap airtight; 1–2 days at room temperature, up to 2–3 months frozen
- Difficulty
- Beginner-friendly; the core skill is reading partial doneness by dryness and pale color, not by browning
Also called
part-baking · parbaking · blind par-bake
Dishes that rely on it
Related

Sear
Blast the surface hot for a deep-browned, savory crust

Sauté
Cook quickly in a little fat over lively heat, tossing as you go

Stir-Fry
Toss bite-sized pieces over roaring heat for fast, smoky cooking

Pan-Fry
Crisp food in a shallow layer of hot fat, turning once or twice

Deep-Fry
Submerge in hot oil for an all-over crackling crust

Roast
Cook uncovered in dry oven heat for browned edges and tender centers

Bake
Cook with steady, surrounding oven heat — the soul of bread and pastry

Broil
Hit food from directly above with fierce overhead heat