Transform & Preserve
Freeze-Drying
Removing moisture from frozen food by sublimation to preserve it while keeping flavor and structure.
Freeze-drying freezes food solid and then draws off the ice as vapor under low pressure, a process called sublimation that skips the liquid stage. The result is shelf-stable, lightweight food that retains most of its flavor, color, and nutrients and rehydrates quickly. Traditional versions like the Andean chuño exploit freezing nights and dry sun to do this with potatoes, while modern freeze-dryers do it mechanically.
Freeze-drying, properly called lyophilization, removes moisture from food by sublimation — ice passes directly to vapor without ever becoming liquid. To do that, the food is frozen solid and then placed under a deep vacuum; as the shelves warm gently, the frozen water migrates out of the food and collects on a cold condenser. The result is a dry, bone-light product whose cellular structure, color, and volatile aromatics survive almost intact, in a way that air-drying or oven-drying cannot match.
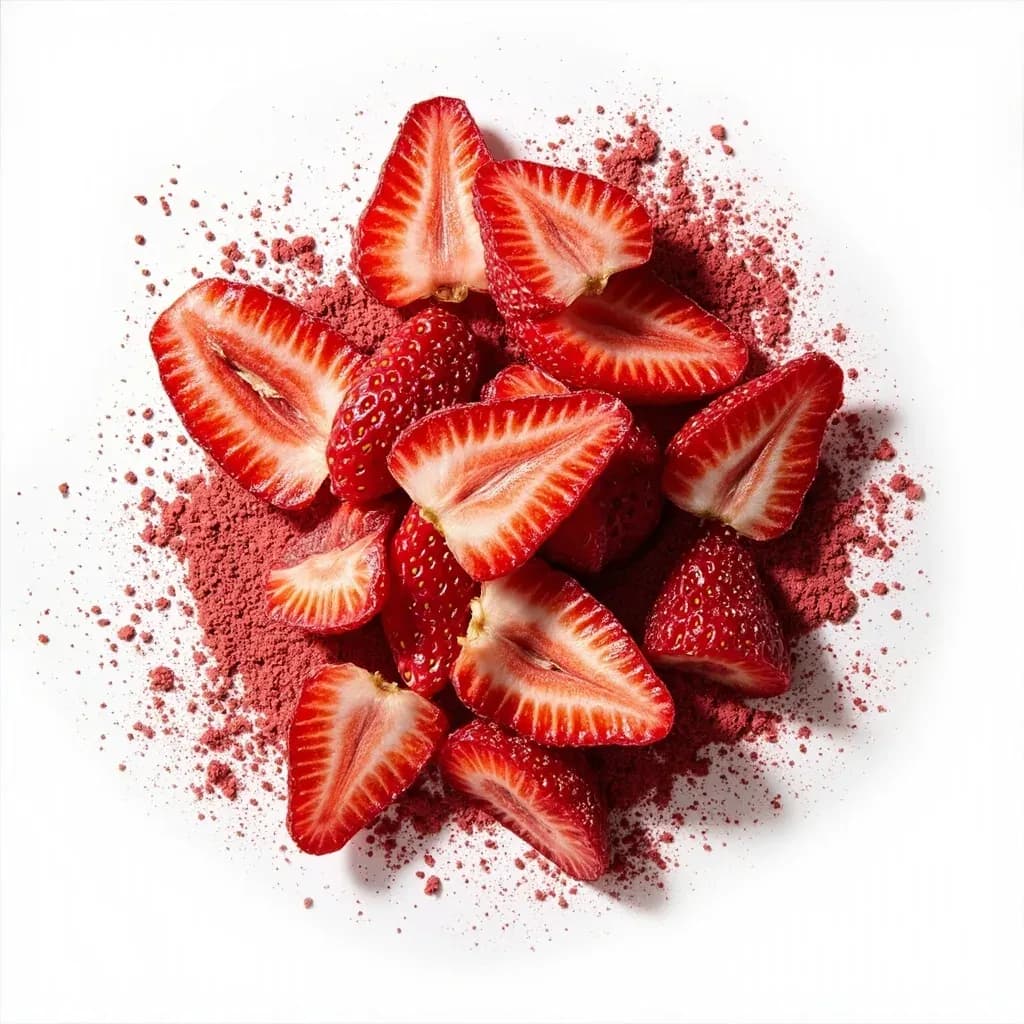
The technique matters in the kitchen because it sidesteps the two big problems of conventional drying. Heat-sensitive vitamins (notably C and the B complex) and delicate floral or grassy aromatics — basil, raspberry, citrus zest — are largely spared, and the food does not shrink, darken, or toughen the way it does in a dehydrator. A freeze-dried strawberry looks and smells like a strawberry; a dehydrated one tastes like a leather sweetmeat. It is also the only home method that will turn a ripe tomato, a soft berry, or a saucy casserole into a pantry-stable product without cooking it to mush.
In practice, freeze-dried food is brittle, featherweight (often 70–90% lighter than the original), and riddled with tiny pores that drink water back in within minutes. That porosity is what lets it rehydrate almost as well as the fresh food — and it is also why the finished product must be sealed away from air and moisture the instant it leaves the machine, since the same open structure makes it just as quick to absorb water from the room.
- Difficulty
- Hard
Types & varieties
Strawberries, apples, bananas, raspberries, blueberries, mango — the most popular home category, eaten dry or rehydrated
Peas, corn, sweet peppers, mushrooms, onions, green beans — used in instant meals, soups, and trail cooking
Cooked ground beef, shredded chicken, diced hard-cooked eggs, cooked shrimp — fully rehydrated before serving
Cheese, ice cream (the 'astronaut ice cream' novelty), ice cream sandwiches, yogurt drops
Chives, basil, garlic, parsley — potent and brittle; store sealed to protect volatile oils
Granular instant coffee (such as Nescafé Taster's Choice or Nescafé Gold) is brewed coffee extract that has been freeze-dried
Pre-cooked, portioned entrées from brands like Mountain House and Backpacker's Pantry — boil water, pour, wait
Skittles, marshmallows, gummies, cheese curds — light, crunchy, melt-on-the-tongue texture
How to do it
- 1
Prepare the food
Wash, peel, and trim. Slice uniformly about 6 mm (¼ in) thick; peas, corn, and similar small items can be loaded whole. Blanch green vegetables 1–2 minutes to inactivate enzymes, then drain and pat dry. Pat proteins dry of surface moisture. Always pre-cook meats, grains, and eggs to full doneness — raw proteins do not finish safely in a home freeze dryer.
- 2
Pre-freeze the load
Spread the prepared food in a single layer on the trays (or freeze it flat on sheet pans first and transfer). Freeze solid, ideally to −30 °C (−22 °F) or below. A fully frozen load skips the slow initial freeze inside the machine and can shorten the cycle by several hours.
- 3
Load the chamber and start the cycle
Stack the trays on the rack inside the freeze dryer, close the door, and start the cycle. The vacuum pump pulls pressure down to a few tenths of a millibar while the shelves warm gently, driving ice straight to vapor. The machine runs primary drying (sublimation) automatically.
- 4
Run secondary drying
After the bulk ice is gone, the unit raises the shelf temperature higher to drive off water that was bound to sugars, proteins, and salts. Most home cycles run 20–36 hours total, depending on load density and slice thickness.
- 5
Test for dryness
Break a piece in half. Fully freeze-dried food is brittle and snaps cleanly with a dry interior. Soft, leathery, or cold centers mean the batch needs more secondary drying time — add 2–4 hours and retest.
- 6
Package immediately
Remove the trays and bag the product right away in a dry room. Use Mylar bags, #10 cans, or mason jars with an appropriately sized oxygen absorber. Squeeze excess air out of bags before heat-sealing; even brief air exposure begins the moisture rebound.
- 7
Store and label
Store sealed containers in a cool, dark, dry place and label each one with the contents and run date. Properly packed freeze-dried food keeps 10–25 years depending on the product and packaging.
- 8
Use the finished product
Eat dry as a snack, grind into a powder for baking or seasoning, or rehydrate by covering with cool or warm water and waiting 5–10 minutes. Use slightly less water than the original volume, since the food does not reabsorb all of it.
How freeze-drying differs from dehydrating
A dehydrator moves water out with warm moving air, and the food spends hours at 50–70 °C (120–160 °F). Enzymes keep working, browning reactions keep happening, and volatile aromatics cook off. The food shrinks, toughens, and darkens. A freeze dryer freezes the food first and pulls water out as vapor, so the cells stay rigid and intact. Color, shape, and aroma are largely preserved, and rehydration is far more complete. The trade-off is equipment cost, cycle length, and a strict intolerance for high-fat or high-sugar loads. Many home users run both machines: the dehydrator for jerky, fruit leathers, and herbs; the freeze dryer for fruits, complete meals, and dairy.
What freeze-dries well — and what does not
Lean, low-fat, high-water foods are ideal: berries, apples, peas, cooked lean meats, cooked rice, hard-cooked eggs, and fresh herbs. Fats and sugars cause the trouble. Honey, syrup, jam, and butter stay tacky and can drip into the vacuum pump; high-fat cheeses and meats oxidize quickly even when dry, so trim visible fat before loading. Acidic foods such as citrus zest dry well and make superb powders. Pre-cooked, saucy dishes — chili, curries, casseroles — freeze-dry beautifully, as long as fat is skimmed and the layer on the tray is no thicker than about 6 mm (¼ in).
Common uses
Tips & pitfalls
- Pre-freeze the food flat on trays before loading — a fully frozen block sublimates faster and more evenly than a soft load.
- Cut pieces uniformly about 6 mm (¼ in) thick; thicker pieces take disproportionately longer and often finish damp in the center.
- Blanch vegetables such as green beans, broccoli, and leafy greens for 1–2 minutes before loading to inactivate enzymes and lock in color.
- Do not load honey, jam, syrup, butter, or pure oils — the sugars and fats stay tacky and can drip into the vacuum pump.
- Pat fatty meats and cheeses dry or trim visible fat before loading; high oil slows drying and shortens storage life through oxidation.
- Seal the finished product in Mylar bags or jars with a fresh oxygen absorber the moment it leaves the chamber; even brief air exposure starts moisture rebound.
- Avoid opening the chamber mid-run; if you must, expect several extra hours of secondary drying to finish the batch.
- Vent the freeze dryer outdoors if possible — sublimation releases a surprising amount of water vapor, and a damp room slows the cycle.
Good to know
- Process type
- Sublimation drying (lyophilization): ice transitions directly to vapor under vacuum, bypassing the liquid phase
- Phases
- Primary drying (sublimation of free ice) followed by secondary drying (desorption of bound water)
- Vacuum range
- Roughly 0.1–0.3 mbar — well below atmospheric pressure
- Cycle time
- 20–48 hours per batch on a home unit, depending on load density and slice thickness
- Shelf life
- Sealed with oxygen absorbers, commonly 10–25 years for many foods
- Weight reduction
- Roughly 70–90% lighter than the original; over 90% of water removed
- Nutrient retention
- Preserves most heat-sensitive vitamins (especially C and B) better than heat drying
- Drying test
- A finished piece should snap cleanly; soft, leathery, or cold centers mean more time is needed
Also called
Freeze-Drying (Chuño Making) · Lyophilization · Freezing (Pakastus)
Dishes that rely on it
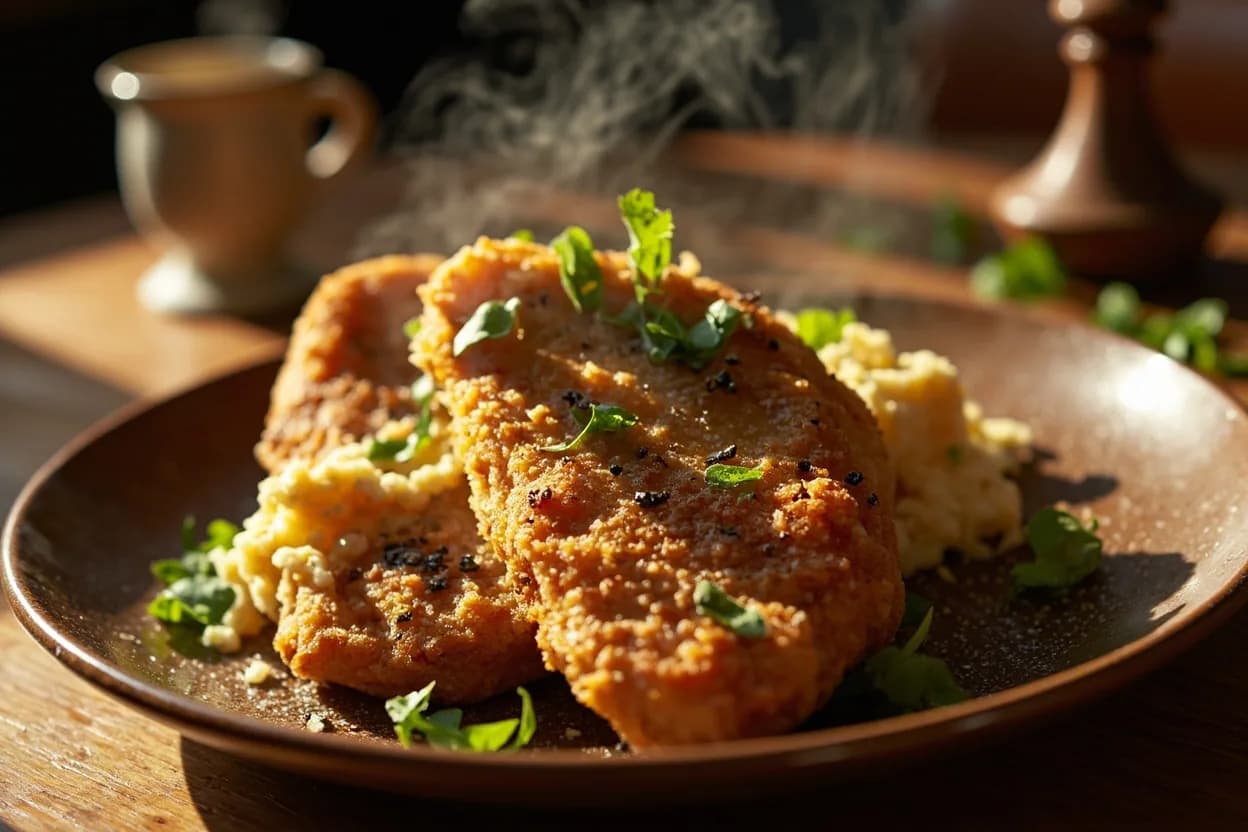
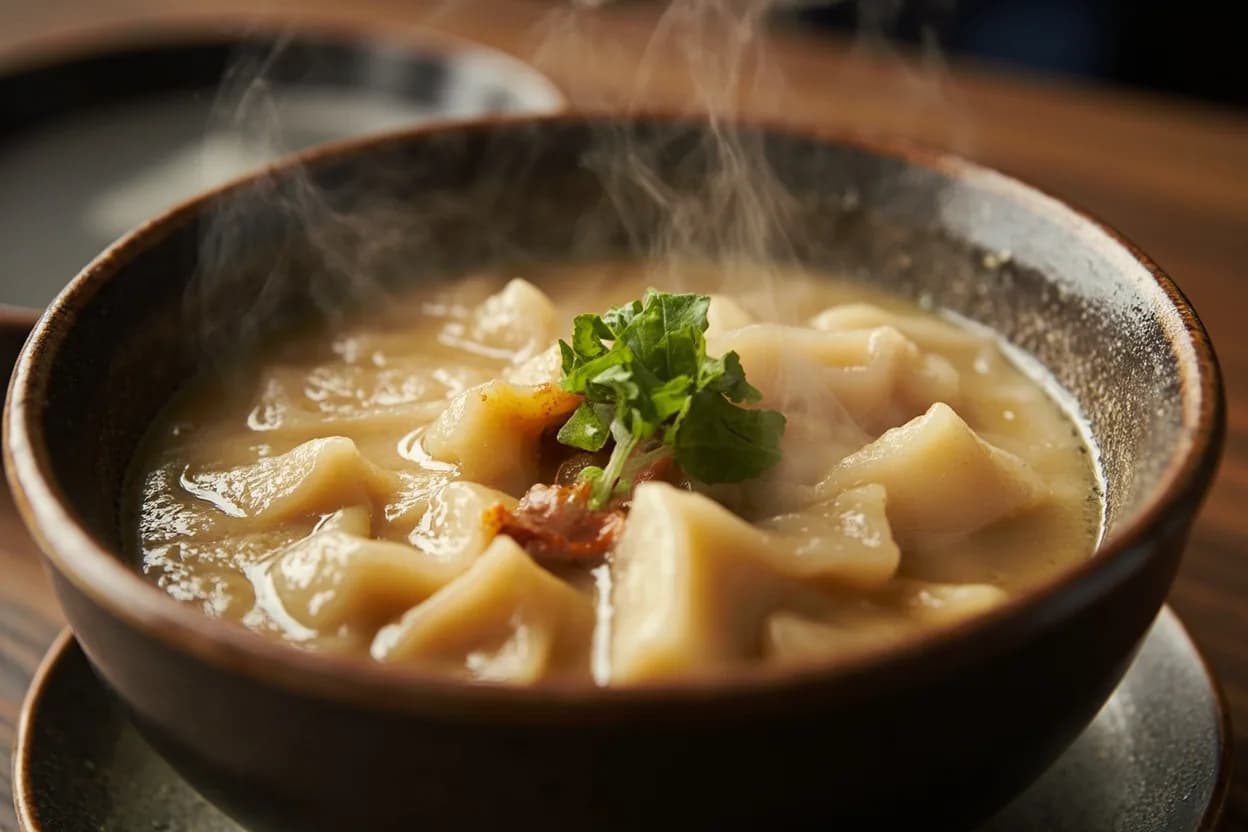
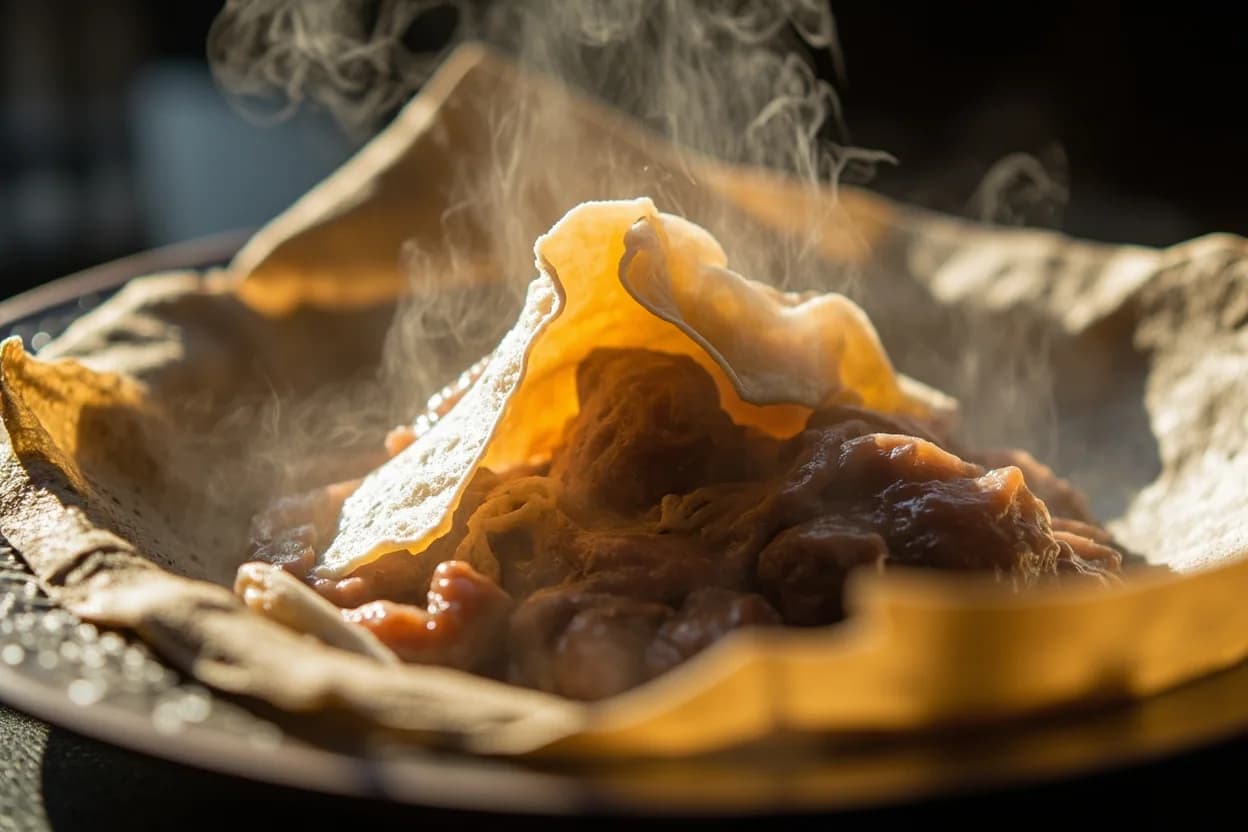
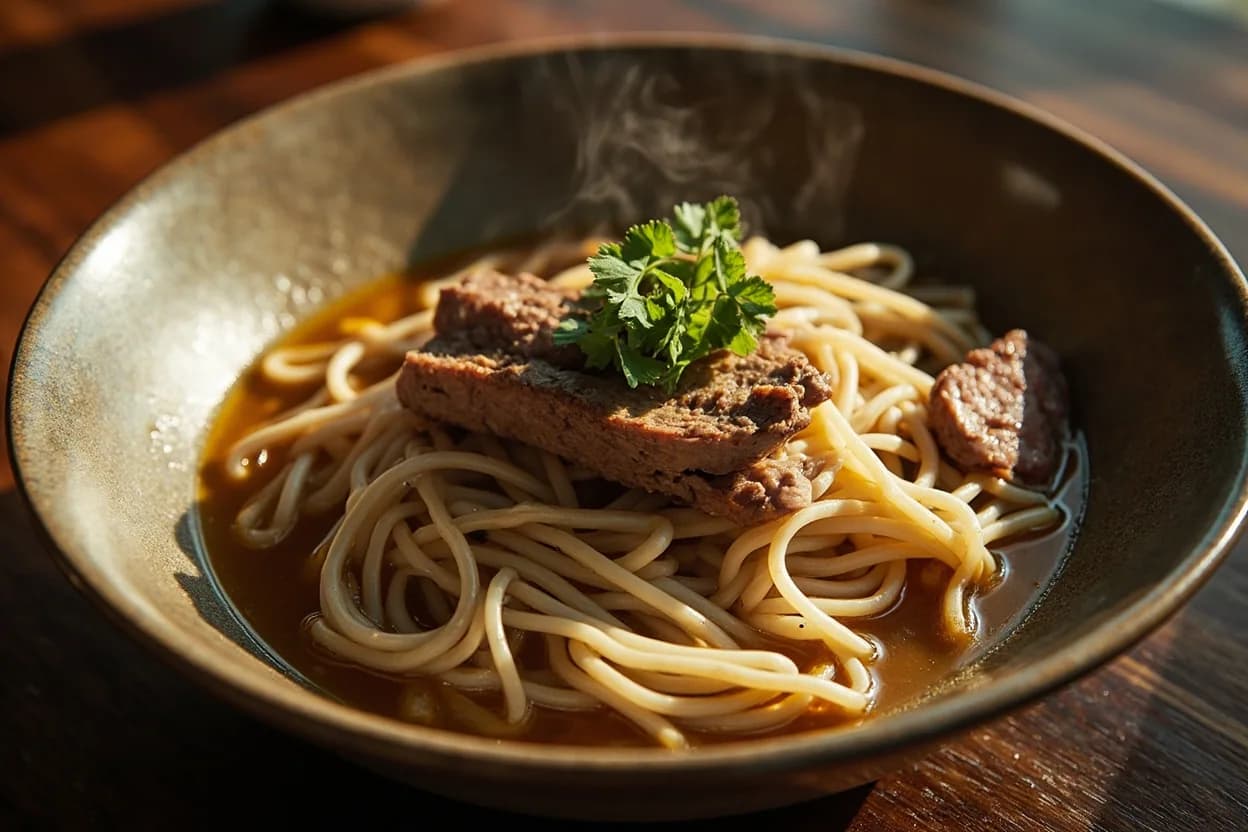
Related

Confit
Cook slowly submerged in fat for silky tenderness and keeping

Cure
Draw out moisture with salt and time to preserve and concentrate

Pickle
Steep in acidic brine for bright, tangy, crunchy preservation

Ferment
Let friendly microbes transform food into tangy, complex flavor

Marinate
Soak in a seasoned mix to flavor and tenderize before cooking

Brine
Soak in salt water so meat stays juicy and seasoned throughout

Dehydrate
Slowly dry out moisture to concentrate flavor and extend shelf life

Cold-Smoke
Perfume cured food with smoke without cooking it through