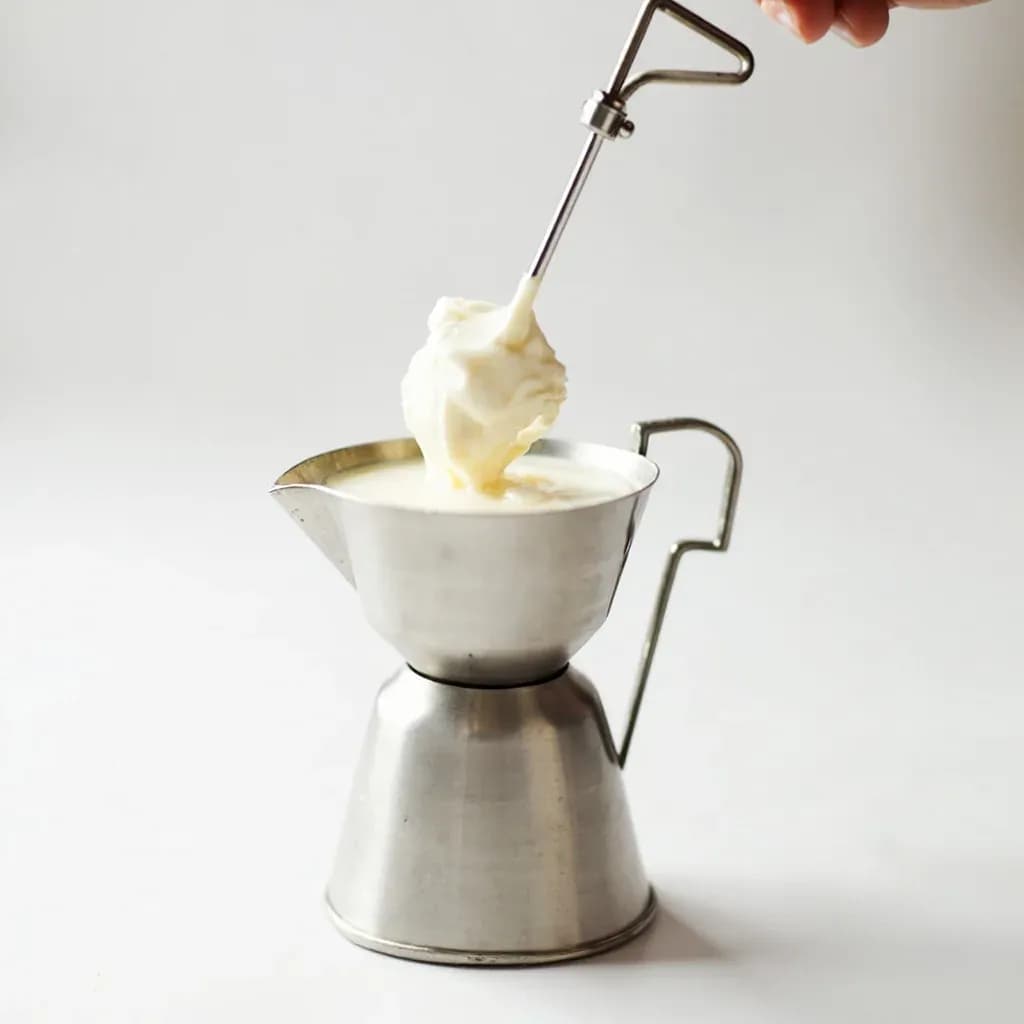
Water & Steam
Milk Steaming
Injecting steam into milk to heat it and create silky microfoam for espresso drinks.
Milk steaming uses an espresso machine's steam wand to simultaneously heat milk and whip air into it, producing glossy microfoam for lattes and cappuccinos. The barista stretches the milk by introducing air near the surface, then submerges the wand to swirl and texture it into a smooth, paint-like consistency. Stopping around 60-65C keeps the milk sweet without scalding the proteins.
Milk steaming is the barista technique of injecting pressurized steam from an espresso machine into cold milk to heat it and, in the process, whip it into a uniform, glossy microfoam. The goal is not simply hot milk — it is milk whose fat, proteins, sugars, and water have been emulsified into a stable colloidal liquid dense enough to flow like paint, light enough to float on espresso crema, and sweet and rich enough to balance a strong espresso. Done well, the milk feels almost weightless on the palate; done poorly, it is thin and watery, scalded, or full of soapy bubbles that burst on the surface.
The technique has two distinct phases that must be separated in time. In the stretching phase, the steam tip sits at the surface and pulls in air, expanding the milk's volume; in the rolling phase, the tip is submerged and the milk is sheared into a vortex that breaks those new bubbles down to roughly 100–300 microns and homogenizes the texture while the milk finishes heating. Skipping the discipline — adding air late, rolling too shallow, or overheating — is the difference between a cappuccino and a hot-milk accident. The window is narrow: proteins stabilize foam best between 100 and 150°F, and beyond about 160°F the milk scorches, sugars degrade, and the foam collapses.
Modern milk steaming is inseparable from the espresso machine and from latte art. The microfoam it produces is what allows a barista to pour a rosetta or tulip, what gives a flat white its silken body, and what distinguishes a café latte from a cup of warm milk. Understanding the physics — steam condensing on the cold surface, casein micelles stabilizing bubbles, fat slowing coalescence — is the difference between memorizing a recipe and being able to fix a drink that isn't working.
- Difficulty
- Medium
Types & varieties
Drier, stiffer microfoam with more incorporated air; drink is built in roughly equal parts espresso, steamed milk, and foam
Wetter, glossier microfoam with minimal air, integrated into the milk so it pours as a single liquid for latte art
Very thin, silky microfoam with almost no visible bubble structure; minimal volume increase, poured to merge with the crema
Lightly textured, barely aerated; warm milk with only a faint foam layer and a roughly 1:1 milk-to-espresso ratio
Dry steam from a properly purged, high-pressure wand gives faster, finer results; wet steam from condensed water thins the milk and prevents foam
How to do it
- 1
Prepare the machine and milk
Fill a chilled stainless steel pitcher to just below the base of the spout with cold milk straight from the refrigerator — about one-third full for a 12 oz / 350 mL pitcher. Purge the steam wand for 1–2 seconds into the drip tray to clear any condensed water from the line.
- 2
Position the pitcher and wand
Grip the pitcher by the handle with the spout pointed forward. Tilt the pitcher slightly off vertical and bring the wand tip to the surface of the milk, just off-center toward the 10 or 2 o'clock position. Rest your free hand against the side of the pitcher, or clip a thermometer to the inside wall.
- 3
Stretch — incorporate air
Open the steam valve fully. Keep the tip right at the surface so you hear a soft paper-tearing or sipping hiss as air is drawn in. The milk should expand visibly without large bubbles forming on top. Continue for 4–8 seconds, until the pitcher is no longer comfortable to hold with a bare hand — around 100°F (38°C).
- 4
Roll — emulsify and heat
Lower the pitcher slightly so the wand tip is submerged about 1–2 cm below the surface. The hissing should stop and the milk should spin in a smooth, glossy vortex with no new bubbles breaking the surface. Continue until the pitcher reads 140–150°F on a thermometer, or feels almost too hot to hold.
- 5
Finish the texture
Close the steam valve and remove the pitcher. Tap it once firmly on the counter to pop any large bubbles, then swirl until the surface looks glossy, integrated, and pourable — wet-paint, not shaving cream. Pour immediately.
- 6
Clean and purge
Wipe the steam wand tip with a damp cloth the instant you finish, then purge it briefly into the drip tray. Between drinks, soak the tip in a small pitcher of clean water so milk solids do not bake onto it and clog the small holes.
The science of milk foam
Steamed milk is a foam — a dispersion of air bubbles in a liquid — held together by milk proteins. Casein micelles are the primary stabilizers: they migrate to the air–liquid interface and form an elastic film around each bubble. Whey proteins denature at higher temperatures and contribute further elasticity to that film. Fat globules do not create foam, but they slow the rate at which bubbles merge, which is why whole milk produces a denser, more stable microfoam than skim, and why non-dairy milks with very little fat often collapse quickly.
The vortex created by proper wand placement does the mechanical work of shearing incoming air into very fine bubbles, on the order of 100–300 microns — small enough that light reflects evenly off the surface, giving milk its wet-paint sheen. Once the milk is hot (above roughly 100°F), the existing foam structure has set and additional air introduced late produces large, unstable bubbles that float to the top and pop rather than integrating into the microfoam. This is why experienced baristas stretch early and roll late.
Non-dairy milks
Plant-based milks behave very differently from dairy, and foam quality varies enormously by brand and formulation. The proteins, fats, and stabilizers in oat milk most closely mimic dairy casein behavior, and bar-quality oat milks (typically with 3–4% fat and added dipotassium phosphate or similar stabilizers) stretch and roll nearly as well as whole milk. Almond milk foams poorly unless specifically formulated; soy milk can foam well but takes on a beany note when heated; coconut milk separates and steams unpredictably. As a rule, check the label for protein content above 2% and the presence of an emulsifier or gellan/guar gum, both of which help stabilize the foam.
Common uses
Tips & pitfalls
- Start with cold milk straight from the refrigerator — cold milk gives you more working time to texture before the pitcher hits target temperature.
- Always purge the steam wand for 1–2 seconds before inserting it; condensed water in the line will thin the milk and kill the foam before you start.
- Tilt the pitcher and keep the wand off-center to create a vortex; aim for a rolling hiss, not a screaming one — a loud screech means you are pulling in too much air.
- Stop stretching as soon as the pitcher feels too hot to hold with a bare hand; once the milk is hot, additional air produces large, unstable bubbles rather than microfoam.
- Stop heating at 140–150°F. Going past 160°F scorches the milk, kills its natural sweetness, and collapses the foam — and it cannot be fixed by pouring.
- Wipe and purge the steam wand immediately after every drink. Dried milk clogs the tip and ruins the next steaming, and it is nearly impossible to remove once baked on.
- Use a pitcher that is the right size for the drink — too much headspace prevents a vortex from forming, too little causes overflow. A 12 oz pitcher suits a single drink; a 20 oz pitcher suits two.
- Do not try to re-steam milk that has been sitting. The proteins are already partly denatured, the foam structure has begun to collapse, and the milk will taste flat and refuse to foam.
Good to know
- Technique family
- Wet-heat emulsification using pressurized steam (typically 1.0–1.5 bar) from an espresso machine
- Target temperature
- 140–150°F (60–65°C); 160°F (71°C) is the practical upper limit before sweetness and foam stability degrade
- Two phases
- Stretching (incorporating air at the surface) and rolling (submerging the tip to emulsify and heat without adding more air)
- Stretching window
- From cold until the pitcher becomes too hot to hold with a bare hand, around 100°F (38°C)
- Total time
- Roughly 4–8 seconds of stretching plus 15–25 seconds of rolling; 20–30 seconds end to end
- Best milk for foam
- Whole (3.25% fat) dairy milk — fat carries flavor compounds and slows bubble coalescence, while casein proteins stabilize the foam
- Resulting texture
- Glossy microfoam with bubble size 100–300 microns, often described as wet-paint or velvet, with 10–25% volume increase
- Wand purge
- Always purge the steam wand for 1–2 seconds before and after steaming to clear condensed water and residual milk
Also called
steaming milk · milk frothing · texturing milk
Dishes that rely on it

Related

Boil
Cook in vigorously bubbling liquid at full rolling heat

Simmer
Hold liquid at a gentle shimmer for tender, unhurried cooking

Poach
Cook gently in barely-trembling liquid for silky, tender results

Steam
Cook in rising vapor to keep color, nutrients, and shape intact

Blanch
Plunge briefly in boiling water, then shock cold to lock color

Braise
Sear, then cook slow in a little liquid until fall-apart tender

Stew
Simmer bite-sized pieces fully submerged into a rich, unified pot

Sous-Vide
Seal and cook in precise warm water for edge-to-edge doneness