Transform & Preserve
Pasteurization (Stabilizing)
Heating food briefly to kill pathogens and extend its shelf life.
Pasteurization heats liquids or foods such as milk, juice, and egg to a precise temperature for a set time to destroy harmful microbes without fully cooking them. It stabilizes the product, extending shelf life while preserving most flavor and nutrients. Methods range from quick high-temperature flash treatment to gentler, longer holds, and accurate temperature control is essential for both safety and quality.
Pasteurization is a controlled heat treatment designed to slash pathogenic and spoilage microorganisms to safe levels while leaving flavor, color, texture, and most nutrients largely intact. The method, developed by Louis Pasteur in 1864 to keep wine from souring, accepts a practical truth: not every microbe has to die, only the dangerous and destabilizing ones. Compared with full sterilization (pressure canning at 250°F/121°C), pasteurization trades shelf stability for sensory and nutritional quality — which is exactly why it remains the standard for fluid milk, juice, beer, cider, and many egg-based preparations.
In practice, pasteurization is defined by paired time-and-temperature targets that together deliver a known lethality against the pathogens of concern. The common targets are not arbitrary: 161°F (72°C) for 15 seconds for fluid milk, 145°F (63°C) for 30 minutes for vat-treated cheese milk, roughly 275–302°F (135–150°C) for a few seconds for UHT shelf-stable products, and about 140°F (60°C) for 3.5 minutes for whole eggs in commercial systems. Each combination is validated against specific organisms (Coxiella burnetii, Listeria, Salmonella, Mycobacterium tuberculosis) in a specific matrix.
It is critical to understand what pasteurization does not do. It does not kill bacterial spores — particularly Clostridium botulinum and Bacillus — so cooled pasteurized foods still require refrigeration and clean handling. It is not a substitute for sanitation, and it cannot reliably rescue contaminated raw ingredients. A cook who treats pasteurization as a magic reheating step will produce a worse result than one who respects it as a precisely timed, rapidly cooled process with calibrated instruments.
- Difficulty
- Medium
Types & varieties
Low-Temp, Long-Time: 145°F/63°C for 30 min in a batch vat; favored for cheese milk.
High-Temp, Short-Time: 161°F/72°C for 15 sec in a plate or tubular heat exchanger; the fluid-milk standard.
Higher-Heat, Shorter-Time: roughly 191°F/88°C for 1 sec or equivalent lethality; used for cream and ice cream mixes.
Ultra-High Temperature: 275–302°F/135–150°C for 1–6 sec; paired with aseptic packaging for shelf-stable products.
Slightly below UHT (~280°F/138°C, 2 sec); extends refrigerated shelf life of cream and dairy drinks but still requires chilling.
Indirect heating through concentric stainless tubes; an older alternative to HTST.
Product sealed in its container then heated; used for bottle- and can-conditioned beer, and for some ciders.
How to do it
- 1
Choose the appropriate time/temperature target
Select a validated combination for your product: 161°F/72°C for 15 s (HTST) for fluid milk, 145°F/63°C for 30 min (vat) for cheese milk, ~140°F/60°C for 3.5 min for whole eggs, or ~160–175°F for a few seconds for juice. Match the target to your goal — drinking safety, shelf-life extension, or cheese-making — and write it down.
- 2
Set up equipment and a calibrated thermometer
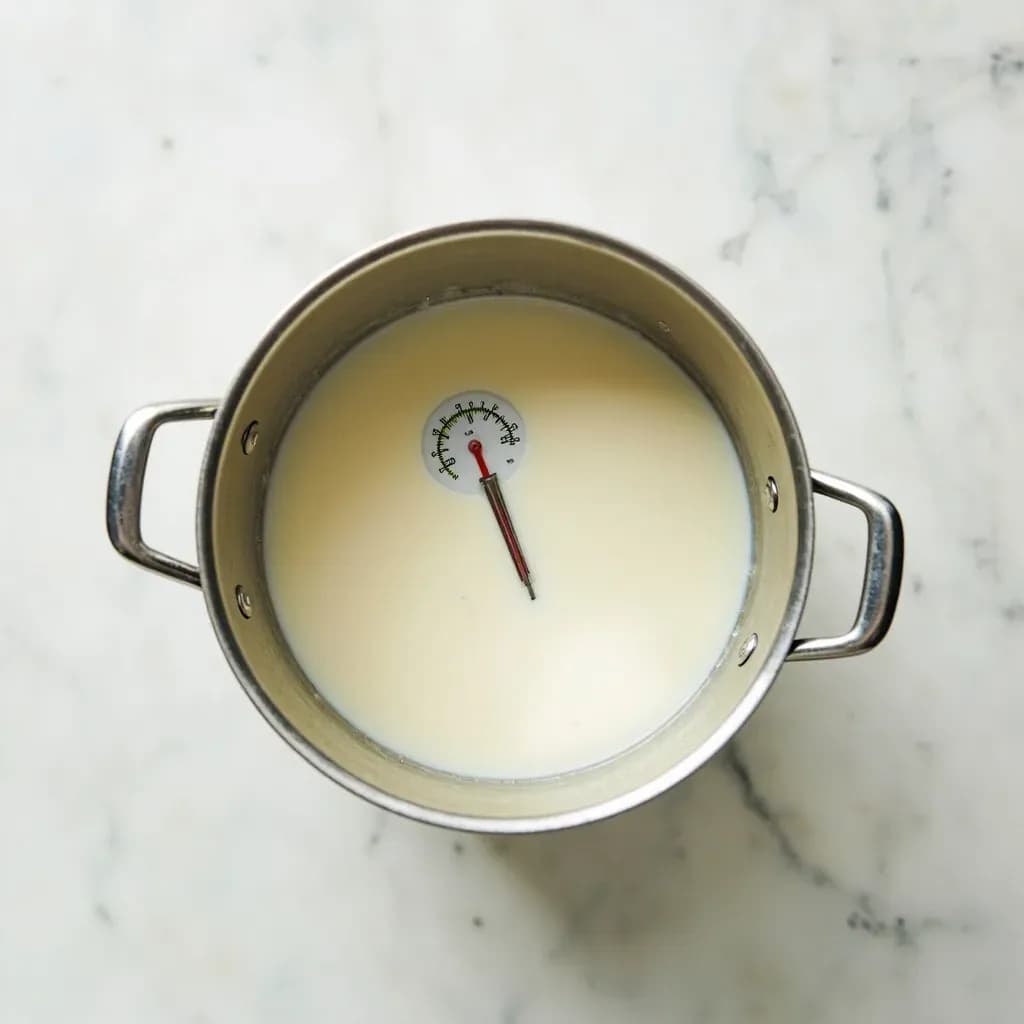
Use stainless steel equipment and a calibrated digital probe thermometer (check it in ice water at 32°F/0°C and boiling water adjusted for altitude). Have a timer with seconds ready. For thin liquids, prepare an ice bath in a sink or basin before you start heating.
- 3
Heat the product to the target temperature
Bring the product up to the target steadily, stirring thin liquids (milk, cream, juice) constantly to prevent hot spots and scorching. For thicker products like purées, custard bases, or egg mixes, use a double boiler so the bottom does not exceed the target.
- 4
Hold at the target for the required time
The clock starts the moment the entire batch reaches the target — not when heat goes on, and not when the edges begin to steam. Keep the temperature within ±1°F (±0.5°C) of target for the full hold. Cutting time short or letting the temperature drift down can leave pathogens in viable numbers.
- 5
Cool rapidly to storage temperature
Drop the product from target to below 40°F/4°C as quickly as possible — ideally within about 90 minutes for milk. Use an ice bath, stirring constantly, or a blast chiller. Slow cooling allows surviving thermophilic spores to germinate and multiply, and reheating later will not undo the resulting toxins.
- 6
Package and store appropriately
Transfer to clean, sanitized containers — not the pasteurizing pot, which sits in open air and recontaminates as it cools. Refrigerate at ≤40°F/4°C and use within the expected shelf life of the pasteurized product (typically 1–3 weeks for fluid milk; months for UHT).
Pasteurization vs. Sterilization: What Survives
The single most important distinction for a cook is that pasteurization is a reduction, not an elimination, of microorganisms. Sterilization aims at commercial sterility — the destruction of all vegetative cells and spores — and demands temperatures and times (typically 250°F/121°C for minutes under pressure) that visibly change food. Pasteurization aims at safety plus quality: a validated 5-log reduction of the pathogens of concern while leaving the product looking and tasting like the raw ingredient.
The gap between the two is filled by bacterial spores, which are extraordinarily heat-resistant. Clostridium botulinum, Bacillus cereus, and similar organisms shrug off pasteurization, then germinate and grow during slow cooling or sloppy refrigeration, sometimes producing toxins that reheating cannot destroy. That is why rapid cooling, clean containers, and 40°F/4°C storage are non-negotiable partners of any pasteurization step. It is also why pasteurized milk spoils within weeks while UHT milk keeps for months on a shelf — UHT alone, with aseptic packaging, genuinely approaches commercial sterility.
- Sterilization targets commercial sterility, including spores; pasteurization targets a 5-log reduction of pathogens and spoilage organisms.
- Spores of Clostridium and Bacillus survive pasteurization intact, so cooling speed and storage temperature determine real-world shelf life.
- Heating past pasteurization thresholds (toward sterilization) improves shelf life but visibly degrades flavor, color, and texture — the trade-off pasteurization is designed to avoid.
When Home Pasteurization Actually Makes Sense
Pasteurization in a home kitchen is best treated as a craft technique for specific tasks rather than a wholesale milk-safety program. Industrial plate heat exchangers hold fluid at 161°F for an exact 15 seconds while flow rate and temperature are continuously monitored; a saucepan cannot replicate that control. For drinking milk, buy commercially pasteurized product. Where home pasteurization earns its keep is in cheese-making (where it is often legally required for raw-milk cheese in many jurisdictions), in cider and fresh juice treated for an aging season or a family gathering, in bottle-conditioned beer, and in egg products destined for mayonnaise, hollandaise, ice cream bases, or tiramisu.
- Cheese-making: vat-pasteurize cheese milk at 145°F/63°C for 30 min, then cool quickly to ripening temperature.
- Cider and fresh juice: bring to a validated 160–175°F target for the prescribed hold, then chill rapidly — simmering briefly is not enough.
- Eggs: warm gently to 140°F/60°C and hold 3.5 min for commercial liquid egg; for home use, hold a custard-style mix in that band, stirring, to make sauces and ice cream bases safe.
- Bottle-conditioned beer: many brewers in-pack pasteurize at 140–160°F for 15–30 min to stabilize carbonation and kill residual yeast.
- Always verify with a calibrated probe thermometer — visual cues, foam, or simmering bubbles are not reliable indicators.
Common uses
Tips & pitfalls
- Use a calibrated digital probe thermometer — dial gauges drift, respond slowly, and are unsafe for fine lethality targets.
- Cool as fast as you heat: an ice bath or blast chiller is part of the process, not an optional extra. Slow cooling is where most home pasteurization failures happen.
- Never re-pasteurize a finished product; heat-shocked survivors often recover more aggressively than the original population.
- Stir continuously when pasteurizing thin liquids in a pot, or the surface and bottom will read very different temperatures and scorching will follow.
- Use stainless steel only for open-vat pasteurization — aluminum reacts with acids and can flavor milk and fruit products.
- For eggs and dairy sauces, hold well below the boil (sub-180°F/82°C) so proteins coagulate gently rather than curdle or scorch.
- Do not trust the 'simmer = pasteurized' myth for cider or juice; documented outbreaks have come from under-treated product held only at a low simmer.
- Know the law before pasteurizing milk at home — many jurisdictions allow cheese-making pasteurization but legally separate it from milk-for-direct-consumption rules.
Good to know
- Named after
- Louis Pasteur, who developed the method in 1864 to keep wine from spoiling.
- HTST milk standard
- 161°F (72°C) for 15 seconds — the U.S. FDA standard for fluid milk.
- Vat (LTLT) milk standard
- 145°F (63°C) for 30 minutes — older batch method still used for some cheese milks.
- UHT treatment
- Roughly 275–302°F (135–150°C) for 1–6 seconds, followed by aseptic packaging for shelf-stable milk.
- Whole egg pasteurization
- 140°F (60°C) for 3.5 minutes in commercial systems; permits safe use of raw-egg-style preparations.
- Juice HACCP rule
- FDA requires a 5-log pathogen reduction; HTST-style treatment (~160–175°F for a few seconds) is typical.
- Nutritional impact
- Minimal overall loss; modest reduction of heat-sensitive vitamins such as B1, C, and folate; enzymes partially inactivated.
- Does NOT do
- Not sterilization — does not kill spores such as Clostridium botulinum or Bacillus, so cooling and refrigeration still matter.
Also called
stabilizing · heat treatment
Dishes that rely on it



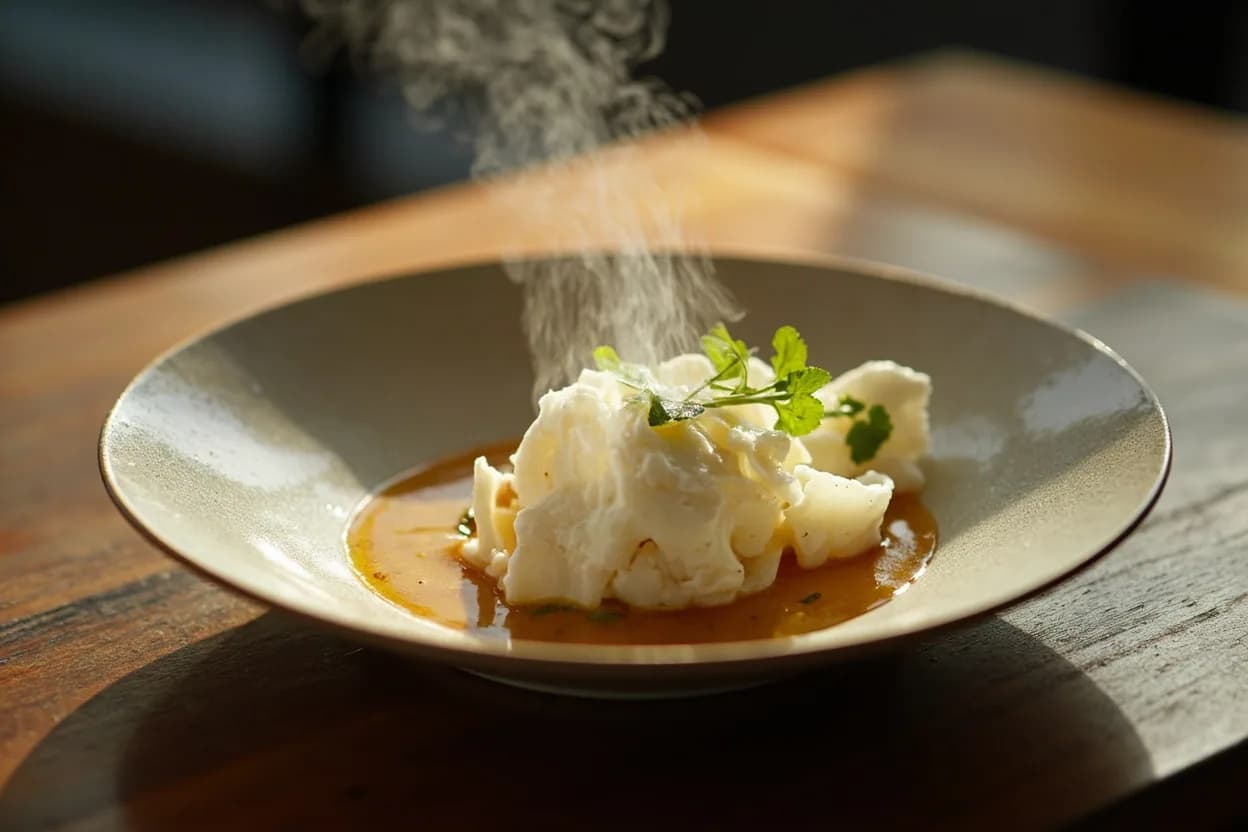
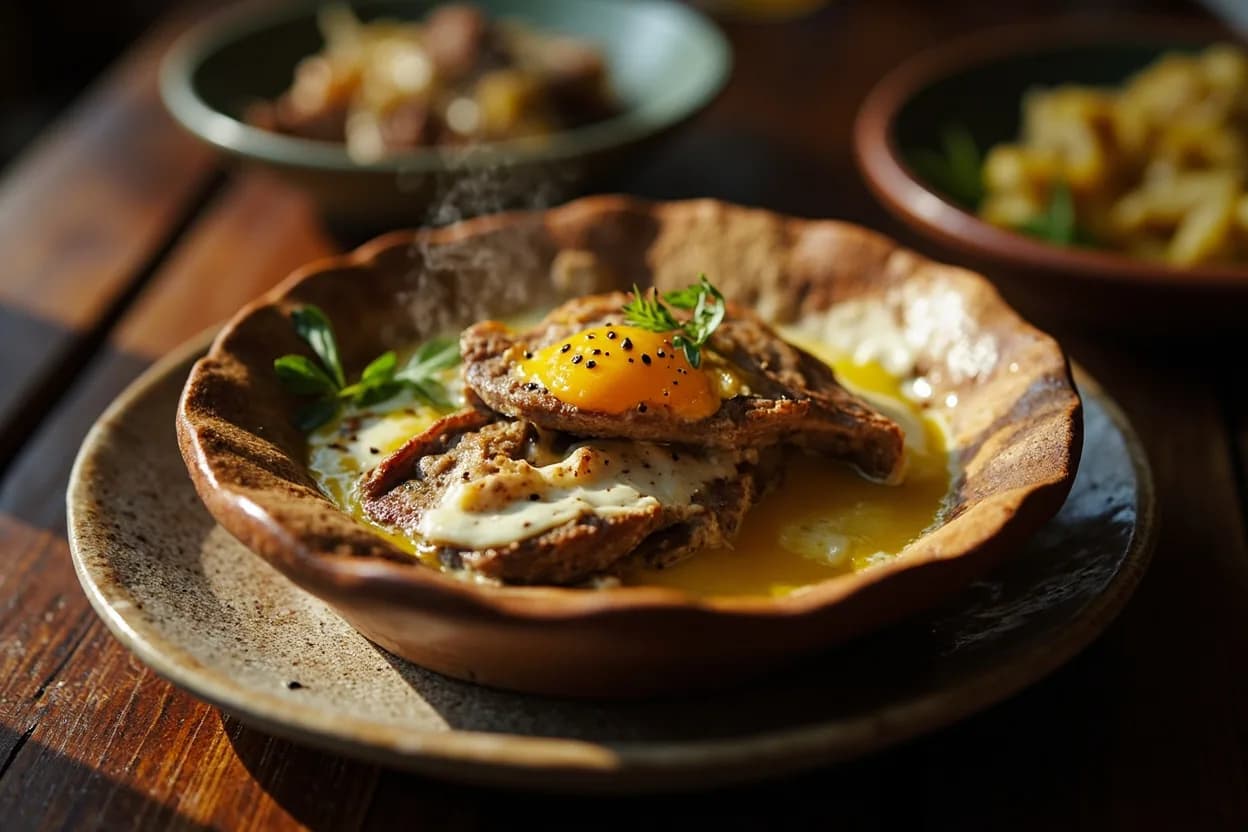
Related

Confit
Cook slowly submerged in fat for silky tenderness and keeping

Cure
Draw out moisture with salt and time to preserve and concentrate

Pickle
Steep in acidic brine for bright, tangy, crunchy preservation

Ferment
Let friendly microbes transform food into tangy, complex flavor

Marinate
Soak in a seasoned mix to flavor and tenderize before cooking

Brine
Soak in salt water so meat stays juicy and seasoned throughout

Dehydrate
Slowly dry out moisture to concentrate flavor and extend shelf life

Cold-Smoke
Perfume cured food with smoke without cooking it through