Water & Steam
Pre-Infusion
A brief low-pressure wetting of coffee grounds before full extraction to ensure even saturation.
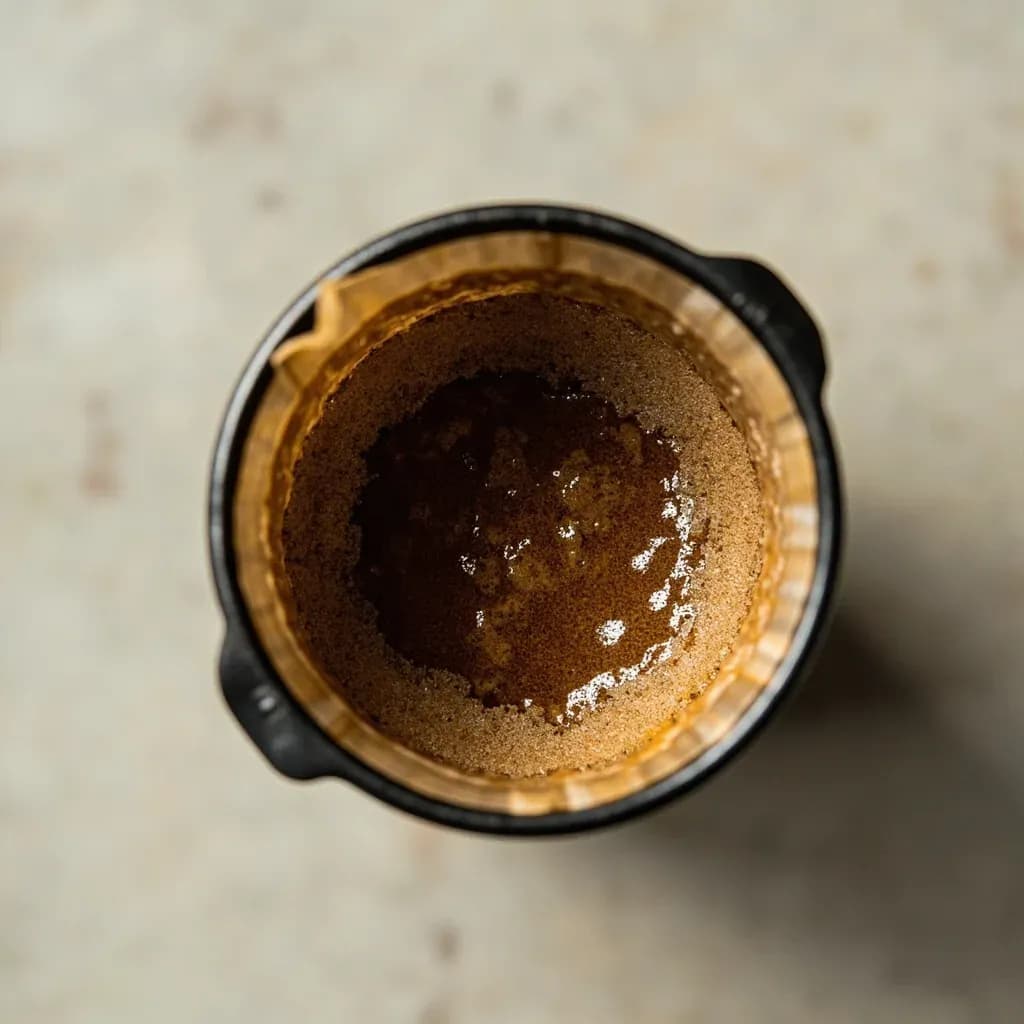
Pre-infusion gently soaks the espresso puck with a small amount of water at low pressure before the machine ramps to full brewing pressure. The pause lets the grounds bloom and swell evenly, reducing channeling where water would otherwise punch through weak spots. The result is a more even, balanced extraction, and many espresso machines build a programmable pre-infusion phase into their pump profile.
Pre-infusion is the deliberate application of low-pressure water to a coffee bed before the main espresso extraction begins. By gently wetting the grounds at line pressure (1–2 bar) or a soft pump pressure (2–4 bar) for a few seconds, the puck is given time to absorb water, vent trapped carbon dioxide, and settle into a uniform state. Without it, full 9-bar pressure hits a dry, gas-laden bed almost instantly, and water takes the path of least resistance — producing channeling, sour notes, and a torn or soupy puck at the end of the shot.
The technique matters most in the opening seconds of a pull, when the grounds are still resisting water and air is being displaced. Freshly roasted beans are particularly gassy: their CO2 actively repels water and contributes to the fizzy, erratic first drips that baristas call "spritzer." Pre-infusion turns that chaotic moment into a controlled one and, in doing so, improves extraction consistency from shot to shot. It does not, however, fix poor preparation — a badly distributed or unevenly tamped puck will still channel no matter how long you pre-wet it.
The idea dates to 1961, when Ernesto Valente designed the E61 group head for Faema with a thermosiphon chamber that passively delivered a pre-wet before the pump ramped up. That mechanical design is still produced today, and the principle has since expanded into programmable pre-infusion, soak-and-pause holds, and gradual pressure ramps on modern prosumer and commercial machines — where pre-infusion is increasingly treated as the opening segment of a multi-stage pressure curve rather than a discrete step.
- Difficulty
- Medium
Types & varieties
On manual spring or direct-lever machines such as the La Pavoni, the barista holds low pressure by hand during a slow lever lift before pushing up to full extraction pressure.
Passive pre-wet delivered by the E61 group's thermosiphon chamber; no programming required.
Set duration and pressure on PID or paddle machines such as the La Marzocco Strada, Linea Mini, and Profitec Pro 700.
Adds a zero-pressure hold after wetting so the bed can rest before the main extraction begins.
Gradually climbs from 2–3 bar up to 9 bar instead of switching hard, used in pressure profiling on Slayer, Modbar, and Decent machines.
The same wetting principle applied in V60, Chemex, and French press, though at atmospheric pressure.
How to do it
- 1
Dose and distribute
Weigh the dose (typically 16–20 g for a single basket) into a dry portafilter. Break up clumps with a WDT needle tool or by gently tapping, then level the bed so grounds sit evenly — uneven distribution is the main reason pre-infusion alone won't fix channeling.
- 2
Tamp evenly
Apply a level, consistent tamp of around 13–15 kg. The goal is a flat, uniform surface so water finds its path through the whole puck, not just one side.
- 3
Lock in and start the pump
Engage the portafilter in the group head and start the pump immediately. On lever machines, raise the lever gently to a low hold position. On electronic machines, use the programmed pre-infusion button or set a timed low-pressure stage of 2–4 bar.
- 4
Hold at low pressure
Let water sit on the puck for roughly 5–10 seconds. The bed should darken and swell slightly as CO2 vents and air is displaced. The first drips into the cup should begin near the end of this phase, not before.
- 5
Ramp to full pressure
Release the lever fully or let the machine transition to 9 bar. On pressure-profiling machines, climb over 2–3 seconds rather than slamming to 9 bar — sudden jumps can crack a saturated puck.
- 6
Pull the shot as normal
Target your usual 1:2 ratio in 25–32 seconds total time, including pre-infusion. The puck should release as a firm, even disc; a soupy or torn puck means pre-infusion time, dose, or distribution needs adjustment.
- 7
Adjust and repeat
If shots taste sour and pull fast, shorten pre-infusion or tighten the grind. If shots taste flat and pull slow, lengthen pre-infusion slightly or coarsen the grind one click. Treat pre-infusion as a dial, not an on/off switch.
Pre-infusion vs. bloom
The bloom in pour-over and immersion brewing is the atmospheric-pressure cousin of pre-infusion. In a V60 or Chemex, a small amount of water saturates the grounds and releases CO2 before the main pour; in a French press, a short standing time after the initial pour achieves the same goal. The physics are identical — water finds dry pockets, gas escapes, and the bed becomes uniformly wettable — but espresso adds pressure as a third variable, which is why the wetting step is shortened to seconds and given explicit machine support.
From pre-infusion to pressure profiling
On machines such as the Slayer, Decent, La Marzocco Strada, and Modbar, pre-infusion is no longer a single timed event but the first segment of a longer pressure curve. A typical profile might run 4 seconds at 2 bar, ramp to 6 bar over 3 seconds, hold at 9 bar for the bulk of the extraction, then taper to 6–7 bar for the finish. In this context, pre-infusion is a tuning tool as much as a wetting step — it sets the stage for how the rest of the curve will extract.
When pre-infusion helps and when it hurts
Pre-infusion earns its keep on fresh, dense, or very lightly roasted coffee, and on machines that deliver water in a hard, sudden way. It is less useful, and can even be harmful, on stale beans, very coarse grinds, or low-dose shots where the bed is already too thin to resist water. Used as a dial rather than a switch, it is one of the most effective levers a barista has for shot-to-shot consistency.
Common uses
Tips & pitfalls
- Keep pre-infusion between 5 and 10 seconds for a standard 18 g dose — longer often produces sourness from premature solute removal.
- Use line pressure only if your machine has no low-pressure setting; pushing to 4–5 bar too early defeats the purpose of a gentle wetting.
- Match pre-infusion time to grind: finer grinds usually need shorter pre-infusion because they saturate faster.
- Watch the first drip — a slow, even emergence indicates good saturation; spurting or spraying suggests channeling upstream of the puck.
- Pair pre-infusion with proper WDT distribution and a level tamp for the cleanest results; it amplifies good prep, not bad prep.
- Skip pre-infusion on very stale coffee (more than 4 weeks off roast) — there is little CO2 to vent and the extra water just dilutes the shot.
- If water pools on top of the puck during pre-infusion, your dose is too low or your grind is too coarse, and the bed cannot build resistance.
- On Slayer-style paddle machines, treat pre-infusion as the first segment of a longer pressure curve rather than a standalone step.
Good to know
- Typical duration
- 5–10 seconds; 3–15 seconds depending on grind, dose, and roast age
- Typical pressure
- Line pressure (1–2 bar) or low pump pressure (2–4 bar), well below 9 bar extraction
- Primary purpose
- Evenly saturate the coffee puck and release CO2 before full extraction pressure is applied
- Origin
- E61 group head, introduced by Ernesto Valente for Faema in 1961 via a thermosiphon chamber
- Common on
- La Marzocco Linea/GS3, Slayer, Profitec, ECM, Decent, Lelit, and any E61-equipped machine
- Effect on channeling
- Reduces uneven flow paths by giving dry pockets time to wet before high pressure hits
- Fresh-roast benefit
- Especially useful within 7–14 days of roast, when CO2 content is highest
- Risk of too long
- Excess drip-through, under-pressurized extraction, and flat or sour shots from premature solute removal
Also called
coffee bloom · espresso bloom
Dishes that rely on it
Related

Boil
Cook in vigorously bubbling liquid at full rolling heat

Simmer
Hold liquid at a gentle shimmer for tender, unhurried cooking

Poach
Cook gently in barely-trembling liquid for silky, tender results

Steam
Cook in rising vapor to keep color, nutrients, and shape intact

Blanch
Plunge briefly in boiling water, then shock cold to lock color

Braise
Sear, then cook slow in a little liquid until fall-apart tender

Stew
Simmer bite-sized pieces fully submerged into a rich, unified pot

Sous-Vide
Seal and cook in precise warm water for edge-to-edge doneness