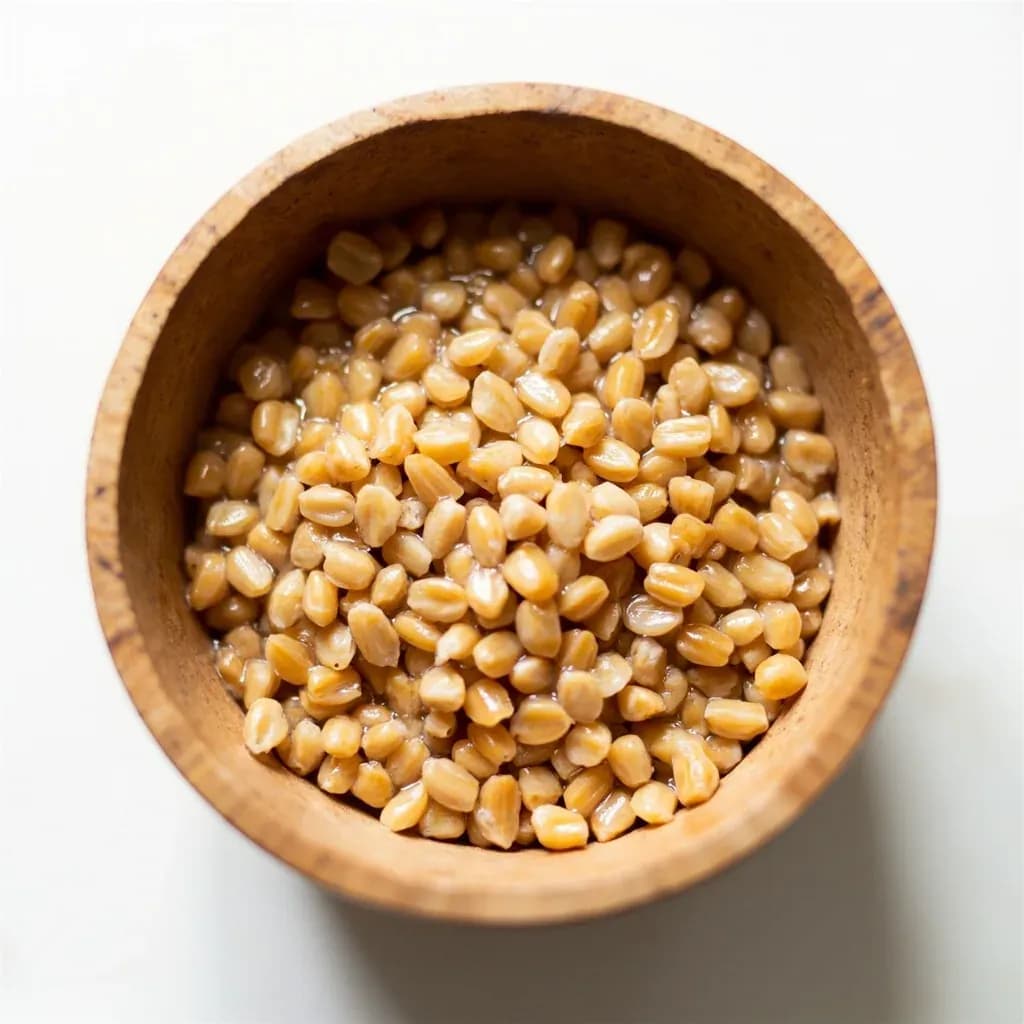
Prep & Assembly
Tempering / Conditioning Grain
Adding moisture to grain before milling so the bran toughens and the endosperm softens.
Tempering, also called conditioning, rests cleaned grain with a measured amount of water for hours before milling so the bran becomes pliable and the starchy endosperm friable. This makes the bran peel away cleanly and improves flour yield and quality. Millers adjust the soak time and moisture target to the grain's hardness.
Tempering, more often called conditioning in British and European milling, is the controlled addition of water to dry grain followed by a rest period before milling. The practice exploits a useful asymmetry inside a wheat kernel: the bran absorbs water and becomes pliable and tough, while the endosperm absorbs water more slowly and softens without going rubbery. After a proper rest, the two tissues separate cleanly under the rollers, the bran peels off in large flakes rather than shattering into dust, and the endosperm fractures into the fine, low-ash flour the mill is after. It is, in essence, a piece of physical cooking done on the whole kernel.
The technique matters as much for whole-grain and stone-ground bakers as it does for industrial mills. A well-tempered kernel produces flour with brighter color, less bitterness, and a far friendlier dough behavior — the bran shreds less into the crumb, and loaves bake up cleaner. For durum destined to become semolina, tempering is the difference between a granular, free-flowing product and a floury mess. The adjustment is small in absolute terms (typically raising moisture from around 12% to 14–17%, depending on wheat class) but the effect on milling efficiency and flour quality is outsized.
Although mechanized tempering developed alongside high-speed roller milling in the late 19th century, it is not tied to industrial equipment. A jar, a teaspoon, and an overnight wait on the counter give the home stone-miller a meaningful improvement in bran handling and crumb quality. The work is mostly passive; the knowledge of how much water, how long, and at what temperature is what separates a clean mill run from a specky one.
- Difficulty
- Medium
Types & varieties
One water addition and a single rest; the standard for soft wheats and shorter-milled grains.
An initial short steep (4–8 h), then a second water addition and a longer rest (12–24 h); used for hard wheats to drive moisture deeper into the kernel.
Progressive moisture build-up over multiple steps; reserved for very hard spring wheats and durum when the cleanest bran release is required.
Grain warmed to 30–43°C / 85–110°F before or after water addition to speed absorption and shorten rest time.
Unheated water and ambient grain; slower but used in warm, humid climates to keep microbial risk in check.
A light mechanical impact after water addition to crack the bran crease and admit moisture faster, reducing total rest time.
How to do it
- 1
Clean and grade the grain
Pass the wheat through a separator, aspirator, and gravity table to remove chaff, dust, broken kernels, and stones. Foreign matter interferes with even moisture uptake and contaminates the flour. At home, a simple winnowing and hand-pick is enough.
- 2
Determine target moisture
Decide a target moisture based on wheat class: about 14.0–15.0% for soft wheat, 15.0–16.5% for hard wheat, and 16.0–17.0% for durum. The starting moisture of the grain (typically 11–13% as received) determines how much water to add.
- 3
Meter and add water
Add roughly 2–3% of the grain's weight in clean, low-mineral water — usually about 2.5 to 3.5 gallons per 1,000 lb of wheat. In a commercial mill, a dosing pump sprays water onto the grain as a screw conveyor mixes it; for home use, sprinkle and stir in a closed container.
- 4
Mix for even distribution
Run the grain through a paddle or screw mixer long enough that every kernel is dampened. Without this, dry kernels mill brittle and produce specky, high-ash flour.
- 5
Rest in a tempering bin
Transfer the dampened grain to a closed tempering bin (commercial) or sealed food-grade container (home). Hold 8–24 hours for most wheats, 24–48 hours for hard spring wheat, and 36–72 hours for durum. The bran absorbs water and toughens while the endosperm softens.
- 6
Optional second-stage water addition
For hard wheats, add a second smaller dose of water after the first 4–8 hours of rest and continue resting. The second dose drives moisture into the inner endosperm and is critical for clean semolina or hard-wheat flour.
- 7
Verify moisture before milling
Test with a calibrated moisture meter. Reject lots that are over or under target — a 0.5% error is visible in the flour.
- 8
Mill
Run the tempered grain through break rolls, sifting, and reduction rolls (or your home mill) within a few hours of leaving the bin. Prolonged holding of damp grain invites mold and insect activity.
Why it works: the two tissues of the kernel
A wheat kernel is a small, layered package. The outer bran layers are fibrous and rich in cellulose; they swell quickly when wet and become leathery. The starchy endosperm beneath is a porous matrix of starch granules held in a protein network; it absorbs water by capillary action over hours and softens gradually, but never goes rubbery the way bran does. Resting dampened grain exploits the speed difference: the bran firms up long before the endosperm is fully saturated, so by milling time the millstone or roller finds a kernel that is tough on the outside and tender on the inside — the ideal condition for clean separation.
Tempering versus related processes
Tempering is sometimes confused with other grain treatments, but the categories are distinct. Malting is a controlled germination that activates enzymes and changes flavor; nixtamalization is an alkaline (lime-water) soak of corn that gelatinizes the pericarp and frees bound niacin; parboiling drives steam into rice. Tempering is none of these. No germination, no chemistry, no heat-cooking — just water, time, and a physical adjustment that makes the kernel mill better.
Tempering at home
- Sprinkle about 1–2 teaspoons of water per cup of cleaned wheat berries, seal in a glass jar, and shake to coat.
- Rest 8–12 hours at room temperature; even 1–4 hours already helps bran handling for stone-ground whole wheat.
- Mill within a few hours of the rest ending — damp grain spoils quickly.
Common uses
Tips & pitfalls
- Rest time matters more than the exact water dose — under-rested grain gives flour with bran specks; over-rested grain can sprout or sour.
- Use clean, low-mineral water; chlorinated or hard water can affect flour flavor and yeast performance downstream.
- Mix water in thoroughly — a sloppy screw conveyor leaves dry kernels that mill like untempered grain.
- Check moisture with a calibrated moisture meter before milling; do not guess by feel.
- Do not temper soft pastry wheat to hard-wheat moisture levels or the endosperm becomes gummy under the rollers.
- In humid climates, store tempered grain cool and mill quickly to avoid mold or insect activity.
- For home mills, 1–2 tsp water per cup of wheat, stirred and sealed in a jar for 8–12 hours at room temperature, is a workable approximation.
- Do not skip tempering when milling whole wheat if you want a non-bitter, non-shreddy loaf — it makes a real difference in bran texture.
Good to know
- Also called
- Conditioning (UK/EU milling); wheat conditioning; pre-tempering
- Primary purpose
- Toughens bran and softens endosperm so the two separate cleanly during milling
- Typical water addition
- Roughly 2–3% of grain weight, raising total moisture to 14–17% depending on wheat class
- Rest time
- 8–24 hours for most wheats; 24–48 hours for hard spring wheat; 36–72 hours for durum
- Target moisture (soft wheat)
- ~14.0–15.0%
- Target moisture (hard wheat)
- ~15.0–16.5%
- Target moisture (durum)
- ~16.0–17.0%
- Origin
- Mechanized tempering developed alongside roller milling c. 1870s–1880s (Central Europe and US Great Plains)
Also called
Conditioning Grain · Grain Tempering
Related

Whisk
Beat ingredients smooth and aerated with a looping wire motion

Sift
Pass dry ingredients through mesh to aerate and remove lumps

Strain
Pour through mesh to separate solids from liquid for a smooth result

Filter
Pass liquid through fine material to clarify out the smallest particles

Rice
Press cooked potatoes through small holes for fluffy, lump-free texture

Mash
Crush soft cooked food into a rustic, creamy purée

Grind
Crush food into a coarse to fine texture, from spices to meat

Grate
Shred food into fine bits against a sharp-toothed surface