Prep & Assembly
Culling (Removing Spoiled Stock)
Sorting through ingredients to discard spoiled, damaged, or substandard items before use.
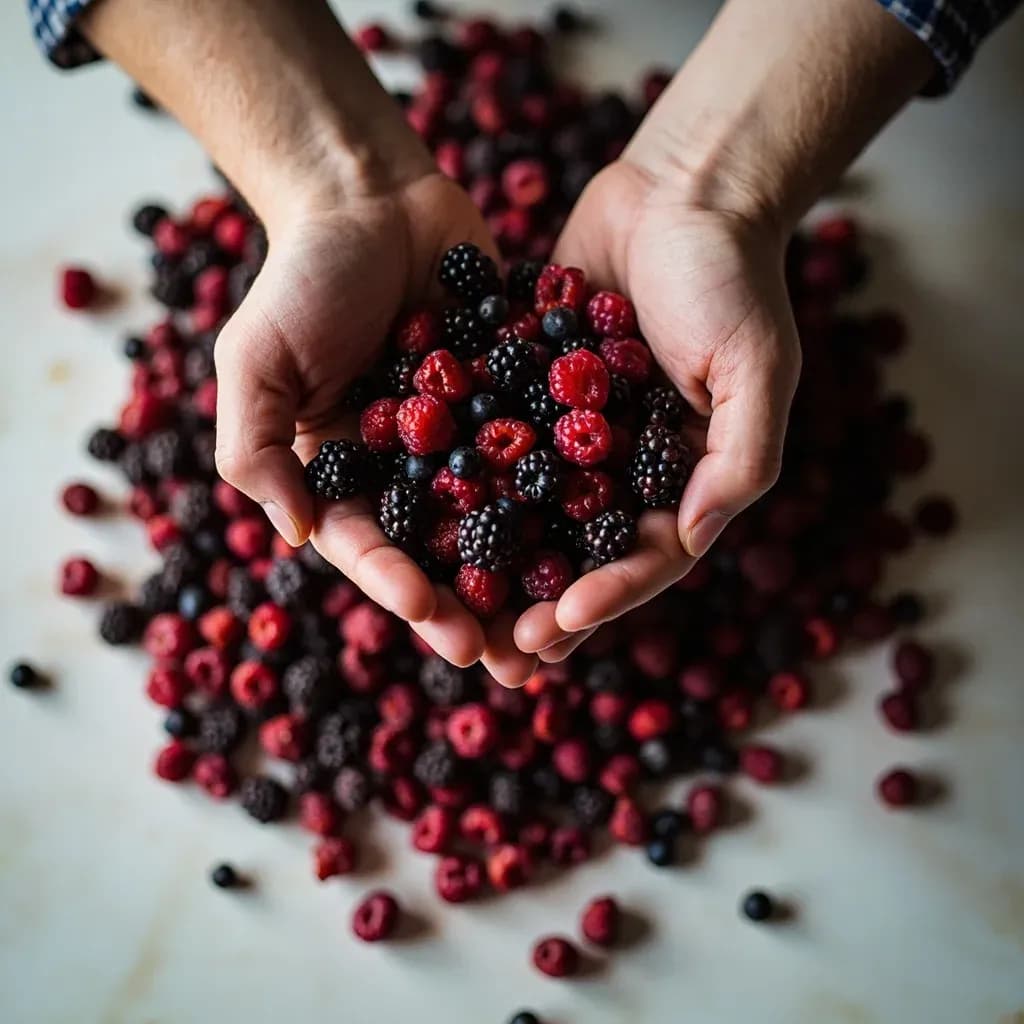
Culling is the systematic inspection and removal of spoiled, bruised, moldy, or otherwise unusable items from a batch of produce, stock, or inventory. Done before prep and during service, it protects quality and prevents one bad item from tainting the rest. Kitchens cull deliveries on arrival and again during mise en place to keep only fit-to-serve product.
Culling is the kitchen's first line of quality control — the deliberate inspection and sorting of ingredients to remove anything spoiled, damaged, past spec, or unsafe before it enters the workflow. It happens three times in a well-run operation: on the receiving dock when a delivery arrives, during storage rotation when older stock is brought forward, and at mise en place when produce, herbs, and proteins are broken down for service. Done properly, it is the single most cost-effective technique in a kitchen, because it stops problems before they compound into trim loss, plate rejections, or foodborne illness.
The practice depends on trained senses more than instruments. A receiver learns to read bruising under a leaf, to smell ammonia at a gill plate, to feel when a mussel shell is suspiciously light, to spot a clumped, weevil-ridden bag of flour before the infestation spreads. Culling is most effective when paired with FIFO rotation, dated labeling, and a written receiving spec — together they form the upstream gatekeeper that determines trim yield, plate presentation, food cost percentage, and HACCP compliance. The most common failure is doing it too late: once a single bad onion is buried in a hotel pan or a bruised berry is mixed into a pint, the damage is paid for many times over.
- Difficulty
- Easy
Types & varieties
Inspection on the loading dock the moment a delivery arrives, before the invoice is signed and the product hits storage.
Sorting fruit and vegetables for bruising, mold, insect damage, wilting, or uneven ripening. Berries, leafy greens, stone fruit, and tomatoes are the most culled categories.
Discarding mussels, clams, or oysters with cracked or chipped shells, those that stay open when tapped (dead), or any that feel abnormally heavy with mud.
Inspecting whole fish for clear eyes, red gills, firm flesh, and a clean sea smell; rejecting ammoniated or slimy fish, and sizing shrimp while pulling damaged pieces.
Checking for off-odors, slimy surface, abnormal discoloration, broken vacuum seals, and excessive purge; boning crews also cull trim into usable product versus fat and gristle.
Inspecting flour, grains, rice, dried legumes, and spices for webbing, weevils, clumping, or rancid smell, and rejecting torn or pest-compromised packaging.
Rejecting cartons past pull date, bloated lids, or separated texture; float-testing or candling eggs to remove cracked, old, or rotten ones.
Stripping yellowed or wilted leaves from bunches of parsley, cilantro, and chervil; picking over microgreens to remove slimed or yellowed tips before service.
How to do it
- 1
Set up the receiving area
Work on a clean stainless table under bright, cool light with a thermometer, scale, discard bin, and receiving log within reach. Cold deliveries should be checked within 15 minutes of arrival; frozen items must be inspected before any thawing begins.
- 2
Verify temperature first
Probe the coldest part of each case — usually the center of a pallet or the bottom of a fish box. Reject anything above 41°F (5°C) for chilled goods or 0°F (-18°C) for frozen, and record the reading on the receiving log before opening anything else.
- 3
Open and visually inspect
Break down cases and spread contents on the table. Look for bruising, mold, slime, discoloration, condensation, broken packaging, and foreign objects. Compare a sample against your written spec for size, grade, and count per case.
- 4
Smell and touch
Use your nose on proteins, dairy, and cooked or fermented items — sour, ammoniated, or putrid smells mean reject. Feel for firmness in produce (rubbery means old), elasticity in fish flesh, and grit, clumping, or unexpected wetness in dry goods.
- 5
Test live items
For live shellfish, tap or squeeze any open shell; live mussels and clams snap shut. Discard any with cracked shells, broken hinges, or shells that float when submerged in salt water — live mussels and clams should sink. Live oysters should be tightly cupped, not gaping.
- 6
Sort into three piles
Divide the lot into 'use as received,' 'seconds' (still usable for purées, stocks, staff meal, or garde manger prep), and 'discard.' Keep seconds in a clearly separate, labeled area so they are intentionally downgraded rather than accidentally used at premium quality.
- 7
Weigh, document, and credit
Weigh each cull pile and note item, weight, vendor, and reason on the receiving log or POS. Photograph damage for credit claims and call the vendor or sales rep before the truck leaves whenever possible — credits are far easier to obtain in person than by phone the next morning.
- 8
Move product to proper storage
Date-label every container with both the received-on and use-by dates. Place prime product at the back of the shelf and rotate older product forward so FIFO is honored. Store seconds in a separate, clearly marked area.
- 9
Sanitize and reset
Wipe down the receiving table, tools, and the discard bin area. Wash hands and change gloves before moving to the next task to avoid cross-contamination, especially between raw proteins and produce.
- 10
Re-cull during storage
At least once per shift — usually at prep time — walk the coolers and dry shelves and re-cull. Produce continues to ripen and break down after delivery, and a daily ten-minute pass prevents one bad item from spreading spoilage through the whole shelf.
Why culling belongs upstream
Every downstream cost in a kitchen — trim yield, plate presentation, sauce clarity, foodborne illness risk — is decided in the first fifteen minutes after a truck arrives. A case of spinach that should have been rejected at 41°F instead goes into the walk-in, gets rotated into service two days later, and ends up as half a hotel pan of wilted greens that have to be composted. A mussel that should have been culled at the pot-sink instead dies on the heat and ruins an entire pot of broth. Culling is the cheapest moment to fix any of these problems; once product is mixed, dated, or cooked, the cost of fixing a mistake multiplies by an order of magnitude.
- A 2% cull at receiving can save several times that in trim loss later in the week.
- Vendors take receiving feedback seriously when it is documented by weight and reason — it is leverage for credit and for stricter spec on the next order.
- A trained receiver can move a produce case in under ten minutes once they know what to look for.
Common uses
Tips & pitfalls
- Cull on the receiving dock in good light before accepting the invoice — never sign clean for a case you have not actually opened and inspected.
- Pull and weigh anything culled and track the percentage against your spec; most kitchens allow 1–3% on produce but expect 0% on proteins.
- Remove one moldy berry or rotten onion from the pile immediately — spoilage spreads fast through shared moisture and ethylene gas.
- For mussels and clams, tap or squeeze any open shell; if it does not close, the animal is dead and the shell must be discarded.
- Smell fish at the gill plate, not just the surface — a fresh fish smells briny and clean, never fishy or ammoniated.
- Use FIFO dating on every shelf; culling is wasted effort if older product is buried behind a fresh delivery.
- Wear gloves and keep a dedicated discard bin well away from prep surfaces to prevent cross-contamination.
- Do not rely on best-by dates alone — sniff dairy, flex the packaging, and check under lids every shift, because dates assume ideal storage that kitchens rarely achieve.
- Re-purpose serviceable seconds into coulis, stocks, compotes, or staff meal instead of sending them to waste whenever it is safe to do so.
Good to know
- Also called
- Sorting, grading, picking over
- When performed
- On delivery, during storage rotation, and at mise en place
- Typical time
- 5–15 minutes per delivery case; longer for a full walk-in audit
- Key senses
- Sight, smell, touch, and sometimes sound (live shellfish)
- Related systems
- FIFO rotation, HACCP, receiving SOPs
- Tools
- Receiving table, thermometer, inspection tray, scale, discard bin, marking tags
- Acceptable cull rate
- Most kitchens allow 1–3% on produce, 0% on proteins
- Cost impact
- Directly tied to food cost percentage; reduces trim loss and plate waste
Also called
Sorting · Picking Over
Related

Whisk
Beat ingredients smooth and aerated with a looping wire motion

Sift
Pass dry ingredients through mesh to aerate and remove lumps

Strain
Pour through mesh to separate solids from liquid for a smooth result

Filter
Pass liquid through fine material to clarify out the smallest particles

Rice
Press cooked potatoes through small holes for fluffy, lump-free texture

Mash
Crush soft cooked food into a rustic, creamy purée

Grind
Crush food into a coarse to fine texture, from spices to meat

Grate
Shred food into fine bits against a sharp-toothed surface