Transform & Preserve
Flocculation Test
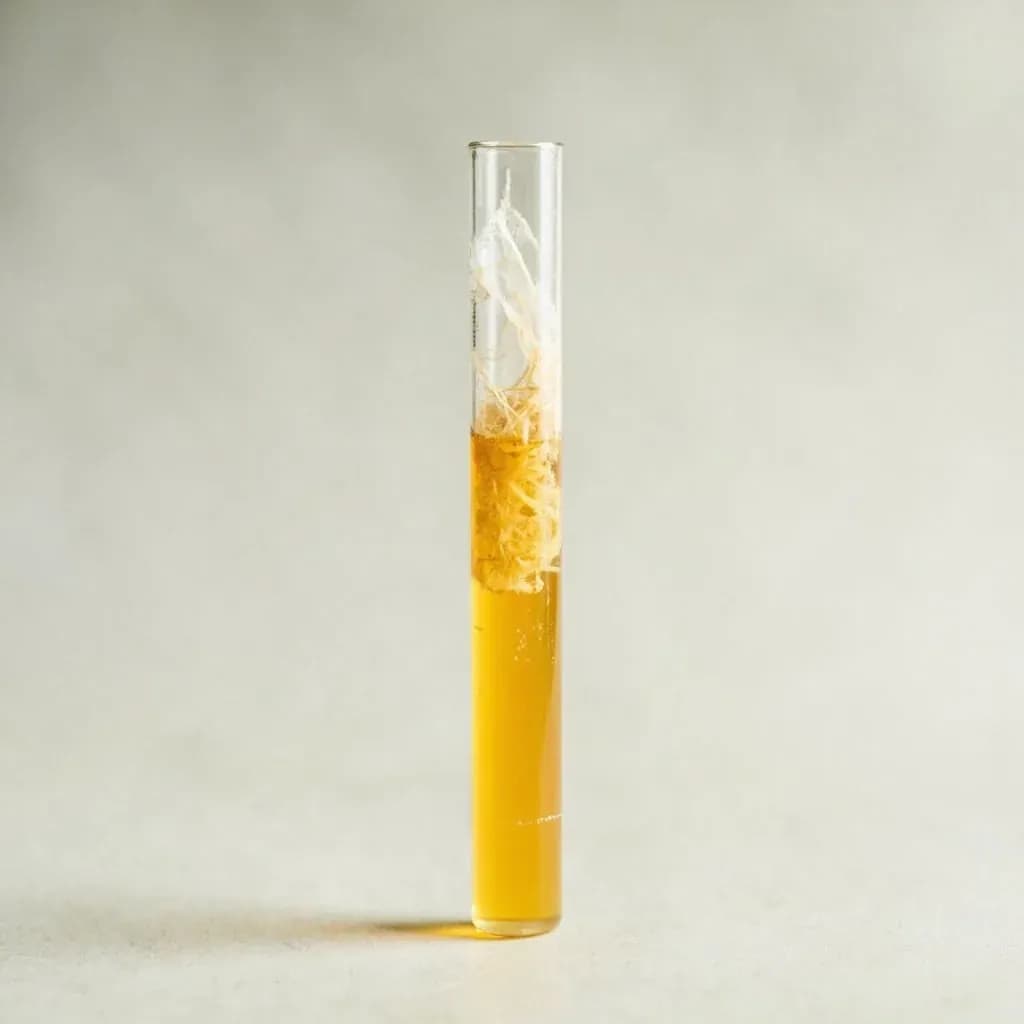
Spotting beer yeast onto a slide to judge how readily it clumps and settles.
A flocculation test gauges how strongly a yeast strain clumps and drops out of suspension, a property that affects beer clarity and how much yeast finishes the fermentation. Brewers place a sample on a slide or in a tube and watch the clumping behavior to predict clearing and attenuation. Knowing flocculation helps decide cold-crash timing and whether fining agents are needed.
In brewing, flocculation is the tendency of yeast cells to clump together and drop out of suspension once their work is done. A strain that flocculates early and tightly leaves a brilliantly clear beer in a short time; a powdery or non-flocculent strain stays suspended and yields a hazy, often fuller-bodied result. Flocculation also dictates how cleanly a brewery can crop and repitch yeast from one batch to the next, and it shapes the flavor profile of the finished beer because cells that drop early spend less time in contact with the wort during conditioning.
The flocculation test is a controlled way to measure that tendency. Rather than waiting days in a fermenter to see how a strain behaves, a brewer suspends a known quantity of washed, healthy yeast in a buffer, triggers clumping with calcium ions, and scores how much of the cloud settles within a fixed window. The classic version, Helm's Flocculation Test, was published in the 1950s and remains the laboratory benchmark. Simpler visual variants let a brewery get useful answers in ten minutes with nothing fancier than a graduated cylinder.
The test is a quality-control tool, not a guarantee. A score predicts behavior but doesn't replace fermentation data, sensory evaluation, and a few batches of in-tank observation. Used alongside those, it helps a brewer pick the right strain for a given style, troubleshoot a stuck or over-rapidly-clarifying fermentation, and decide when to crop repitch yeast before it loses vitality.
- Difficulty
- Hard
Types & varieties
The classic standardized protocol: washed cells in acetate buffer, triggered with calcium chloride, scored at fixed time points.
An earlier method that uses an EDTA wash and resuspension in a calcium solution; largely superseded by Helm's but still cited in older literature.
A practical brewery-floor version: trub or yeast is allowed to settle in a graduated cylinder, Imhoff cone, or sample jar, and the sediment volume is read by eye.
A quantitative version that measures the drop in absorbance at 600 nm over time, giving a number rather than a visual estimate.
Combines a viability stain with the flocculation read, so a single prep tells you how the strain clumps and how many cells are still alive.
How to do it
- 1
Propagate or wake the yeast
Grow the strain to mid- to late-log phase in wort or a defined medium, or activate a dry yeast packet per the supplier's schedule. Cells must be healthy and metabolically active — starved, overheated, or expired cultures will give a misleadingly low reading.
- 2
Wash the cells
Harvest the culture and centrifuge or decant. Resuspend the pellet in sodium acetate buffer (pH ~4.5) and repeat the wash two or three times. This strips residual sugars, hop bitter acids, and proteins that would otherwise suppress clumping and skew the result.
- 3
Standardize the cell density
Dilute the washed suspension with fresh buffer to a fixed turbidity, often matched to a McFarland 4 standard or a predetermined optical density. Equal cell counts across samples are essential if you want to compare one strain against another.
- 4
Dispense into test tubes
Transfer a measured volume (typically 10 mL) of the standardized suspension into clean glass tubes. Prepare a control tube — either buffer-only or a reference strain of known flocculation behavior — in parallel with every run.
- 5
Add calcium solution
Add a calcium chloride or calcium sulfate solution to trigger flocculation. Invert gently to mix; do not vortex, which can shear clumps apart and force a re-do.
- 6
Incubate and read
Hold the tubes at the strain's working fermentation temperature. At fixed intervals — commonly 8 and 10 minutes — score the sediment volume against the total, or measure the absorbance of the supernatant at 600 nm and compare it to the time-zero reading.
- 7
Interpret the result
Express the outcome as a percentage of sedimented cells, or assign a low/medium/high rating. Then sit with the number for a moment: it predicts behavior, it doesn't dictate it. Cross-check with a small pilot fermentation and a sensory panel before locking in a strain for a full batch.
What the Numbers Don't Tell You
A flocculation score is a prediction, not a verdict. The test strips the yeast of wort sugars, hop compounds, and proteins and asks how the cells behave in a clean calcium solution — useful for comparison, but a long way from a real fermenter. Pair every lab reading with at least one small-scale fermentation and a sensory check before committing a strain to production.
- A high score means the cells want to clump; it doesn't say whether they'll drop at the right moment in a hopped, fermenting wort.
- Loose flocculation in the test can still produce clear beer in tank if the strain is given time and a proper cold crash.
- Dead or stressed cells clump differently than healthy flocculent cells — always run a viability stain or plate count alongside the assay.
- Mixed cultures tell layered stories: a saison or sour blend may have one species dropping at 10 minutes and another still suspended at 30.
Common uses
Tips & pitfalls
- Always wash the yeast in buffer before testing — residual wort sugars and proteins suppress clumping and produce falsely low readings.
- Keep pH consistent around 4.5; flocculation is highly pH-dependent and falls off sharply as the buffer drifts upward.
- Standardize cell counts across samples (a McFarland turbidity standard works well) or strains won't compare fairly.
- Include a known flocculent and a known non-flocculent control strain in every run so you can catch a bad buffer or a tired calcium solution before it ruins the data.
- Score at fixed time points — usually 8 and 10 minutes — rather than 'when it looks done'; the timing is what makes results comparable.
- Run the test at the strain's normal fermentation temperature; flocculation is temperature-sensitive and a reading at 20 °C won't predict behavior at 10 °C.
- Don't confuse flocculation with poor health — dead or stressed cells clump differently than vigorous flocculent cells, so pair the assay with a viability stain or a plate count.
- When testing dried yeast, rehydrate and propagate once before the assay so the cells are physiologically active; testing straight from the packet gives a flat, unreliable reading.
Good to know
- Type
- Brewing quality-control technique
- Also known as
- Helm's Flocculation Test (standardized version)
- Origin
- Developed by Helm and colleagues in the 1950s as a standardized lab method
- Trigger
- Calcium ions (calcium chloride or calcium sulfate solution)
- Buffer
- Sodium acetate buffer, typically adjusted to pH ~4.5
- Read time
- Usually scored at fixed intervals, commonly 8 and 10 minutes
- Reading method
- Visual comparison to a control, or spectrophotometric absorbance at 600 nm
- Used by
- Breweries, yeast labs, and serious homebrewers
Also called
Yeast Flocculation Test
Related

Confit
Cook slowly submerged in fat for silky tenderness and keeping

Cure
Draw out moisture with salt and time to preserve and concentrate

Pickle
Steep in acidic brine for bright, tangy, crunchy preservation

Ferment
Let friendly microbes transform food into tangy, complex flavor

Marinate
Soak in a seasoned mix to flavor and tenderize before cooking

Brine
Soak in salt water so meat stays juicy and seasoned throughout

Dehydrate
Slowly dry out moisture to concentrate flavor and extend shelf life

Cold-Smoke
Perfume cured food with smoke without cooking it through