Heat & Fire
Open-Flame Roti Puffing
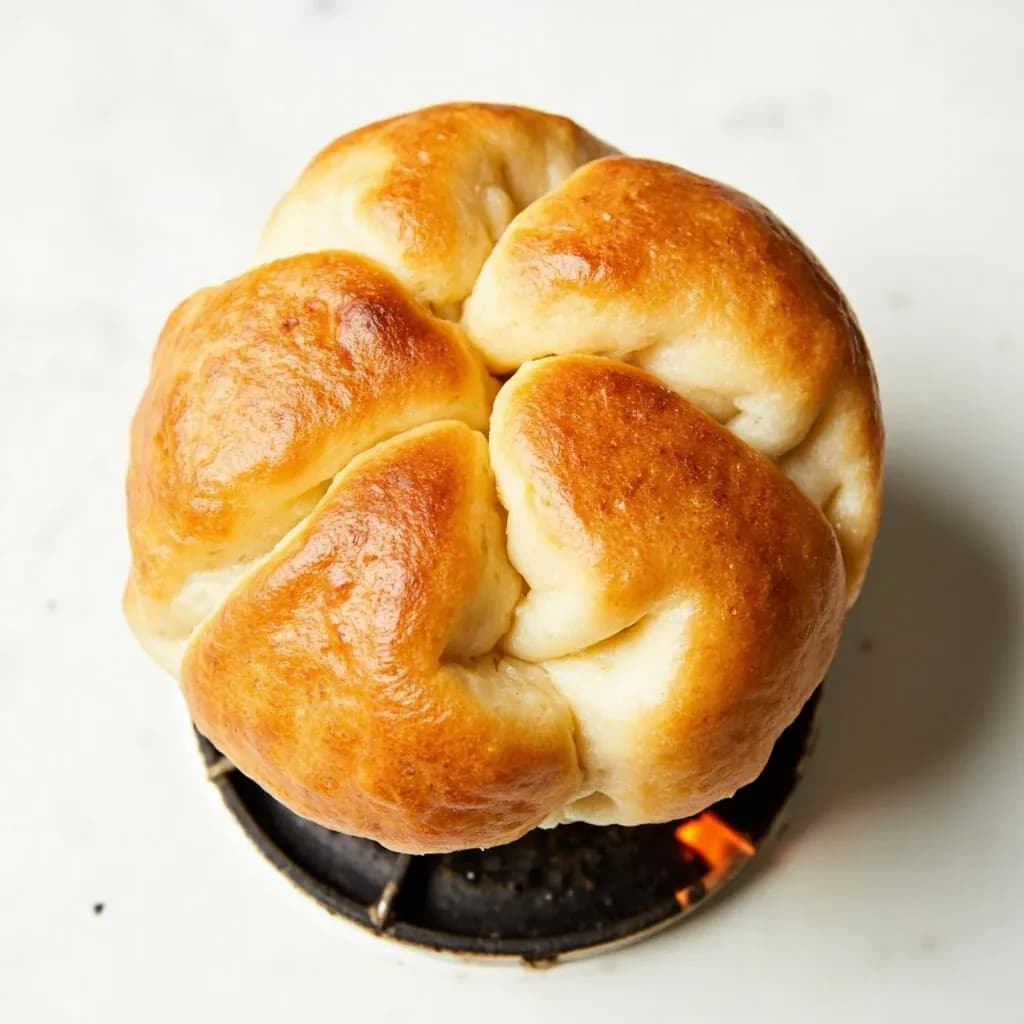
Finishing a flatbread directly over a flame so trapped steam makes it balloon into a soft phulka.
Open-flame roti puffing partly cooks a thin flatbread on a hot tawa, then moves it directly onto an open gas flame where the surface heat traps steam inside and inflates it into a fully puffed ball. The puff signals an evenly cooked, light and soft phulka or chapati. It takes a few seconds of attention and quick turning so the bread chars in spots without burning.
Open-flame roti puffing is the final, defining step in making a phulka — the soft, swollen whole-wheat flatbread of the Indian subcontinent. The technique relies on a simple physical principle: when a partially cooked roti is exposed to sudden, intense radiant heat, the moisture sealed inside vaporizes almost instantly, and the bread inflates like a balloon. A properly puffed phulka is lighter, softer, and more pliable than a chapati finished only on a tava, and the puff itself has long served as a cook's visual proof that the dough was kneaded well, rested long enough, and rolled without holes.
The method is two-staged. The roti is first dry-roasted on a hot tava just long enough for one side to set and for bubbles to break through the surface — this seals the dough into a pouch and traps its internal steam. It is then lifted with tongs and held directly over a gas flame or a traditional chulha, where the trapped water flashes to vapor and the bread puffs in five to fifteen seconds. Mastering the timing — when to pull the roti from the tava, how close to hold it to the flame, and when to flip — is what separates a balloon from a flat, leathery disc.
Phulka puffing is fundamental to everyday cooking across the Indian subcontinent, where flatbreads anchor the meal. It is also one of the more forgiving techniques to learn, requiring attention to rhythm rather than precision measurements. Once a cook internalizes the tava-to-flame sequence, a steady stream of soft, steaming phulkas can be produced in well under three minutes each.
- Difficulty
- Medium
Types & varieties
Roti held directly over flame with tongs on one side only; quick, traditional chulha method.
Standard home method: cook partway on tava, then finish by flipping back and forth between flame and tava, pressing gently with a folded cloth to trap steam.
Skip the tava entirely and place the rolled dough straight onto a low open flame; puffs rapidly but is easy to char.
After ballooning, the cook uses a flat spoon or cloth to press the roti against the tava, sealing the puff and creating soft layered zones.
Brief exposure on each side over flame with no tava used; produces extra-crisp edges and a full balloon, common for very thin phulkas.
Place the half-cooked roti briefly on glowing embers for smoky aroma; traditional in village cooking over cow-dung or wood fires.
How to do it
- 1
Mix and knead the dough
Combine whole-wheat atta with water (roughly 2:1 by volume) and a pinch of salt. Knead for 8–10 minutes until the dough is smooth, soft, and just-not-sticky. Cover and rest 20–30 minutes at room temperature; longer rests (up to 1–2 hours) yield more elastic dough.
- 2
Portion the dough
Pinch off balls of about 35–45 g each. Roll each between your palms into a smooth round; this evens the thickness and helps the final roti roll out uniformly.
- 3
Roll into thin circles
On a lightly floured board, roll each ball into a disc 15–20 cm across and 2–3 mm thick. Use even pressure and avoid creating thick centers or torn edges. Dust off excess flour before cooking so it does not burn on the tava.
- 4
Heat the tava
Place a flat tava or heavy skillet over medium-high heat. Let it preheat fully — a properly hot surface is essential for steam to build before the surface dries out.
- 5
Cook the first side
Lay the rolled roti on the hot tava. Within 30–45 seconds, small bubbles should rise across the surface and the underside will show pale brown spots. Do not press the roti down — let it breathe.
- 6
Flip and briefly cook the second side
Turn the roti with tongs. Cook the second side for only 15–30 seconds — just long enough to set the surface, not to brown it. The goal is to keep interior moisture intact for the flame stage.
- 7
Finish directly over flame
Using tongs, lift the roti off the tava and hold it directly over a medium gas flame (or chulha), 5–10 cm above the burner. The trapped steam will expand and the roti should balloon within 5–10 seconds. Move it around gently to char evenly without burning.
- 8
Flip if needed
If only one side puffs, quickly flip the roti and expose the other side to the flame, or return it briefly to the tava for 2–3 seconds to reheat the cooler side, then bring it back to the flame. The goal is a fully rounded balloon.
- 9
Press and stack
Immediately after puffing, lay the roti flat and press gently with a clean cloth or the back of a flat spoon — this releases a little steam, flattens the layers, and keeps the bread pliable. Stack finished phulkas in a covered dish or folded kitchen towel.
- 10
Serve hot
Phulkas are at their best within minutes of cooking. Serve with dal, sabzi, yogurt, pickle, or any curry; tear by hand to scoop or use as a wrap. Apply ghee or white butter only after puffing.
The Science Behind the Puff
Phulka puffing is a steam-driven technique, and its success depends on retaining enough internal moisture until the surface is sealed. The brief tava stage sets the exterior and traps steam inside the dough; the open-flame stage then provides the intense, even radiant heat that vaporizes that water before it can escape, inflating the bread like a paper bag held over a candle. If the tava dries out the surface before steam is sealed in, the roti cannot balloon. If the flame is too low, water vapor leaks out instead of building pressure. The ideal conditions are a preheated tava, a short first cook, and a hot but not roaring flame held a few inches below the bread.
- A clean, full balloon indicates good kneading, proper rest, and even rolling with no holes.
- A flat, leathery result usually points to under-rested dough, overcooking on the tava, or tears in the rolled disc.
- The pressure inside a fully puffed phulka is enough that pressing it gently with a cloth releases a small puff of hot steam.
Regional and Family Variations
Puffing technique varies by region, fuel, and family habit. Maharashtrian cooks often puff on the tava alone, using a folded cloth to press the bread and trap steam. Punjabi cooks commonly use the direct gas flame, treating the puff itself as a point of pride. Village cooks using cow-dung chulhas or wood fires develop a different rhythm, with the ember finish adding smoke. Within any household the same cook will produce a recognizable phulka — slightly thicker, slightly thinner, more blistered or smoother — because the technique is learned by feel and by watching the bread, not by clock.
- Maharashtrian: cloth-press puffing, often with the tava only.
- Punjabi: direct gas flame, the balloon as a showpiece.
- Village: cow-dung or wood chulha, brief ember contact for smokiness.
- Modern urban: LPG gas on a medium burner, tava then flame.
Common uses
Tips & pitfalls
- Knead the dough until it is smooth and springs back when poked — under-kneaded dough will not trap steam and the roti will stay flat.
- Rest the dough for at least 20–30 minutes so the gluten relaxes; cold or tight dough shrinks on the rolling pin and resists rolling evenly.
- Roll with even pressure and no thin spots or holes — any tear in the surface lets steam escape and the roti will not puff.
- Do not overcook on the tava: pull the roti as soon as bubbles appear and the underside is just spotted. An over-dried surface cannot balloon.
- Hold the roti 5–10 cm above the flame, not pressed into it — the bread needs space for steam to inflate it.
- If the puff stalls, flip the roti back onto the tava for 2–3 seconds to reheat, then return to the flame. This usually triggers a full balloon.
- Apply ghee or white butter only after puffing, never before — fat on the surface before cooking prevents the dough from sealing and traps steam.
- Use a medium flame, not a roaring one. A high flame chars the surface before the center can heat through, leaving a blackened but flat roti.
Good to know
- Primary name
- Phulka (also phulki, phulka roti)
- Etymology
- From Hindi/Sanskrit 'phulna' — to swell, bloom, or flower
- Key equipment
- Tava (flat griddle), gas burner or chulha, tongs (chimta), rolling pin (belan), wooden board
- Flour used
- Whole-wheat atta, traditionally stone-ground
- Dough rest
- 20–30 minutes minimum; longer rests (1–2 hours) improve elasticity
- First-side tava time
- 30–45 seconds, until bubbles form and pale spots appear
- Flame puffing time
- 5–15 seconds per side over a medium flame
- Total time per roti
- Roughly 2–3 minutes from rolled dough to puffed phulka
Also called
phulka-puffing · phulka puffing · roti puffing · chapati puffing
Related

Sear
Blast the surface hot for a deep-browned, savory crust

Sauté
Cook quickly in a little fat over lively heat, tossing as you go

Stir-Fry
Toss bite-sized pieces over roaring heat for fast, smoky cooking

Pan-Fry
Crisp food in a shallow layer of hot fat, turning once or twice

Deep-Fry
Submerge in hot oil for an all-over crackling crust

Roast
Cook uncovered in dry oven heat for browned edges and tender centers

Bake
Cook with steady, surrounding oven heat — the soul of bread and pastry

Broil
Hit food from directly above with fierce overhead heat