Prep & Assembly
Plating
Arranging and garnishing finished food on the plate for visual appeal.
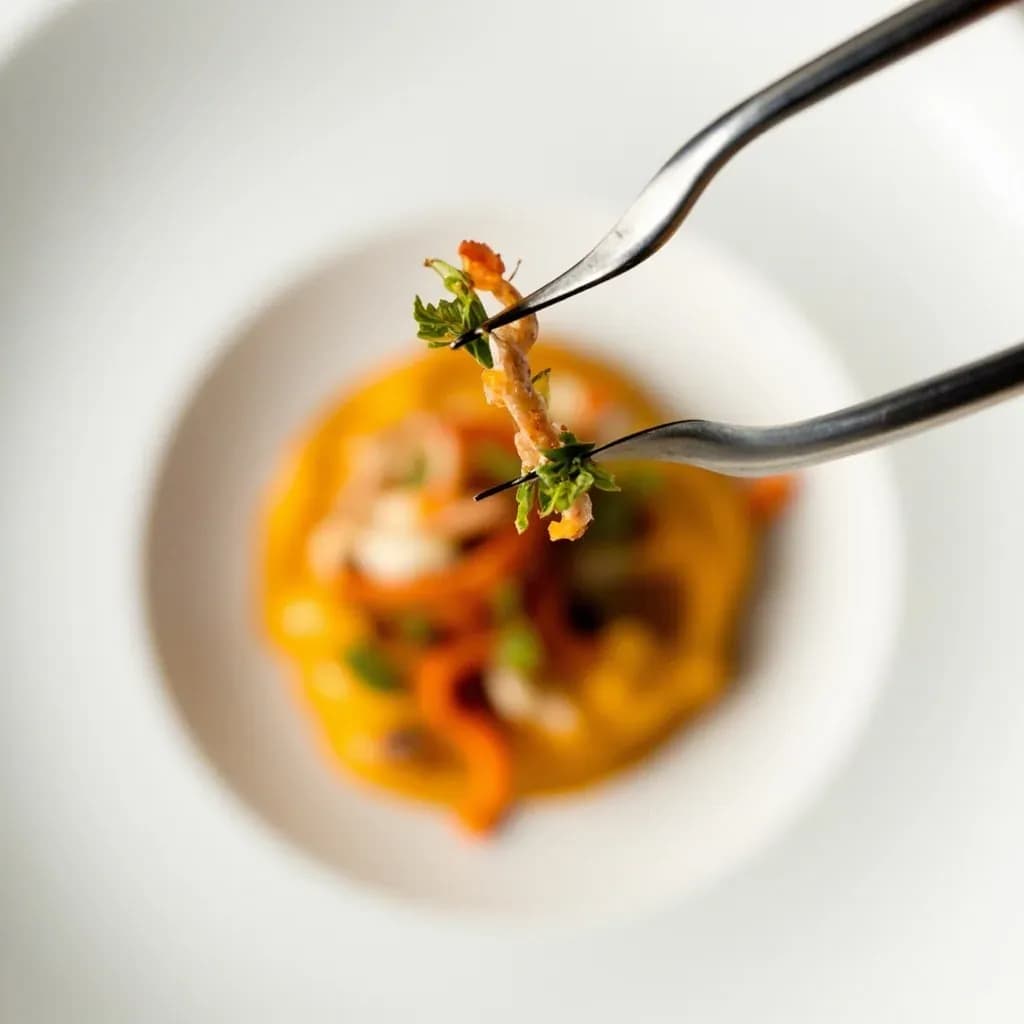
Plating is the final composition of a dish on the plate, balancing color, height, negative space, and garnish so it looks as good as it tastes. It is where a cook shapes the diner's first impression and signals the dish's intent. Wiping the rim clean, choosing a hero element, and adding a final garnish or sauce accent are small moves that elevate the presentation.
Plating is the final, deliberate act of a dish — the moment the cook translates kitchen work into the visual and sensory language the diner encounters first. Done well, it tells the guest what to expect, focuses attention on the main ingredient, and signals the care that went into the cooking. Done carelessly, it undermines everything that came before: a smear on the rim, a wilted garnish, or a cold plate under a hot protein can flatten a beautifully cooked piece of fish.
The work is more constrained than it looks. Most plates are composed in 30 seconds to a few minutes, on the pass, under the pressure of a working service. Composition follows a small set of repeatable ideas — a clear focal point, odd-numbered groupings, controlled negative space, color contrast, varied height, and a wiped-clean rim. The cook chooses a style (the symmetric formality of haute cuisine, the lighter restraint of nouvelle cuisine, the seasonal asymmetry of kaiseki, or the engineered precision of modernist cooking) and commits to it; mixing visual languages on one plate is the most common giveaway of an untrained hand.
Plating is also a logistics problem. Plates must be at the right temperature, components must be ready in the right order, and the finished plate has to survive a short trip from the pass to the table. The tools — tweezers, squeeze bottles, ring molds, offset spatulas, sauce spoons, microplanes, paper piping cones — exist to make that last-minute assembly fast, repeatable, and clean. Plating is distinct from food styling: what leaves the pass is what the guest actually eats, with no motor oil, hidden glue, or photographic trickery.
- Difficulty
- Medium
Types & varieties
Symmetrical, formal arrangements with a central protein, ring-molded sides, and rich sauces pooled or napped; codified by Carême and Escoffier.
Smaller portions, lighter sauces, deliberate negative space, and artistic asymmetry; popularized by Bocuse, Guérard, and Troisgros in the 1960s–70s.
Highly seasonal, asymmetric, with strong negative space, varied cooking techniques per component, and dishware chosen to complement the food.
Foams, gels, powders, spherified droplets, smoking under cloches; associated with El Bulli and Alinea.
Minimalist, foraged ingredients, matte ceramics, restrained sauce use; Noma and the 2004 Nordic Food Manifesto.
Generous portions, mismatched earthenware, casual platters and skillets; the trattoria or farmhouse aesthetic.
Traditional dish components separated and re-presented as distinct elements; a 1990s–2000s trend tied to Adrià and Blumenthal.
Stacked or sectioned cold presentation built on precise knife work and geometric arrangement.
Compartmentalized, portion-controlled, often colorful; rooted in Japanese tradition and now common in cafés and casual lunch service.
How to do it
- 1
Visualize the composition
Before touching the plate, picture the final image: focal point, supporting elements, sauce position, and the negative space you want to preserve. Sketching or photographing test plates during prep speeds development enormously.
- 2
Select the plate
Choose a plate whose size, color, and shape suit the dish. White or matte neutral plates maximize color contrast; dark plates dramatize bright sauces. Rim width should leave room for a wipe-clean border.
- 3
Temperature the plate
Hot food: warm plates in a low oven (60–80 °C / 140–175 °F) or on a plate warmer. Cold food: chill plates in a blast chiller or refrigerator. Correct plate temperature prevents rapid heat loss and visual wilting at the table.
- 4
Place the protein (focal point)
Position the main component slightly off-center, often at 6 o'clock or along the lower third of the plate. Slice against the grain just before plating; arrange slices in a fan, stack, or single offset piece.
- 5
Build the starch or grain
Use a ring mold, ice-cream scoop, or quenelle technique for a clean, repeatable starch component. Quenelles are formed with two warmed spoons into an elongated football shape — the classic form for purées, mousses, and ice cream.
- 6
Arrange vegetables and secondary components
Group vegetables in odd numbers and vary their orientation. Combine raw and cooked elements, and mix shapes (round, julienne, whole leaf) to add visual texture. Keep colors separated by at least a small gap of plate so each component reads as distinct.
- 7
Apply the sauce
Choose one technique per plate: a swoosh with the back of a spoon, dots from a squeeze bottle, a controlled pool, a stenciled powder, or a slotted-spoon pour. Sauce should accent the dish, not drown it — roughly 1–2 tablespoons of finished sauce is a typical starting point for a main course.
- 8
Add final garnishes
Garnish last so colors stay vivid and textures stay crisp. Microgreens, herb tips, edible flowers, citrus zest, flaky salt, or a thin drizzle of finishing oil are common finishes. Everything on the plate must be edible and should earn its place.
- 9
Clean the rim and inspect
Wipe the rim in a single confident pass with a clean, damp cloth or paper towel. Hold the plate at eye level under service lighting and check for balance, color, and any smeared or fallen elements. A dirty rim is the most common reason a good plate reads as careless.
- 10
Serve immediately
Plate, transport, and serve within seconds. Most plated dishes are designed to be eaten within a few minutes of leaving the pass — heat loss, wilt, and sauce bleed all accelerate once the plate is dressed.
Sauce techniques at the pass
Sauce is the visual and flavor connective tissue of a plate, and how it lands is as important as how it tastes. Pick one technique per plate and commit to it; layering swooshes, dots, and pools on a single plate looks indecisive. Practice each technique with water on a plate before adding it to service.
- Pool: pour a measured amount of sauce into the well of the plate, often beneath the protein. Best with glossy, reduced sauces.
- Swoosh / smear: drag the back of a spoon or an offset spatula across the plate, then lay the protein or vegetables on or beside the line. Works well on flat rimless plates.
- Dots: use a squeeze bottle to place 3–7 evenly sized dots in a line, arc, or scatter. Reliable and very fast under service pressure.
- Stenciled powder: lay a stencil on the rim, dust with cocoa, spice, or dehydrated powder, then lift. Adds graphic punch but must be done last.
- Nap: spoon a thin, glossy sauce over the protein so it coats the surface. Traditional with beurre blanc, bordelaise, and pan sauces.
- Slotted-spoon pour: pour sauce over the back of a large spoon to break its fall, creating a foamy, textured puddle rather than a flat pool.
Composition principles that survive every style
Across haute cuisine, kaiseki, and Nordic minimalism, a handful of compositional ideas keep recurring. Treat them as scaffolding rather than law — the best plates break at least one rule on purpose.
- One focal point. Decide which component the eye should land on first (usually the protein) and arrange everything else to support it.
- Odd numbers. Three carrots read better than four; five garnishes read better than six. The eye finds odd groupings more dynamic.
- Off-center placement. Place the focal point on the lower third or along a golden-ratio line, not dead center. Dead-center composition feels static.
- Varied height. A flat plate looks flat. Stack, lean, or fan elements to create a vertical axis — but keep the architecture stable enough to carry.
- Color contrast. Pair complementary or near-complementary colors (orange and blue-green, red and green) so each component reads as distinct.
- Generous negative space. The plate is part of the composition. If the rim is crowded, remove an element rather than scaling everything down.
- Edible, meaningful garnishes. A garnish should echo a flavor or texture already in the dish — microgreens over a herb-based sauce, citrus zest over a citrus-finished fish. Parsley as filler is the cliché to retire.
Common uses
Tips & pitfalls
- Warm plates for hot food and chill them for cold food — temperature is the first thing the guest notices, before they see the food.
- Wipe the rim of the plate with a clean, damp cloth immediately before serving; a single fingerprint or sauce smudge on the rim ruins an otherwise solid plate.
- Use odd numbers of components (3, 5, 7) — the eye reads odd groupings as more natural and dynamic than even ones.
- Build height on flat plates to add drama, but keep the architecture stable enough that the plate can be carried and set down without collapsing.
- Lean on color theory: pair complementary colors (orange and blue-green, red and green) so components pop against the plate.
- Restraint beats abundance. If a plate looks crowded, remove one element and re-evaluate before adding anything else.
- Garnishes must be edible and should echo a flavor or textural element already in the dish — never use parsley as filler, and never place a garnish the guest has to remove to eat.
- Use squeeze bottles, plating tweezers, and offset spatulas rather than spoons for cleaner, repeatable results under service pressure.
- Cut proteins cleanly with a sharp, warm knife just before plating; ragged or oxidized edges suggest carelessness and date a plate instantly.
- Match the plate to the dish: wide-rimmed white porcelain suits modern presentations; rustic earthenware suits farmhouse dishes.
- Choose one sauce technique per plate — mixing a swoosh, dots, and a pool on the same plate looks undecided. Pick the technique that best supports the dish's style.
- For food photography, plate slightly tighter than you would in the dining room — the camera flattens space and exaggerates gaps.
Good to know
- Difficulty
- Moderate; requires practice and a trained eye
- Time required
- 30 seconds to several minutes per plate, done at the pass during service
- Core principle
- Visual composition guided by color, height, texture, focal point, and negative space
- Common plate sizes
- 9–12 in (23–30 cm) for main courses; 6–7 in (15–18 cm) for appetizers and desserts
- Plate temperature
- Warmed (50–65 °C / 120–150 °F) for hot food; chilled for cold courses
- Number rule
- Odd numbers of components (3, 5, 7) read as more visually pleasing than even groupings
- Clock placement
- Protein at 6 o'clock, starch at 2, vegetable at 10 — a common Western convention
- Color rule of thumb
- Use complementary or contrasting colors; monochromatic plates benefit from a single accent
- Key reference text
- Auguste Escoffier, Le Guide Culinaire (1903), which codified the haute-cuisine plating system
- Tool kit essentials
- Plating tweezers, offset spatula, squeeze bottles, ring molds, sauce spoons, microplane, paper piping cones, stencil brushes
- Common misstep
- Overcrowding the plate; restraint is the most-cited rule of professional plating
Also called
Topping · Garnishing
Dishes that rely on it
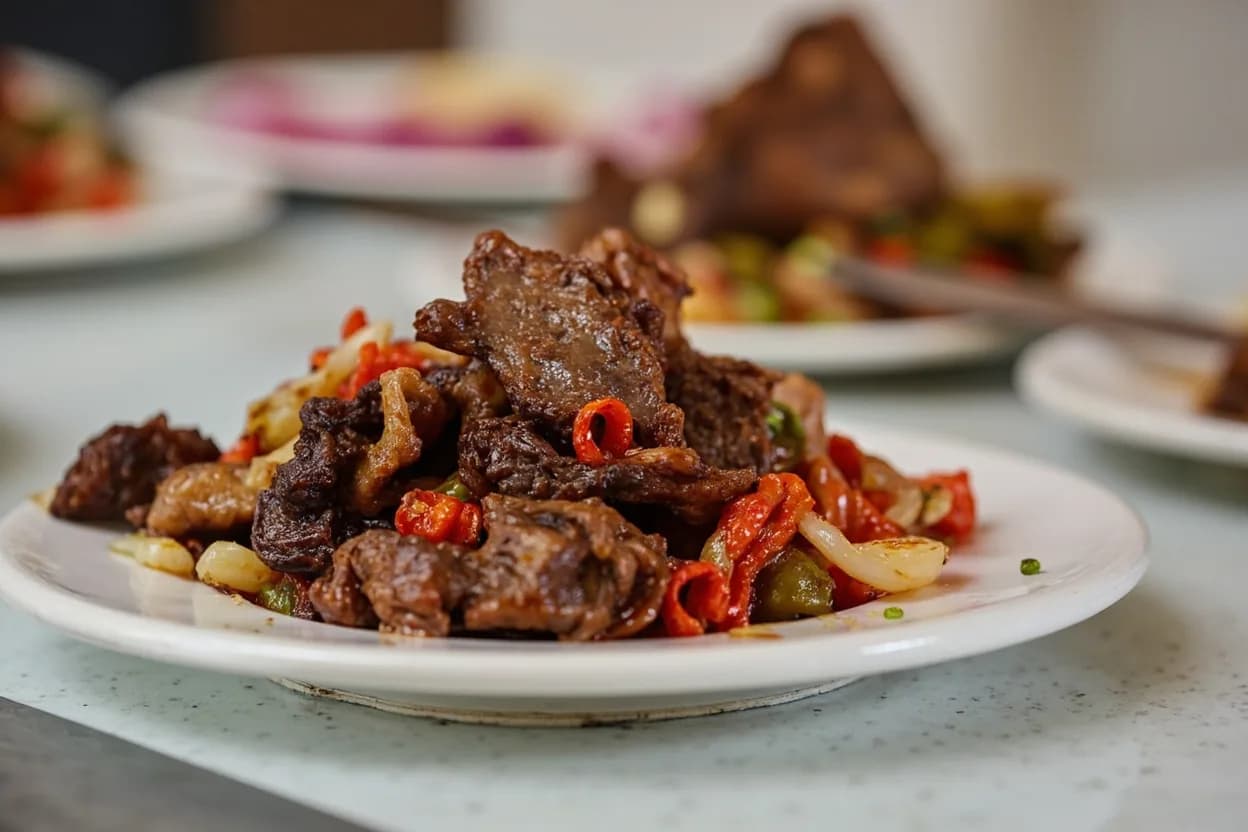
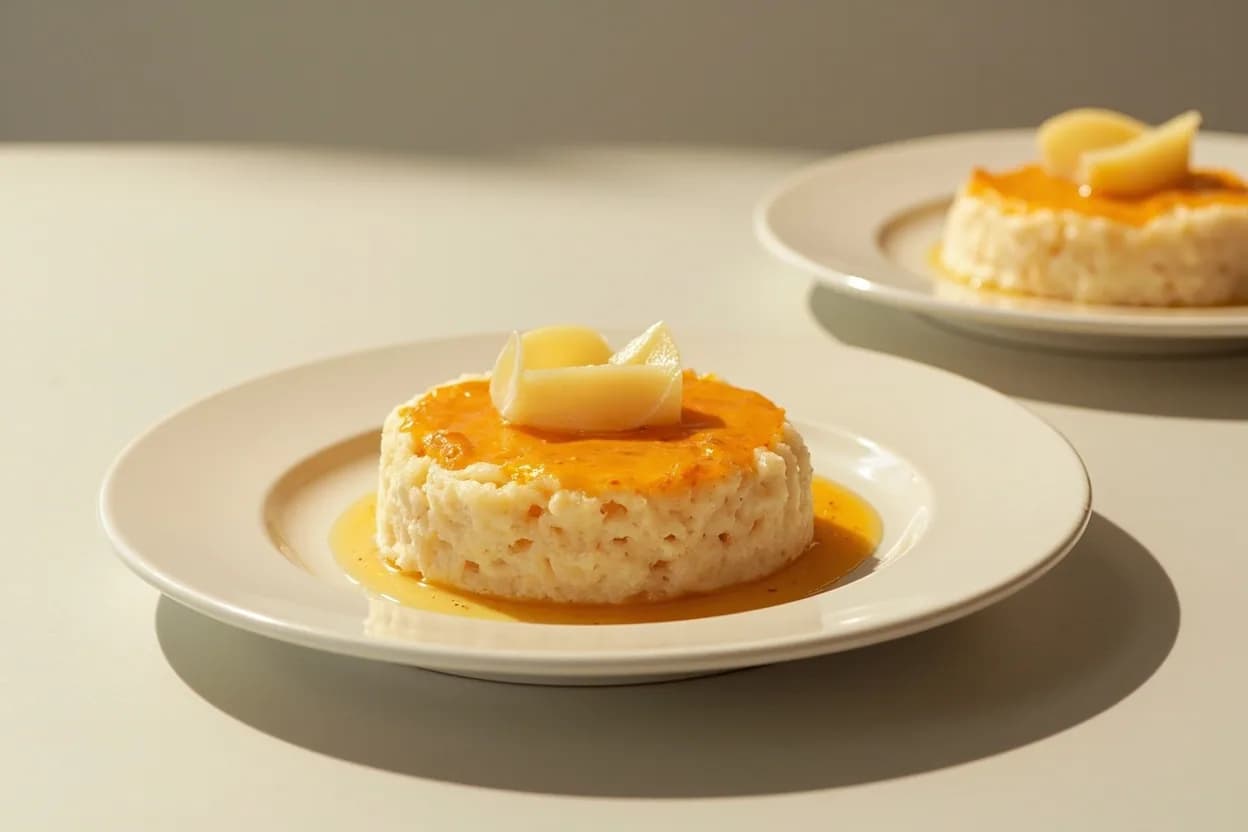
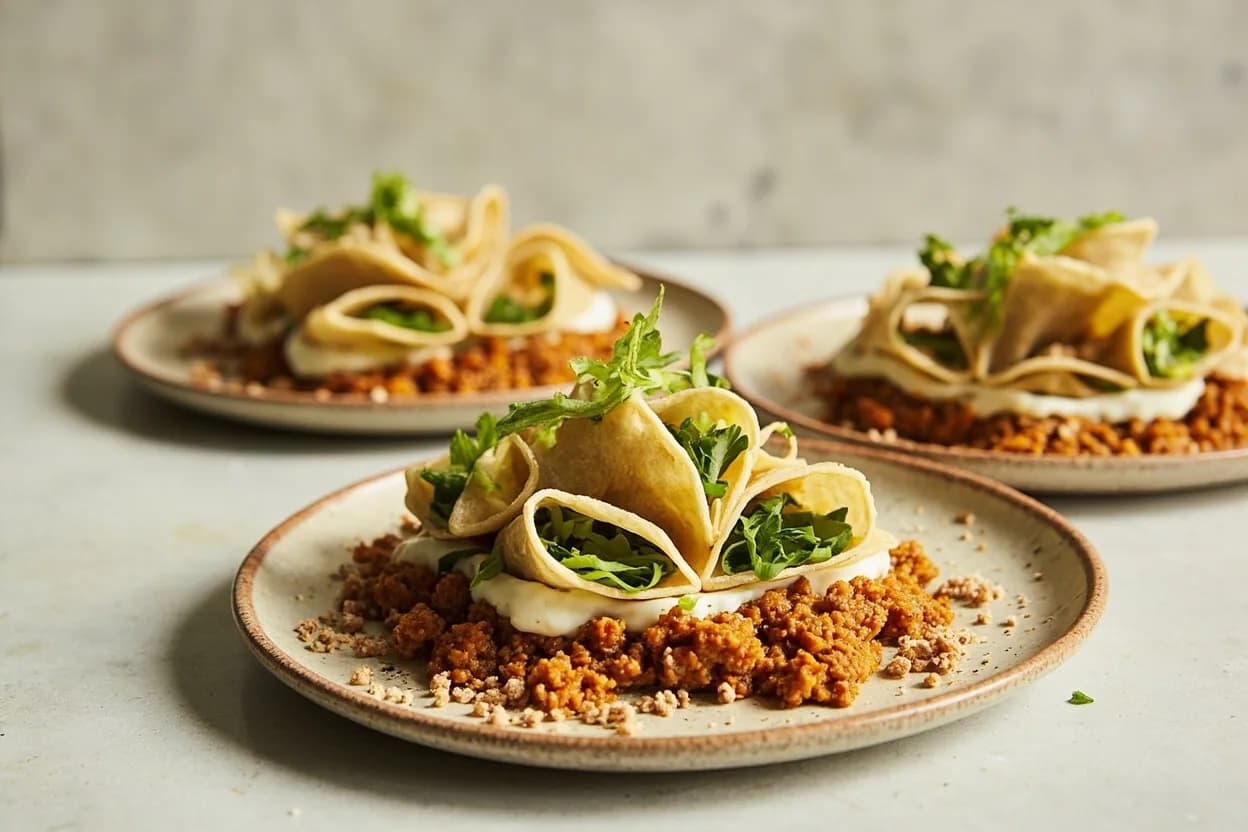
Related

Whisk
Beat ingredients smooth and aerated with a looping wire motion

Sift
Pass dry ingredients through mesh to aerate and remove lumps

Strain
Pour through mesh to separate solids from liquid for a smooth result

Filter
Pass liquid through fine material to clarify out the smallest particles

Rice
Press cooked potatoes through small holes for fluffy, lump-free texture

Mash
Crush soft cooked food into a rustic, creamy purée

Grind
Crush food into a coarse to fine texture, from spices to meat

Grate
Shred food into fine bits against a sharp-toothed surface