Transform & Preserve
Burping Jars (Gas Release)
Briefly opening fermentation jars to release built-up carbon dioxide and prevent pressure.
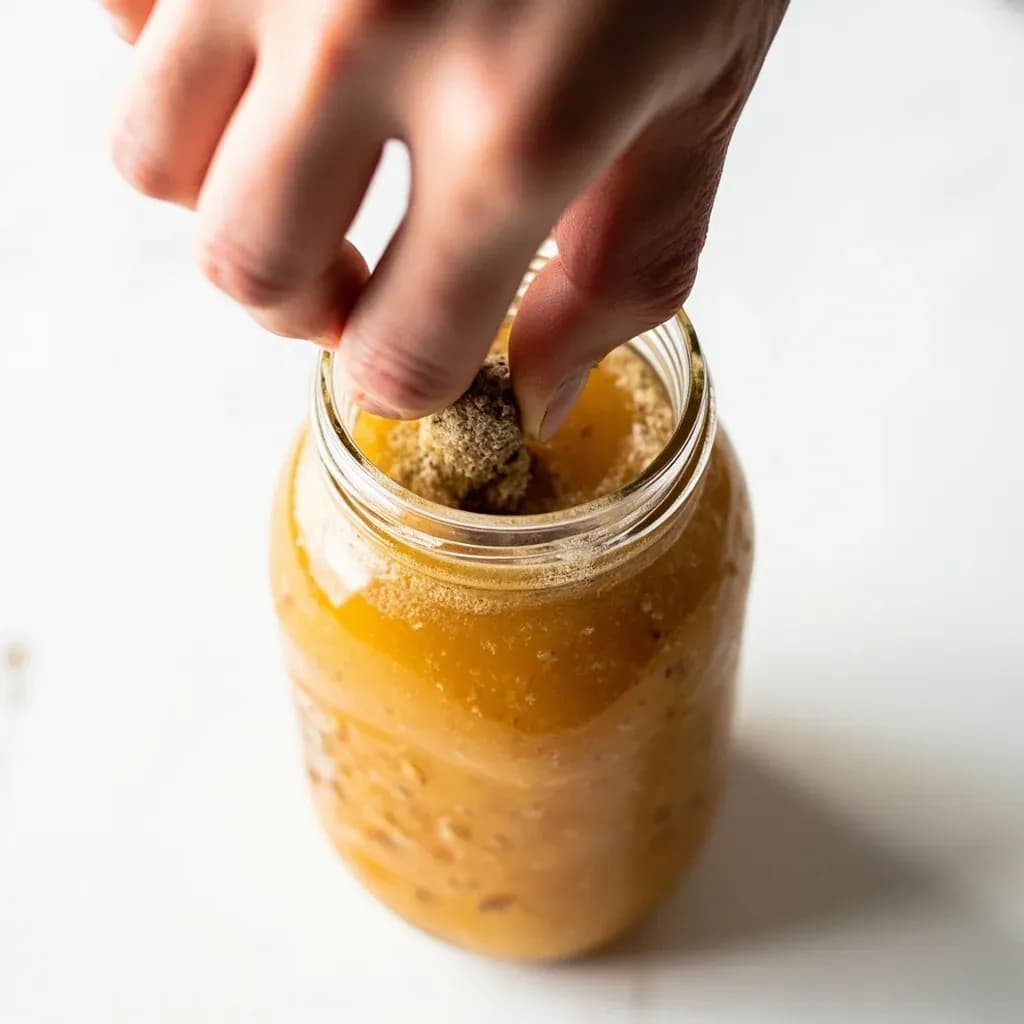
Burping a jar means cracking its lid open during active fermentation to let out the carbon dioxide that bacteria produce, then resealing it. Without this release the pressure can build until the lid pops or the jar leaks or shatters. It is used for ferments held in sealed jars rather than airlocked vessels, such as small-batch kimchi, pickles, or hot sauce.
Burping jars is the daily ritual of briefly cracking open a sealed fermentation vessel to vent the carbon dioxide that lactic acid bacteria produce as they convert sugars into lactic acid. In any anaerobic vegetable ferment — sauerkraut, kimchi, fermented pickles, hot sauce — billions of microbes are exhaling CO2 faster than it can dissolve into the brine, and in a closed container that gas accumulates into real pressure. Opening the lid for a few seconds lets that pressure escape before it can pop the seal, push brine out the threads, or (in extreme cases with unsuitable glass) crack the jar.
Although the moment of opening does admit a small breath of oxygen, the escaping CO2 actually pushes air outward, so the gas exchange is far less dramatic than it feels. The real risk of skipping a burp is not spoilage but mess: foaming brine creeping up the threads, lid bands coated in slime, and an audible pop that startles you across the kitchen. Many modern fermenters now use airlock or one-way valve lids that handle the venting automatically, but hand-burping remains the default method for anyone fermenting in standard Mason jars with a regular lid.
The habit emerged alongside the home-fermentation revival of the 2000s, popularized by writers like Sandor Katz, and it has become the defining daily check-in for jar fermenters. Done well, burping takes only a few seconds and doubles as a sensory inspection: you hear the hiss, smell the ferment, and confirm that everything is on track.
- Difficulty
- Easy
Types & varieties
Standard Mason jar with plastic or two-piece lid; the lid is briefly unscrewed by hand to vent gas.
Silicone or plastic lid with a small water-filled valve that releases CO2 passively; no manual burping needed.
Reusable stretch-on silicone cover that is slightly breathable, letting gas seep out continuously.
Plastic lid fitted with a small rubber check valve that releases gas without admitting oxygen.
Glass or ceramic weight holds food below brine while the lid rests loosely; CO2 escapes around the seal.
Wire-bail jar with rubber gasket, opened by releasing the clasp; widely used in European home fermentation.
How to do it
- 1
Prepare the jar with proper headspace
Pack the fermenting food into a clean wide-mouth Mason jar, pressing it down so brine rises to cover the vegetables. Leave 1 to 2 inches (2.5–5 cm) of headspace between the brine surface and the lid to give expanding gas and rising foam room to move.
- 2
Seal with an appropriate lid
Use a plastic storage lid, a silicone fermentation lid, or a two-piece Mason lid with the band screwed on firmly and the seal disc in place. Avoid rusty or dented lids. Label the jar with the start date.
- 3
Place in a cool, dark spot
Set the jar on a small plate or tray to catch any overflow, in a location kept between 65 and 75°F (18–24°C). Avoid direct sunlight and drafty windows.
- 4
Wait 24 hours before the first burp
Allow fermentation to begin. Most vegetables will show small bubbles rising and foam forming on the surface within 12 to 48 hours, depending on temperature and salt concentration.
- 5
Loosen the lid slowly over a sink
Once or twice daily, move the jar to a sink or hold a folded kitchen towel over the lid. Grip the band and turn it about a quarter-turn until you hear a hiss of escaping CO2. Hold the lid in place so it does not pop off suddenly.
- 6
Let the gas release and inspect the ferment
Keep the lid cracked for 5 to 15 seconds, or until the hissing stops. Use this moment to check the brine level, color, and aroma. Wipe the rim and the underside of the lid with a clean cloth to remove foam or residue.
- 7
Retighten and return the jar
Screw the lid firmly closed and place the jar back in its fermentation spot. Confirm the band is secure so the seal is restored.
- 8
Adjust frequency as fermentation progresses
Burp daily during the most active phase (usually days 2 to 5). As bubbling and foam subside, drop to once daily, then every other day. Most vegetable ferments are ready in 7 to 21 days.
- 9
Stop burping once fermentation is complete
When bubbling has stopped and the flavor is pleasantly tangy, move the jar to cold storage (refrigerator or cool cellar, 35–40°F / 2–4°C). The cold halts or drastically slows microbial activity, and the jar can stay sealed until you open it for use.
Why CO2 builds up in sealed jars
Lactic acid bacteria — primarily Lactobacillus species — metabolize the natural sugars in vegetables and produce lactic acid as their main byproduct, but they also exhale carbon dioxide. In an open crock or under a water-sealed airlock, that CO2 simply drifts away. In a tightly sealed jar it has nowhere to go, so it compresses against the lid and dissolves into the brine, lowering pH and creating a positive pressure inside. As long as that pressure stays well below what the jar and lid can handle, the ferment is fine; the problems begin when the seal holds for too long, the ferment runs hot, or the headspace is too small to accommodate expansion.
- A 1-quart jar of sauerkraut can produce enough CO2 in 24 hours to noticeably dome a metal lid.
- Warmer ferments (above 75°F / 24°C) generate gas two to three times faster than cool ones.
- Sugary ferments like beet kvass or second-fermentation kombucha produce even more CO2 than cabbage-based ferments.
When you do not need to burp
Burping is essentially a workaround for vessels that lack a passive vent. If you ferment in any of the following setups, the gas releases itself and you can leave the lid alone.
- Water-sealed ceramic crocks (Harsch-style) maintain a permanent water barrier that lets CO2 escape one way.
- Open crocks packed and weighted with a plate and stone rely on a cloth cover and need no pressure management at all.
- Airlock lids (Pickle Pipe, Grolink, mason-jar airlock inserts) vent continuously through a small water-filled or rubber valve.
Common uses
Tips & pitfalls
- Always burp over a sink or with a folded kitchen towel held over the lid — actively fermenting brine can foam up and overflow the moment pressure is released.
- Listen for the hiss: a soft, steady release means healthy fermentation; a loud pop or spray of brine suggests pressure has been building too long.
- In warm environments (above 75°F / 24°C), burp twice daily or switch to an airlock lid to stay ahead of gas production.
- Wipe the jar rim and lid threads with a clean cloth at every burping to keep mold-promoting residue from accumulating.
- Use plastic lids or fermentation-specific lids for daily burping; standard two-piece metal canning lids will rust on the threads with repeated removal.
- Do not burp during the first 12–24 hours — the initial CO2 blanket helps protect the surface from oxygen and surface molds while the lactic acid bacteria establish themselves.
- Reduce burping frequency as fermentation slows (typically after 5–7 days for most vegetables); the bubbles and hiss will taper off naturally and tell you when the ferment is winding down.
- If you smell yeasty, alcoholic, or 'fizzy soda' aromas, the ferment is under too much pressure — burp more often or vent longer at each session.
- Never use cracked or chipped jars for pressurized ferments; standard Mason jars tolerate fermentation pressure but are not designed to handle deliberate carbonation, so any flaw in the glass becomes a real hazard.
Good to know
- Primary purpose
- Release CO2 produced by lacto-fermentation to prevent over-pressurization
- Typical frequency
- 1–2 times per day during active fermentation; more often in warm conditions
- Time per session
- 30 seconds to 1 minute
- Skill level
- Beginner
- Best vessel
- Wide-mouth Mason jar with plastic lid or dedicated fermentation lid
- Headspace required
- 1–2 inches (2.5–5 cm) between brine and lid
- Fermentation temperature
- Most active between 65–75°F (18–24°C)
- Indicator of need
- Visible bubbles, brine foam, dome-shaped lid, or audible hiss on opening
- Common alternative
- Airlock or one-way valve lids that vent passively without manual opening
- Storage between sessions
- Cool, dark location away from direct sunlight
Also called
Burping (Pressure Release) · Venting Jars
Related

Confit
Cook slowly submerged in fat for silky tenderness and keeping

Cure
Draw out moisture with salt and time to preserve and concentrate

Pickle
Steep in acidic brine for bright, tangy, crunchy preservation

Ferment
Let friendly microbes transform food into tangy, complex flavor

Marinate
Soak in a seasoned mix to flavor and tenderize before cooking

Brine
Soak in salt water so meat stays juicy and seasoned throughout

Dehydrate
Slowly dry out moisture to concentrate flavor and extend shelf life

Cold-Smoke
Perfume cured food with smoke without cooking it through