Transform & Preserve
Centrifugal Extraction
Spinning a liquid at high speed to separate clear juice from pulp and solids.
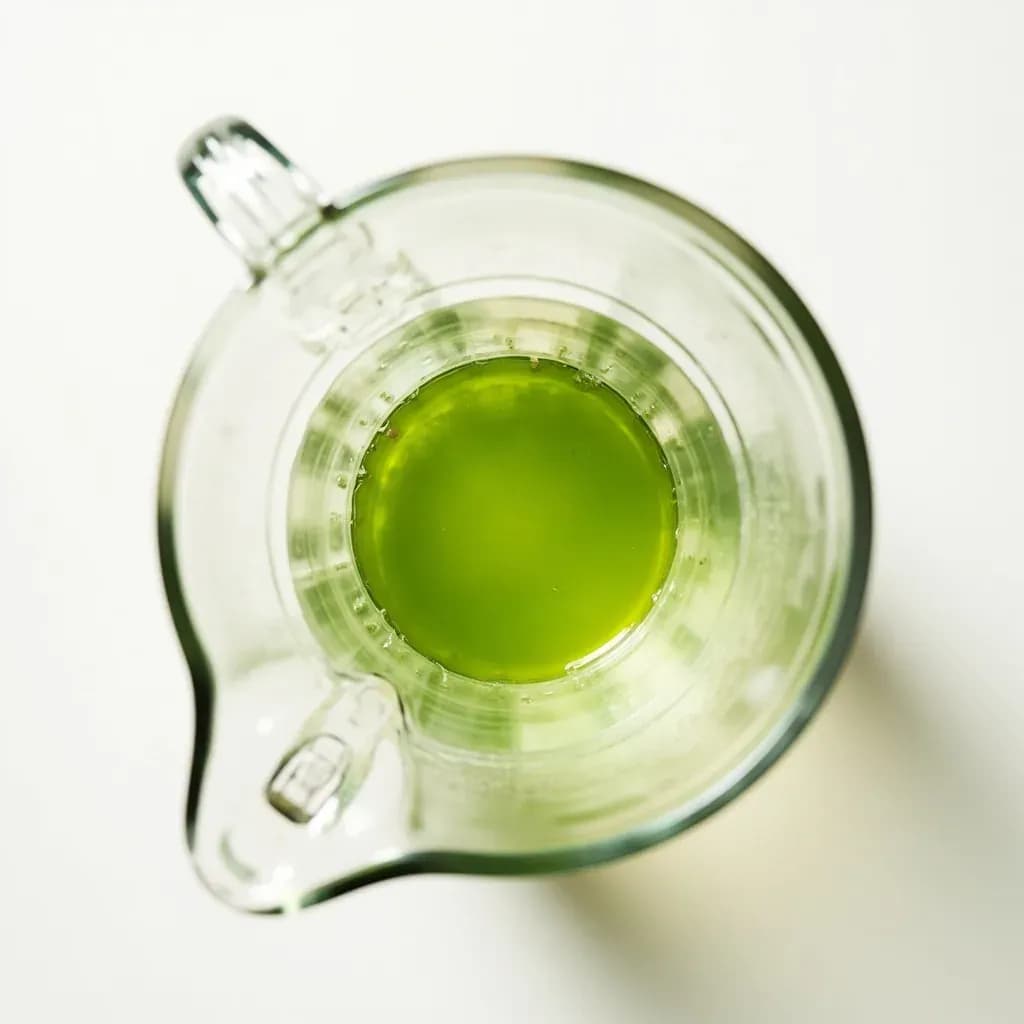
Centrifugal extraction uses a centrifuge to fling denser solids outward, clarifying juices, stocks, and purees into bright, sediment-free liquids. It's a modernist technique for producing crystal-clear vegetable or fruit juices without filtering away flavor. The g-forces separate by density, leaving a clean top layer cooks decant.
Centrifugal extraction is the high-speed juicing method behind most home juice machines and the countertop workhorse of juice bars. A serrated metal disc spins at several thousand revolutions per minute, shredding produce against a fine mesh basket. Centrifugal force throws the liquid out through the holes of the basket into a waiting jug, while the pulp spirals up the wall and out into a separate bin. The whole cycle is fast — most juices are ready in under two minutes — and the technique is forgiving of imperfect prep, which is why it dominates the consumer market.
The trade-off sits in the juice itself. The fine cutting disc breaks cells into very small particles, exposing a great deal of surface to air, so the juice foams, warms slightly from friction, and oxidizes faster than juice from a masticating (slow) or twin-gear juicer. That means brighter color and zippier top notes at minute one, but noticeable browning and flavor loss by the next day. Modern research suggests the nutrient gap between centrifugal and cold-pressed juice is smaller than early marketing claimed, yet on flavor, texture, and shelf life, slow juicers still win, especially with greens and soft fruit.
In practical kitchen terms, treat centrifugal juice as a fresh, immediate-use ingredient. It is the right tool when speed and volume matter more than a 72-hour shelf life: a quick morning glass, a vibrant marinade, a poaching liquid, a cocktail base, or a batch for a brunch crowd. It is the wrong tool for multi-day juice cleanses, leafy greens, or any fruit that arrives without much free liquid.
- Difficulty
- Hard
Types & varieties
Vertical or horizontal basket with a serrated cutting disc and fine mesh; the most common home format
Feed opening around 3 inches (75 mm) accepts whole apples with minimal cutting, speeding prep
Larger motor, often 1,000+ watts, rated for sustained high-speed runs; the workhorse of juice bars and cafés
Half-fruit reamer with a domed spinning head that throws juice through a strainer; uses centrifugal force rather than a lever arm
Combines a high-speed spinner with a follow-up pressing stage to reduce foam and lift yield on softer produce
How to do it
- 1
Set up the juicer
Place the motorized base on a flat, stable countertop near an outlet. Lock the mesh strainer basket into the bowl, seat the cutting disc on the drive shaft, attach the lid with feed chute, and position the juice jug under the front spout and the pulp bin at the rear. Confirm all parts click or lock into place per the manufacturer.
- 2
Prep the produce
Wash everything well. Trim woody ends (carrot tops, beet greens, pineapple crown, rhubarb leaves), peel citrus and any waxed or bitter skins, and remove large pits. Cut items just small enough to enter the chute without forcing — apples halved or quartered depending on chute width, carrots and celery cut to length.
- 3
Run the machine and feed steadily
Switch the juicer on and let it reach full speed, then feed produce through the chute one piece at a time, using the pusher to guide — never press hard enough to bog the motor. Alternate hard and softer items and keep a steady pace; hesitation causes pulp to back up in the basket.
- 4
Watch the juice and pulp
Clear juice should flow from the front spout and dry pulp should eject from the rear into the bin. If juice slows or pulp looks wet, the mesh is clogging — pause, switch off, and clear the basket before continuing.
- 5
Finish and store
Run a final piece of citrus or apple through to flush remaining juice from the basket. Switch off, unplug, and pour the juice through a fine sieve if you want to remove foam and stray flecks. Serve immediately, or transfer to a sealed container with minimal headspace and refrigerate.
- 6
Disassemble and clean
Within minutes of finishing, take the parts apart. Rinse the mesh basket from both sides under warm running water, brushing with a stiff nylon brush. All removable parts on most home models are top-rack dishwasher safe; dry the mesh upright so water drains from the fine holes.
Centrifugal vs. slow (masticating) juicing
The choice between centrifugal and slow juicers comes down to what you are juicing and how soon you will drink it. Centrifugal wins on speed, price, and ease of use; slow juicers win on yield, dryness of pulp, foam, and how long the juice holds.
- Speed: a centrifugal glass takes 60–90 seconds; a masticating machine needs several minutes for the same volume.
- Texture: centrifugal juice is foamy and aerated; slow-pressed juice is denser with a more uniform pour.
- Shelf life: centrifugal juice is brightest in the first 30 minutes and fades fast; slow juice holds 48–72 hours refrigerated.
- Greens and soft fruit: the slow juicer pulls meaningful juice from kale, spinach, and wheatgrass; the centrifugal essentially aerates them.
- Heat and oxidation: the high-RPM disc introduces friction heat and oxygen; slow juicing crushes and presses with minimal air contact.
- Noise and cleanup: centrifugal machines are louder but usually disassemble and rinse quickly; slow juicers have more parts to scrub.
Working with the juice and the pulp
Because centrifugal juice oxidizes quickly, a few small habits make a real difference in the glass. The juice should move from machine to mouth or to a sealed vessel in minutes, and a brief rest or a fine strainer will tame the foam that high-RPM spinning whips into the pour. The pulp that exits the rear is wetter than cold-press pulp — the centrifugal basket leaves more moisture behind — but it still has plenty of uses in the kitchen: stirred into muffins or quick breads (a 1-to-3 ratio of pulp to flour is a useful starting point), folded into burger patties or meatballs as a binder, whisked into fritter batter, or composted.
Common uses
Tips & pitfalls
- Chill produce before juicing — colder items yield juice with less foam and hold their brightness longer in the glass.
- Cut items just to fit the chute; oversized chunks stall the blade, undersized pieces miss the cutter and waste time.
- Use the pusher, never your fingers, and don't force it — let the machine's speed do the work.
- Alternate hard and soft pieces in the chute; soft items alone will clog the mesh.
- Skip banana, avocado, papaya, and mango — they have almost no free liquid and will only clog the basket.
- Add a squeeze of lemon juice to the jug or final pour to slow browning and brighten the flavor.
- Disassemble and rinse parts under running water within minutes of finishing — dried pulp cements into the mesh and shortens the juicer's life.
- Brush the mesh with a stiff nylon brush, never a metal scouring pad, which can tear the fine screen.
Good to know
- Equipment
- Centrifugal juicer: motorized base, serrated cutting disc, fine mesh strainer basket, feed chute with pusher, juice spout, and pulp container
- Typical speed
- 3,000–14,000 RPM (entry-level around 3,000–6,000, high-end 10,000–14,000)
- Yield
- Lower than masticating or twin-gear juicers; about 60–80% of fresh weight from hard produce, considerably less from greens
- Juice characteristics
- Foamy, aerated, and slightly warmed by friction heat at the cutting disc
- Shelf life
- Best flavor and color in the first 15–30 minutes; refrigerated in a sealed container, 24–48 hours versus 48–72 for cold-pressed juice
- Best for
- Hard fruits and vegetables — apples, pears, carrots, beets, celery, ginger, pineapple, fennel
- Poor for
- Leafy greens (kale, spinach, wheatgrass), soft fruits with little free liquid (banana, mango, papaya, avocado), and very fibrous stalks
- Noise and power
- Roughly 70–90 dB at full speed, drawing 400–1,200 watts
Also called
centrifuging · clarification by centrifuge
Related

Confit
Cook slowly submerged in fat for silky tenderness and keeping

Cure
Draw out moisture with salt and time to preserve and concentrate

Pickle
Steep in acidic brine for bright, tangy, crunchy preservation

Ferment
Let friendly microbes transform food into tangy, complex flavor

Marinate
Soak in a seasoned mix to flavor and tenderize before cooking

Brine
Soak in salt water so meat stays juicy and seasoned throughout

Dehydrate
Slowly dry out moisture to concentrate flavor and extend shelf life

Cold-Smoke
Perfume cured food with smoke without cooking it through