Prep & Assembly
Clapping Roti (Buss-Up-Shut)
Slapping hot paratha roti between the hands to shred it into flaky tatters.
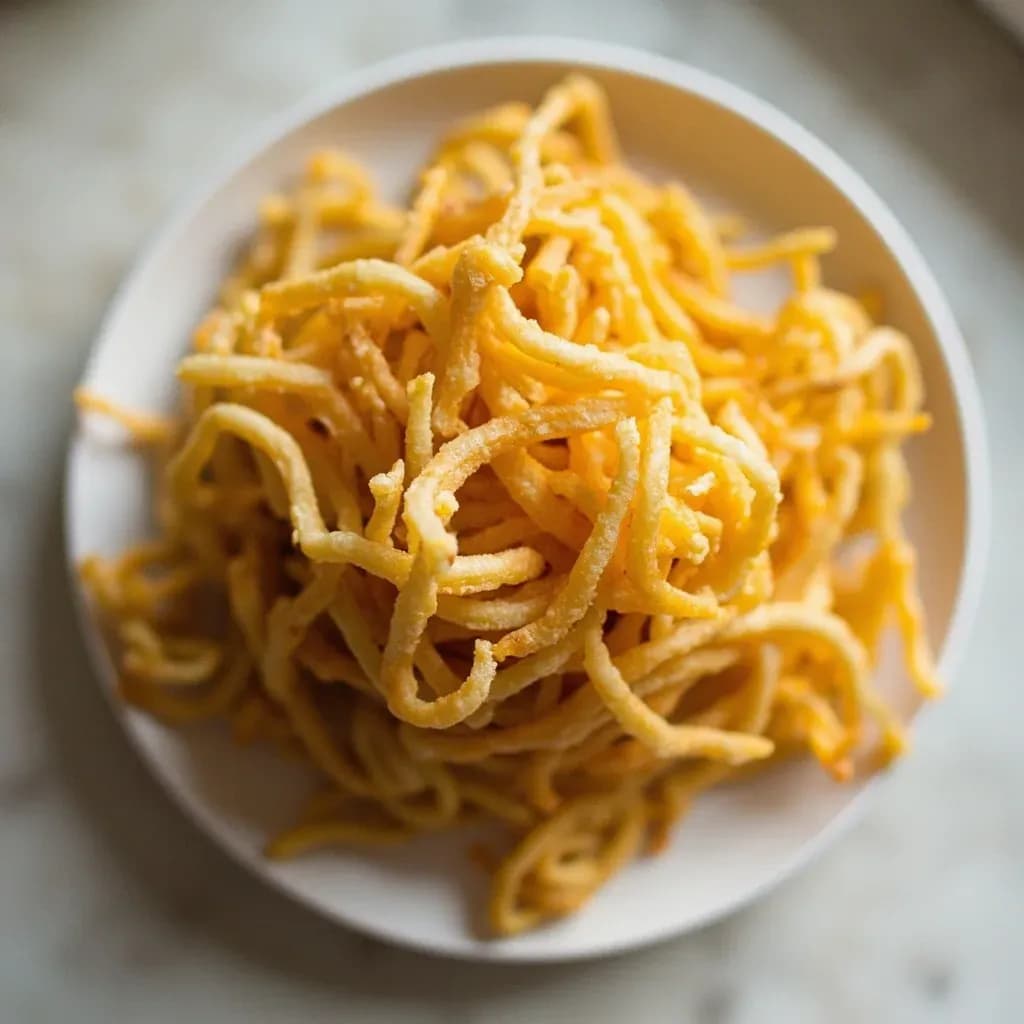
After cooking a layered paratha-style roti on a tawa, the cook claps and crushes it between the hands (or with utensils) so it shatters into soft, flaky shreds resembling a torn shirt — hence 'buss-up-shut.' The clapping separates the oiled layers, giving an airy, ragged texture. It's a Trinidadian technique served alongside curries for scooping.
Buss-Up-Shut — Trinidadian Creole for "burst-up-shirt" — is the finishing flourish that turns an ordinary paratha roti into something distinctly Caribbean. The bread itself is descended from the layered flatbreads brought to Trinidad by Indian indentured laborers in the mid-1800s, and it is made much like a North Indian paratha: a flour-and-ghee dough, rolled thin, brushed with fat, pleated or coiled to build dozens of internal layers, then cooked on a dry tawa. What makes Buss-Up-Shut its own thing is the clap. The moment the roti comes off the heat, still steaming and pliable, the cook slaps it between two flat palms in a single firm motion. Trapped steam vents explosively, the laminated layers peel apart, and the flatbread collapses into a shaggy, shredded disc of crisp flakes and soft, buttery strands — resembling, in the local imagination, a shirt torn at the seams.
The technique is less about strength than about timing and confidence. Press too slowly and the bread tears a ragged hole rather than shreds; wait too long and the layers have already fused back together as the bread cools, leaving you with an ordinary, intact roti. Vendors at Trinidadian street stalls do it bare-handed in a split second, and home cooks can replicate the effect with a little practice. The payoff is textural: a roti that simultaneously crunches, fluffs, and soaks, designed from the ground up to be torn into curry.
Beyond spectacle, the clap is functional. A clapped roti offers far more surface area than an intact one, so it grabs and holds sauce in ways a smooth paratha cannot. It is the bread equivalent of an open-weave sponge, and Trinidadian cooks treat it that way — never buttered and folded, always torn, dunked, and drenched.
- Difficulty
- Medium
Types & varieties
Unfilled paratha, the classic form for soaking up curry
Stuffed with seasoned mashed potato before lamination
Stuffed with curried chickpeas
A close relative from the same family, typically stuffed with ground split-pea dhal and usually not clapped
Rolled thinner for a lacier, more shredded result with delicate flakes
Rolled heavier for a meatier, breadier tear with chewier interior
How to do it
- 1
Make the dough
Combine flour, a pinch of salt, a small amount of baking powder (optional, for slight puff), a tablespoon or two of ghee, and enough water to bring it together into a soft dough. Knead 8–10 minutes until smooth and elastic — it should spring back when poked. Cover and rest 30–60 minutes at room temperature.
- 2
Portion the dough
Divide the rested dough into balls about 60–80 g each, roughly the size of a small lemon. Keep them covered with a damp cloth so they don't form a skin.
- 3
Laminate the layers
Roll one ball into a thin disc about 8–10 inches across. Brush the surface generously with melted ghee, then dust very lightly with flour. Pleat the disc like an accordion into a long strip, then coil that strip into a tight spiral. Tuck the end underneath and flatten gently. Repeat with the remaining balls. This is where the dozens of internal layers are created.
- 4
Rest the coils
Set the coiled dough aside under a damp cloth for 10–15 minutes. This relaxes the gluten so the final roll-out doesn't fight back and spring inward.
- 5
Roll out the roti
On a lightly floured surface, roll each coil into a thin round or oval about 6–8 inches across, keeping the thickness even from edge to center. Avoid pressing too hard with the rolling pin — you want to stretch, not crush, the layers.
- 6
Cook on the tawa
Heat a tawa or heavy skillet over medium-high until a drop of water skitters across the surface. Lay the roti on the dry pan. When small bubbles appear on the surface (about 30 seconds), brush the top with ghee, flip, brush the other side with ghee, and continue cooking until both sides have golden-brown spots and the bread puffs in places. Total cooking time is about 2–3 minutes per roti.
- 7
Clap immediately
The instant the roti comes off the tawa — still steaming and flexible — hold it between flat, slightly moistened palms and clap once firmly, like clapping your hands with the bread between them. The layers should burst apart into shredded strands. If the roti is still intact, a second quick clap usually does it. Move quickly; you have only a few seconds before the bread sets.
- 8
Serve at once
Stack the clapped roti and bring it to the table while still hot, alongside a bowl of curry, dhal, or channa. Let diners tear pieces off by hand and use them to scoop the sauce.
The Physics of the Clap
A laminated roti is essentially a sealed parcel of thin dough sheets separated by ghee. As it cooks, water in the dough turns to steam and pressure builds inside the layers. In a normal paratha, that steam eventually vents through a single large puff or slowly through the edges. In Buss-Up-Shut, the clap ruptures the structure all at once, releasing steam from dozens of points simultaneously. The internal layers, now unglued, fall away from each other while the outer surface stays crisp. This is why temperature and timing matter so much: the dough must be hot enough that the steam is still pressurized, but cool enough that the outer skin has set and will shatter into flakes rather than collapse into dough.
- The clap is a single, confident motion — slow squeezing drives steam out gradually and gives you a torn hole, not a shred
- A roti clapped at room temperature will not separate; the layers have already bonded as it cooled
- Slightly moistening the palms prevents the hot surface from sticking and pulling the bread out of shape
Getting the Lamination Right
The clap is only as good as the lamination underneath it. A roti with five or six clean layers will shred into broad ribbons; a roti with twenty or thirty will shatter into a lacework of fine strands. The traditional method — rolling the dough into a thin disc, brushing with ghee, dusting with flour, pleating like an accordion, coiling into a spiral, and resting — creates that multiplied structure. The flour dusting between ghee layers is what actually forms the separable sheets: fat alone makes the bread tender, but the dry flour creates distinct skins that release from one another when steam forces them apart.
- Knead until very smooth; a tight, under-kneaded dough resists rolling and the layers will be uneven
- Rest the coiled dough 10–15 minutes before final roll-out so the gluten relaxes and the disc stays round
- Roll each disc to a consistent thickness — thin spots cook through and merge with adjacent layers before the clap
Common uses
Tips & pitfalls
- Clap the roti the moment it leaves the tawa — once it cools past steaming, the layers fuse and it will not shred no matter how hard you hit it
- Use ghee rather than oil; the milk solids brown during cooking and give the authentic nutty, toasty flavor
- Don't skip the flour dusting between ghee layers; fat alone produces a soft, tender roti, but the dry flour is what creates the skins that actually separate when clapped
- Moisten your palms lightly before clapping — dry hands grip the hot surface and drag the bread out of shape, while wet hands let it slide
- If the roti tears in one ragged hole instead of shredding evenly, your lamination was too thin or your dough was overworked; rest the next coil longer
- Cook over medium-high heat, not high; too hot burns the outside before the inside steams, and a parched roti has no steam left to release
- For stuffed varieties like aloo or channa, seal the filling thoroughly inside the coil or it will leak out during rolling and cooking
- Raw dough balls freeze well in a single layer, then thaw in the fridge overnight — the lamination steps work just as well on thawed dough; cooked rotis only keep a few hours wrapped in cloth before they go limp
Good to know
- Origin
- Trinidad and Tobago; descended from Indian paratha brought by indentured laborers in the 19th century
- Name
- Trinidadian Creole for "burst-up-shirt," after the shredded, torn appearance
- Bread base
- Laminated paratha-style roti, plain or stuffed with aloo, channa, or other fillings
- Key action
- A firm, single clap between two flat palms while the roti is still steaming
- Pan
- Tawa (flat cast-iron or steel griddle) or a heavy-bottomed skillet
- Fat
- Ghee brushed between dough layers and onto the cooking surface
- Flavor profile
- Buttery and slightly nutty from the toasted flour, with crisp edges and soft, steamy inner layers
- Difficulty
- Moderate; the clapping is easy, but laminating the dough takes practice
- Active time
- Roughly 45–60 minutes per batch, including dough rest
- Yield
- One roti per person; traditional serving is 1–2 per diner
- Storage
- Best eaten immediately; cooked rotis keep only a few hours wrapped in cloth, but raw dough freezes well
Also called
buss-up-shut · paratha roti shredding
Related

Whisk
Beat ingredients smooth and aerated with a looping wire motion

Sift
Pass dry ingredients through mesh to aerate and remove lumps

Strain
Pour through mesh to separate solids from liquid for a smooth result

Filter
Pass liquid through fine material to clarify out the smallest particles

Rice
Press cooked potatoes through small holes for fluffy, lump-free texture

Mash
Crush soft cooked food into a rustic, creamy purée

Grind
Crush food into a coarse to fine texture, from spices to meat

Grate
Shred food into fine bits against a sharp-toothed surface