Heat & Fire
Forming Crispy Rice Crust
Letting rice sear undisturbed against the pan into a golden crunchy crust.
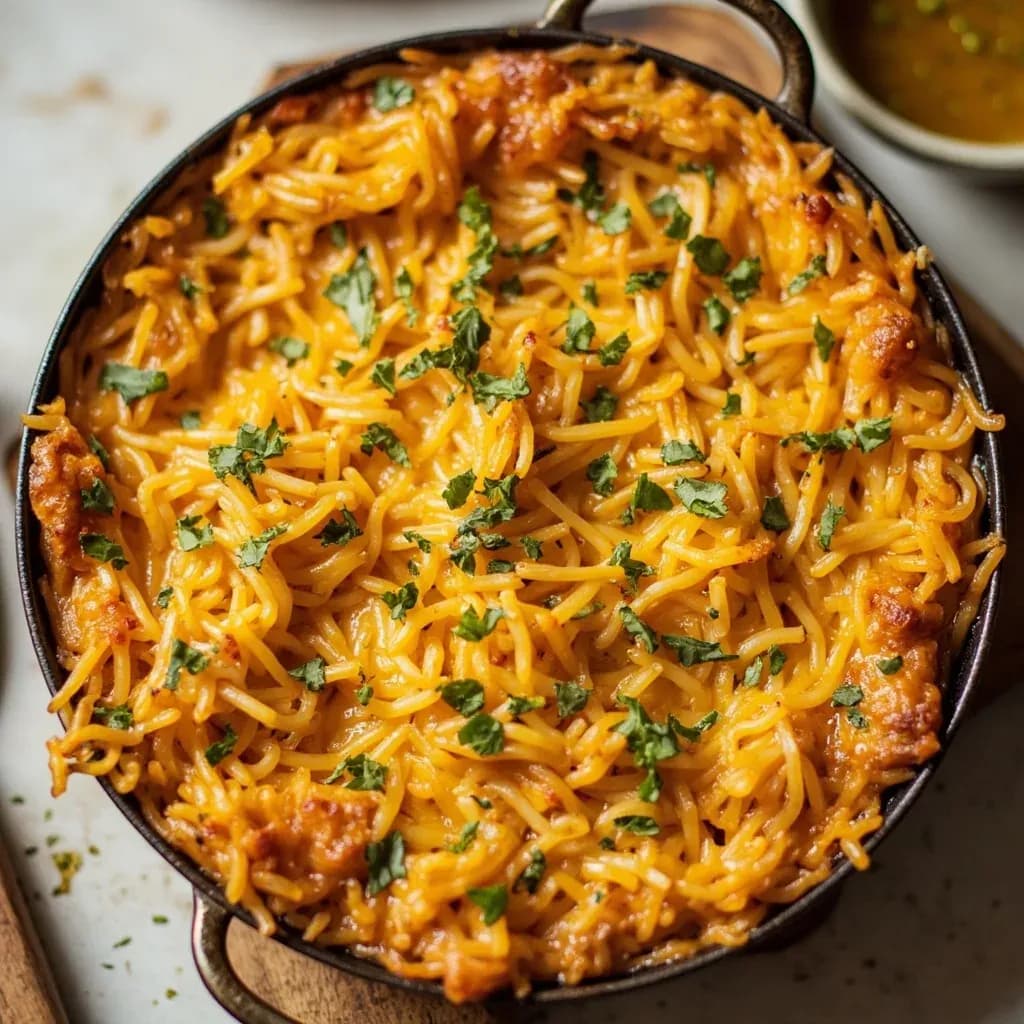
Forming a crispy rice crust leaves cooking rice in direct contact with a hot pan so the bottom layer toasts into a crunchy, golden sheet. It is the prized socarrat of paella, the pegao of Latin American rice, and the tahdig of Persian cooking. Success depends on enough fat, the right heat, and resisting the urge to stir during the final minutes.
Forming a crispy rice crust is the deliberate sear of cooked rice against a hot, fat-coated pan until the bottom layer dehydrates, browns, and fuses into a single golden sheet. It is the technique behind Persian tahdig, Valencian socarrat, Korean nurungji, and Cantonese claypot rice crust — independent inventions that all discovered the same thing: a heavy pan, enough fat, and undisturbed contact will turn soft grains into a crackling, glassy wafer.
The crust is not simply dried rice. It is the product of Maillard browning between surface proteins and reducing sugars, aided by starch dextrinization and caramelization at the pan surface, all conducted by a thin film of hot oil. That is why day-old, cold rice works best: the surface starches have already set, and excess water has migrated away from the grains. With wet, fresh rice, the same pan will steam the rice against the metal instead of browning it, leaving you with a pale, fragile layer that tears instead of releasing in a clean sheet.
The technique is forgiving on heat but punishing on contact. Every stir, shake, or premature flip restarts the browning clock and produces a patchy, broken crust. Get the pan, the fat, the rice moisture, and the patience right, and the reward is one of the most satisfying textures in the rice cook's repertoire — a brittle, savory wafer that contrasts everything soft it sits beside.
- Difficulty
- Medium
Types & varieties
Crispy rice from the bottom of a pot, sometimes layered with potato, lavash bread, or saffron; considered a delicacy in Iranian cuisine.
The toasted bottom crust of a proper paella; Valencian cooks judge a paella by its socarrat.
The golden crust left in a dolsot (stone bowl) after bibimbap or plain bap; often served as a crunchy snack on its own.
Crispy rice from a claypot rice dish, often drizzled with sweet soy sauce at the table.
Toasted rice crust from nabe or rice cooked in kamado-style pots; sold commercially as a packaged snack.
The contested crispy bottom of a Milanese-style risotto; some cooks prize it, traditionalists consider it a fault.
The browned layer at the bottom of a rice cooker or congee pot, eaten as a treat.
How to do it
- 1
Cook and dry the rice
Cook rice a touch firmer than usual (about 10% less water than your normal ratio) and spread it on a tray to steam off for 10–15 minutes, or refrigerate overnight in a sealed container. Surface grains should feel dry, not glossy, when you begin.
- 2
Heat the pan with fat
Place a wide, heavy skillet (a 10–12 inch cast iron or carbon steel is ideal) over medium heat and add 2–4 tablespoons of a high-smoke-point fat — ghee, neutral oil, or clarified butter — swirling to coat the entire bottom and a finger's width up the walls.
- 3
Add rice in an even layer
Spoon the rice into the pan and spread it firmly with a spatula into a compact, even layer 1–2 cm thick. Press down gently across the surface to eliminate air pockets and ensure every grain touches the metal.
- 4
Sear undisturbed
Maintain steady medium to medium-high heat and do not stir, shake, or cover for 10–20 minutes. The fat will bubble at the edges, then quiet down as surface moisture cooks off. Resist the urge to peek.
- 5
Confirm the crust
Peek at the edge: when the rice has pulled slightly from the pan and the bottom layer looks deep golden, the crust is ready. If the sizzle has gone silent and there is no resistance when you nudge an edge, lower the heat to low to finish.
- 6
Optional steam finish
For a softer interior under a fully crisp top, drizzle 1–2 tablespoons of water around the pan perimeter, cover tightly, and let steam for 2–3 minutes off the heat. The trapped steam loosens the rice above without softening the crust.
- 7
Release and serve
Run a thin offset spatula around the rim to loosen. Either flip the pan onto a round platter so the crust faces up, or scoop directly and break the crust into shards for serving.
The science of the crust
Three things have to happen in the same millimeter of pan surface for a true crispy rice crust to form. First, surface water has to leave the grain — the audible sizzle you hear at the start is that water boiling off, and when the sound softens, the browning chemistry can begin. Second, a thin film of hot oil must conduct heat evenly across every grain; without it, the rice steams against the metal rather than frying on it. Third, Maillard browning between surface proteins and reducing sugars, combined with dextrinization and caramelization of the starches, fuses the layer into a coherent sheet that releases in one piece. Push any one of these out of balance — too much water, too little fat, heat cranked too high — and you get a pale, stuck, or bitter result instead.
- Surface water must fully evaporate before browning begins; this is what the sizzle is telling you.
- A continuous film of fat is the medium that conducts heat; bare rice against metal will scorch without browning.
- Day-old rice has firmer, drier grains with retrograded starch, so the layer holds together as a sheet rather than crumbling when released.
Why non-stick fails
Non-stick coatings are designed to prevent exactly the kind of starch-protein bond that holds a crispy rice crust together. The polymer surface gives the rice nothing to grip, so the layer either slides off in soft clumps or never forms at all. A well-seasoned carbon steel or cast-iron pan, by contrast, has micro-texture that holds starches in intimate contact with the metal — the same reason a good sear on meat requires a surface the fond can anchor to. The older and rougher the pan, the better the grip, which is why generations of cooks have reached for the most battered skillet in the kitchen for tahdig.
- Non-stick pans produce no fond, no grip, and therefore no real crust.
- Carbon steel, cast iron, and well-seasoned steel pans offer the micro-texture needed.
- Traditional clay and stone vessels work because they absorb surface moisture while radiating dry heat back.
Common uses
Tips & pitfalls
- Use day-old, cold rice: the surface starches have set and excess moisture has migrated out — the single biggest factor in a clean crust.
- Press the rice into an even, compact layer with a spatula; air pockets break contact and produce patchy browning.
- Resist lifting or stirring once the rice starts to sizzle; every break in contact restarts the browning clock unevenly.
- Listen for the sizzle to drop: when surface moisture is gone, the sound softens and Maillard browning accelerates.
- Run a thin spatula around the edge early to confirm release; if it does not slide, give it another few minutes rather than forcing it.
- Do not use non-stick: the coating prevents the starch-protein bond that holds the crust together.
- Avoid high heat — burning produces bitter, acrid notes; aim for deep amber, not black.
- Salt the rice lightly before crisping; heavy salting draws moisture to the surface and slows browning.
Good to know
- Technique family
- Dry-heat finishing; relies on Maillard browning and starch dextrinization at the pan surface
- Best rice state going in
- Fully cooked rice with surface moisture largely evaporated — day-old refrigerated rice is ideal
- Pan material
- Heavy, conductive metal with a slightly rough surface (cast iron, carbon steel, well-seasoned steel); traditional clay or stone vessels also work
- Fat requirement
- Generous — typically 2–4 tablespoons of oil, ghee, or butter per pan to conduct heat and prevent sticking
- Heat level
- Medium to medium-high; high enough to brown, low enough to avoid scorching
- Time
- Roughly 10–30 minutes undisturbed, depending on pan size and rice depth
- Doneness cue
- Sizzling audibly quiets as surface water leaves the rice; edges pull away from the pan; crust releases in a single sheet
- Difficulty
- Medium — forgiving on heat but punishing if the rice is stirred or the pan is wrong
- Avoid
- Non-stick pans (no fond/crust grip), wet rice, high heat, and lifting to peek
Also called
forming-crispy-rice · socarrat-formation · pegao-formation · tahdig
Dishes that rely on it
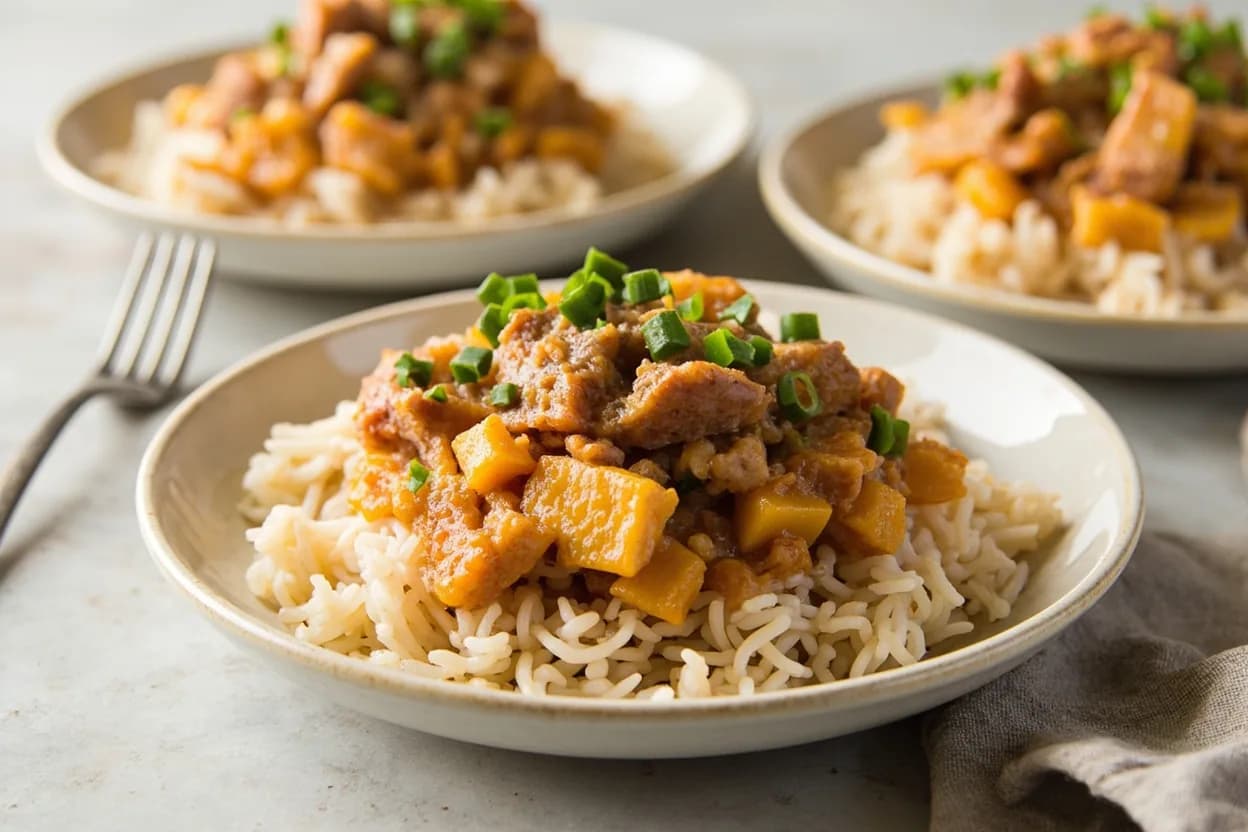
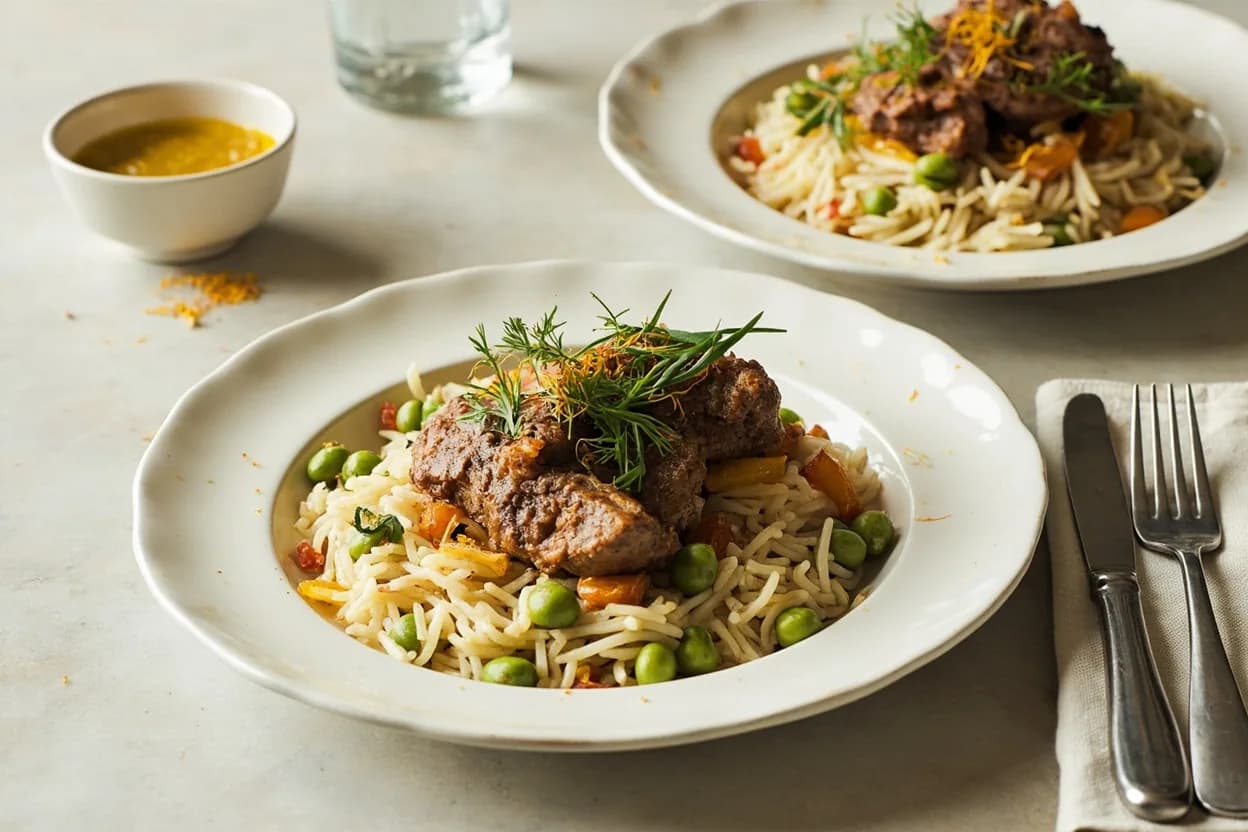
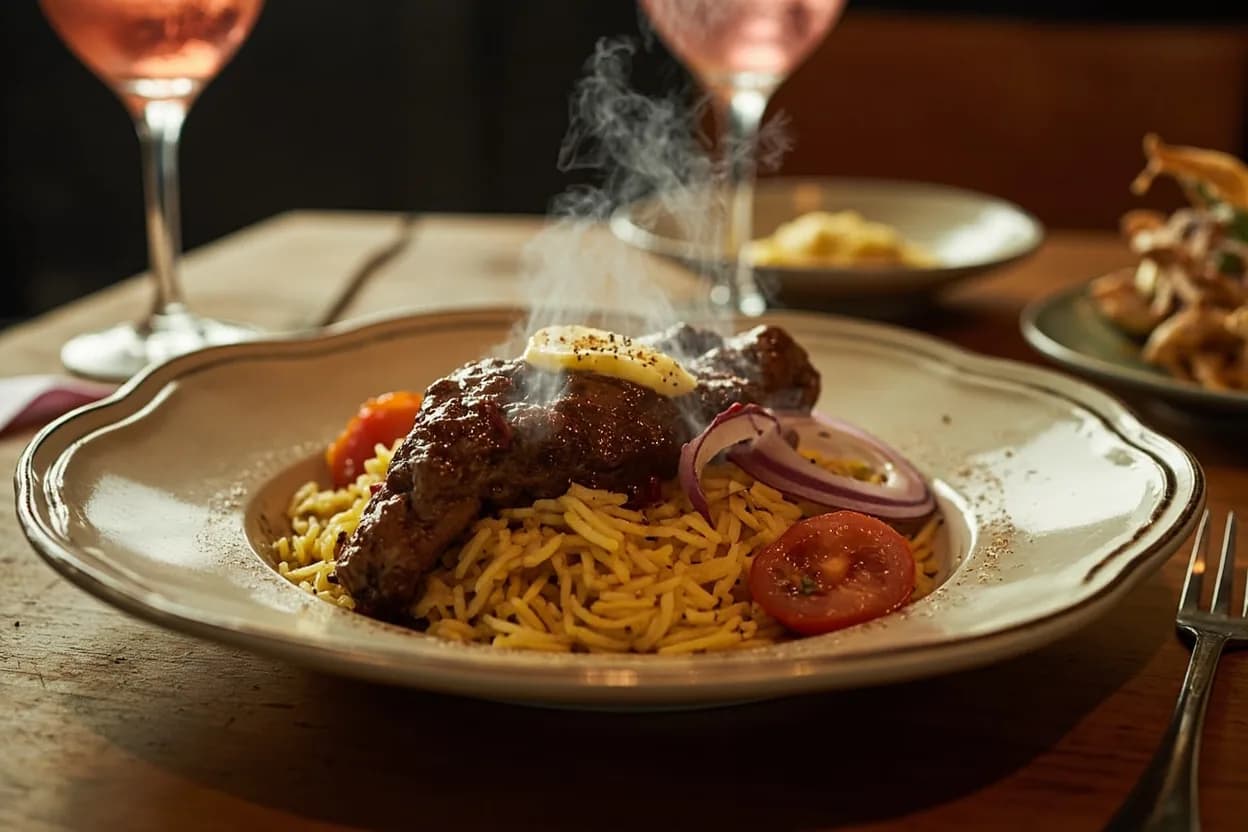
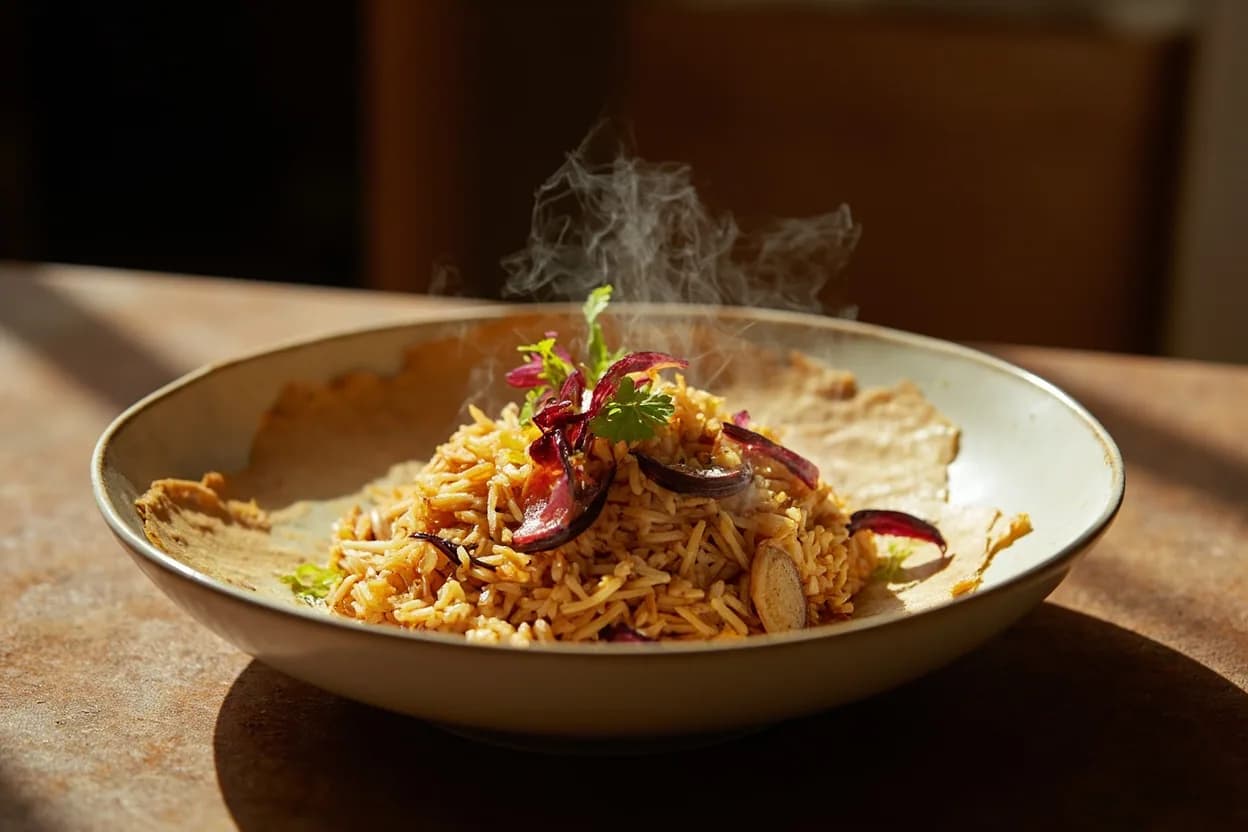
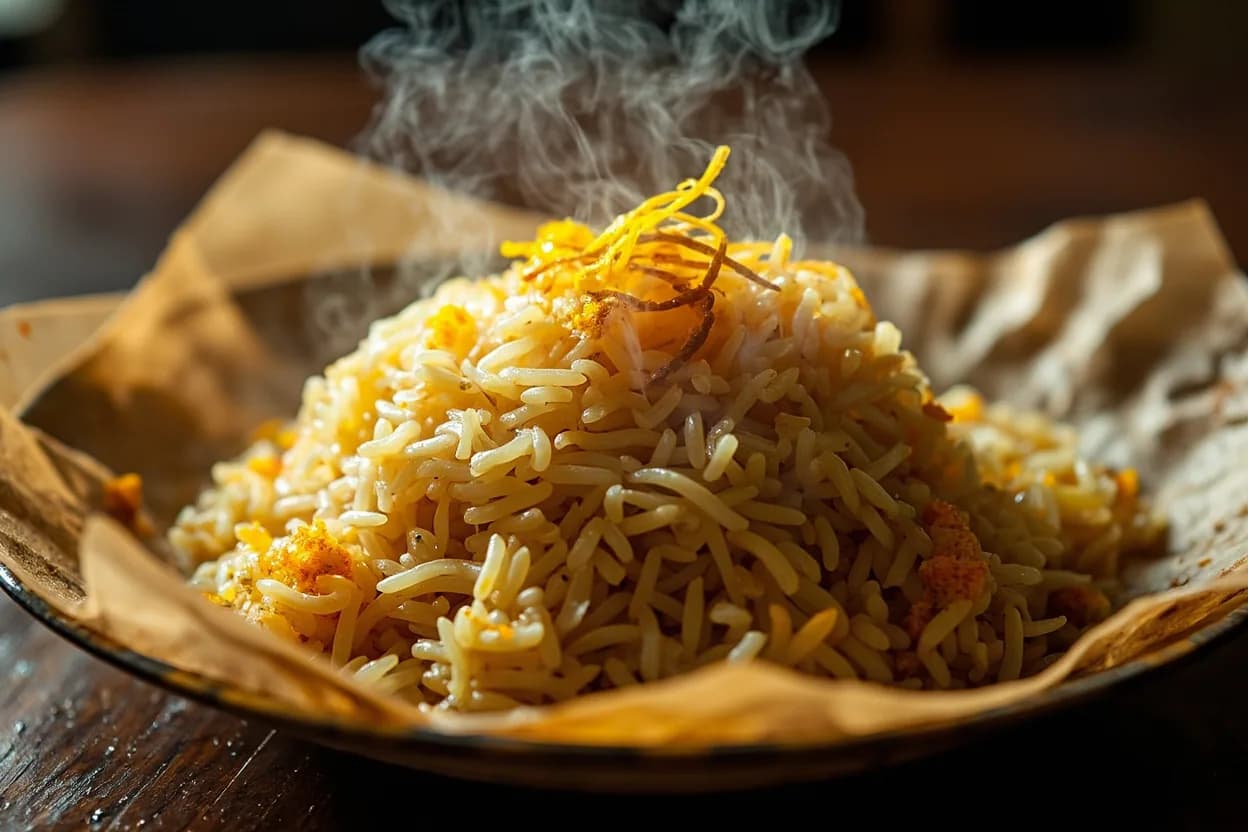
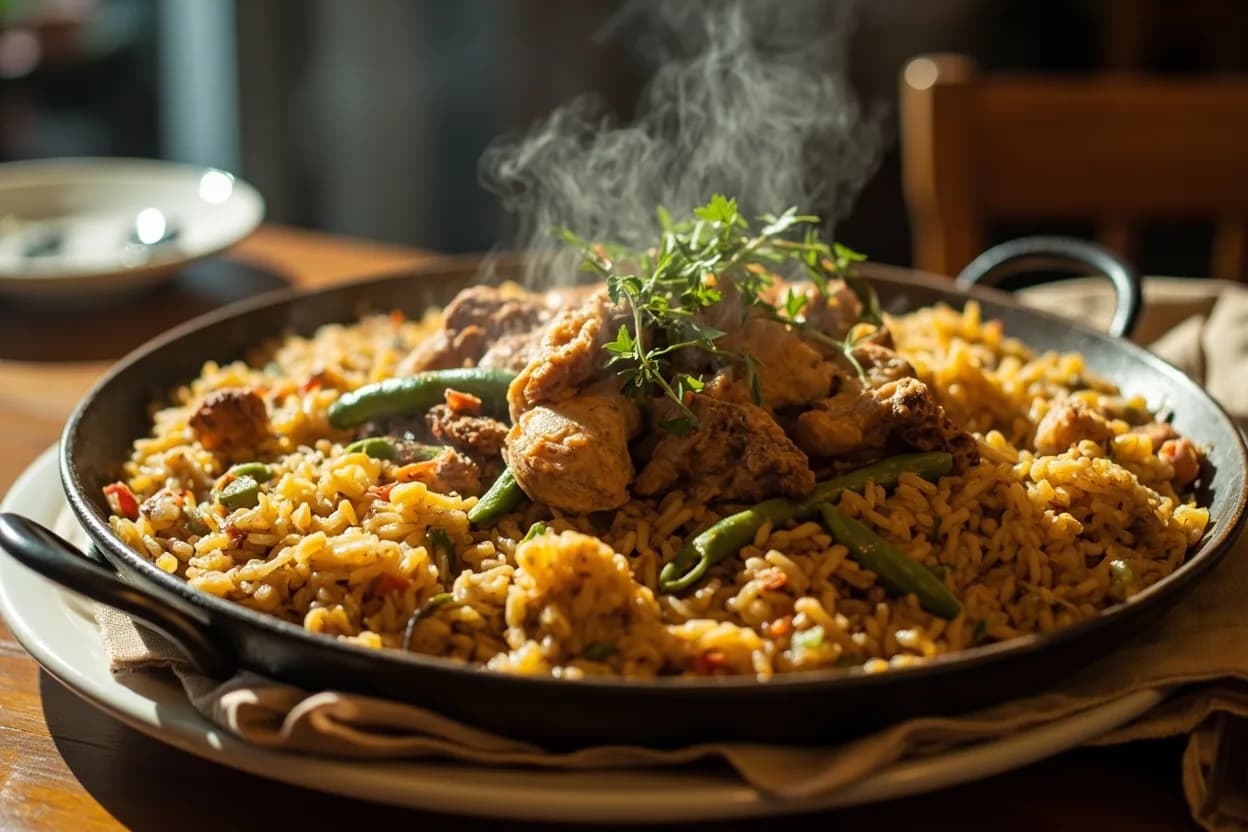
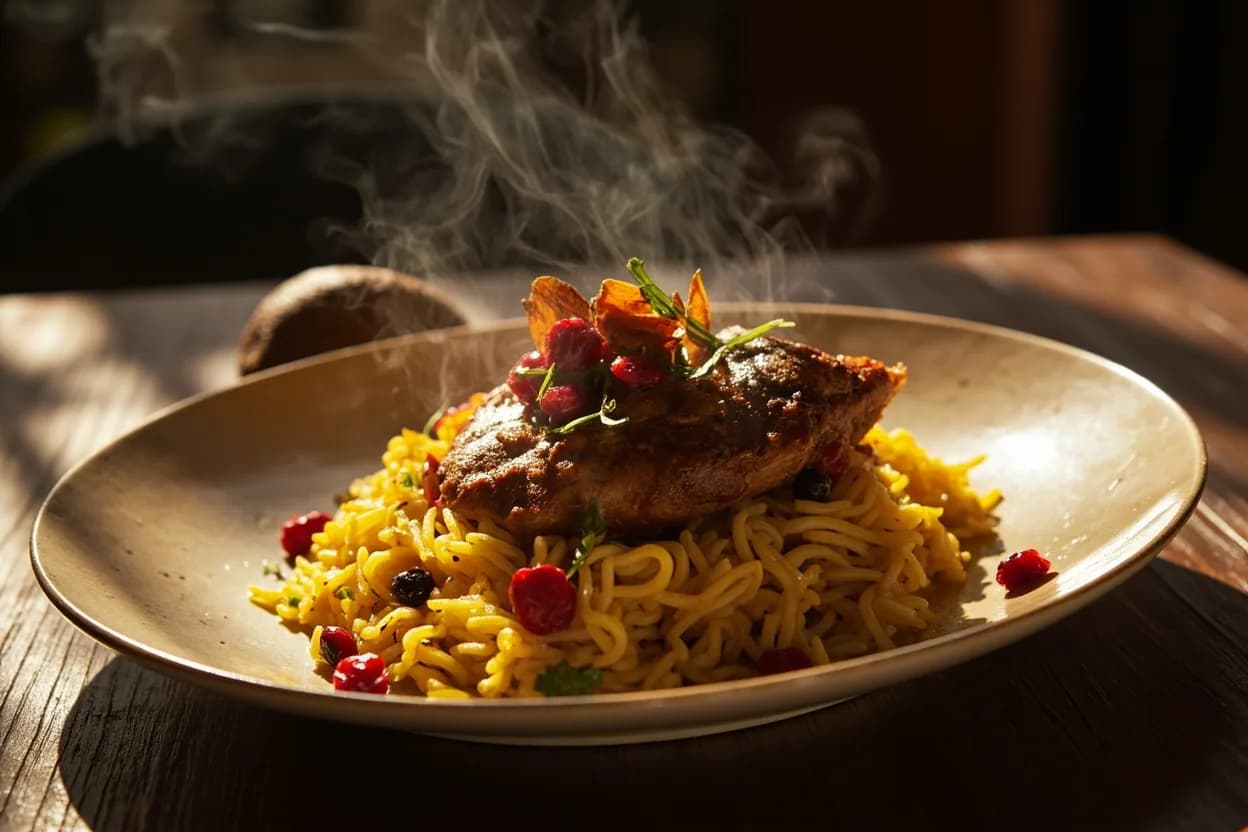
Related

Sear
Blast the surface hot for a deep-browned, savory crust

Sauté
Cook quickly in a little fat over lively heat, tossing as you go

Stir-Fry
Toss bite-sized pieces over roaring heat for fast, smoky cooking

Pan-Fry
Crisp food in a shallow layer of hot fat, turning once or twice

Deep-Fry
Submerge in hot oil for an all-over crackling crust

Roast
Cook uncovered in dry oven heat for browned edges and tender centers

Bake
Cook with steady, surrounding oven heat — the soul of bread and pastry

Broil
Hit food from directly above with fierce overhead heat