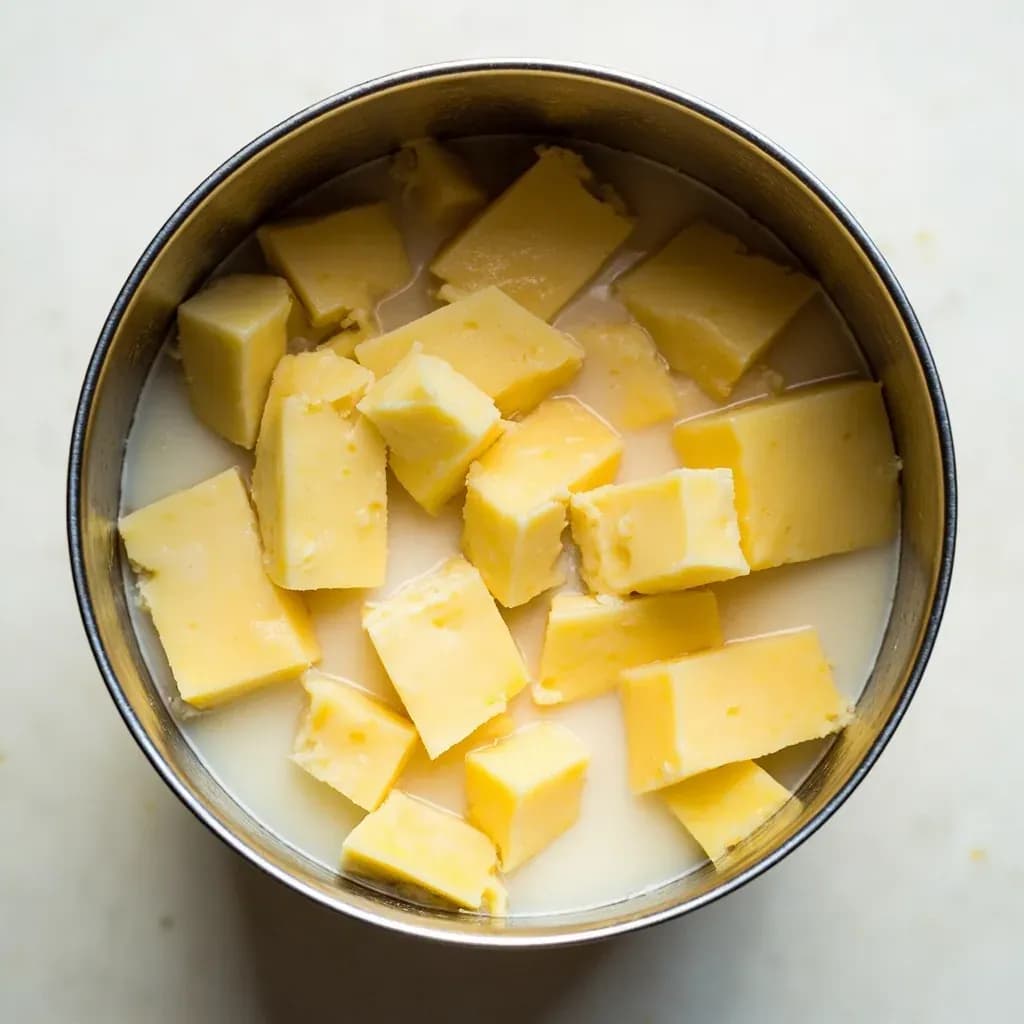
Transform & Preserve
Healing the Curd
Letting cut cheese curds rest so cuts firm up and release whey before stirring.
Healing the curd is a cheesemaking rest period after the coagulated curd is cut, allowing the freshly exposed surfaces to firm and form a skin before stirring or cooking. This brief pause prevents the fragile cut pieces from shattering and losing fat and protein into the whey. Skipping it leads to fines and lower yield.
Healing the curd is the quiet, unglamorous pause between cutting the coagulum and the first stir of a cheesemaking vat. After the curd is sliced into cubes, the maker lets it sit undisturbed at setting temperature for roughly five to fifteen minutes. During that rest, the exposed faces of each cube firm up as a thin protein skin forms, and whey continues to seep from the curd, pooling and clarifying at the surface. The pieces gain just enough structure to survive being stirred without shattering into fines that would otherwise be lost to the whey.
Everything that follows depends on this step. Curds that go straight into the stir break apart into ragged fragments, lowering yield and producing a cheese with unpredictable, often excessive moisture. Curds that heal too long give up too much whey and end up dry, tight-bodied, and short on the creamy texture most stirred-curd cheeses aim for. Healing also works in lockstep with acidification: while the curds sit, lactic bacteria are still converting lactose to lactic acid, and the falling pH cooperates with syneresis (whey expulsion) to tighten the curd network.
In practical terms, healing is the moment when the vat transitions from a fragile gel into something the cheesemaker can actually work with. It is timed by eye and by feel as much as by the clock — the visual cue of whey rising and the curd surface taking on a matte, mat-like appearance is the maker's signal that the pieces are ready to be gently broken apart and stirred.
- Difficulty
- Medium
Types & varieties
Common for semi-soft and washed-curd cheeses where higher final moisture is the goal
The typical middle ground for Cheddar, Gouda, Colby, Monterey Jack, and most pressed Alpine-style cheeses
Used for drier, aged hard cheeses such as Parmesan, aged Gouda, or other grating styles to drive off extra whey before the cook-stir phase
Soft, fresh, and bloomy-rind cheeses such as fresh chèvre, quark, and many lactic-set styles that go directly to ladling or very gentle stirring
How to do it
- 1
Cut the curd cleanly and evenly
Once the coagulum gives a clean break (typically 30–60 minutes after adding rennet), slice it with a curd knife, harp, or wire grid to the size appropriate for your cheese style. Aim for uniform cubes so the entire vat heals at the same rate; ragged or oversized pieces will lag behind the rest.
- 2
Stop moving and cover the vat
Set the knife down and leave the curd mass completely undisturbed. Cover with a lid or clean cloth to hold heat evenly across the surface and prevent a dry skin or rind from forming on top.
- 3
Hold the vat at setting temperature
Keep the vat at the same temperature you used for coagulation (commonly 86–100°F / 30–38°C). Steady warmth keeps the starter active and drives syneresis without shocking the curd.
- 4
Watch the surface for cues
After about 5 minutes, whey should begin pooling between the curd pieces. The glossy, sharp-cut edges of the cubes will turn slightly matte as a protein skin forms. By the end of the heal, the surface should look more like a coherent mat than a field of loose cubes.
- 5
Test a curd by hand
Lift a piece and press it gently between thumb and forefinger. A healed curd feels rubbery and springs back; an under-healed one feels fragile and crumbles at the edges. Whey on top should look pale yellow and slightly translucent rather than cloudy and white.
- 6
Begin stirring slowly
Start with a slow figure-eight or edge-to-edge motion to break the healed mass into individual curds without shattering them. Increase speed gradually as the curds continue to firm up during the cook-stir phase.
What is actually happening to the curd
Healing is not a passive wait. The cut faces of each curd cube expose the protein network that the rennet had knit together, and that network is still settling and rearranging. As it does, a thin skin of casein proteins forms on the exposed surfaces, sealing the cube just enough to behave like a small sponge rather than a crumbling wedge. At the same time, the continuing activity of the starter culture is dropping the pH, and lower pH makes the protein matrix contract and squeeze out whey. The two effects together — protein skin plus acid-driven syneresis — are what make a healed curd feel rubbery and springy instead of fragile and crumbly.
- Protein skin forms on the cut faces within minutes at setting temperature
- Lactic acidification continues in parallel, tightening the curd matrix
- Whey on the surface changes from milky-white to clear or pale yellow as fines settle out
- The curd mass shifts from angular and sloshy to coherent and mat-like
Healing vs. other cheesemaking rests
New makers sometimes confuse healing with two other pauses in the cheesemaking schedule. Each has a different purpose and sits at a different point in the process.
- Ripening (or 'pre-ripening') is the rest given to milk after starter is added but before rennet — it develops acid in the milk itself.
- Cheddaring is a later matting step in which stacked curd slabs fuse together, used for Cheddar and a few relatives. Healing happens well before cheddaring begins.
- Pressing is yet another rest, done after the curd is milled and salted, where the cheese is held under weight to expel remaining whey.
Common uses
Tips & pitfalls
- Do not rush to stir. Under-healed curds crumble into fines that pass through your strain cloth and are lost to the whey, dragging yield down with them.
- Use the surface of the curd as your timer, not just the clock. When the mass looks matted and the whey on top has cleared and risen, the curd is ready — even if that is a minute or two before or after the recipe's suggested time.
- Keep the vat covered for the entire rest. A draft or a drop in surface temperature can form a skin that traps whey inside and leaves you with uneven moisture later.
- Avoid bumping the vat, tapping the table, or walking heavily past it. Vibration breaks the fragile skins as they form, undoing the very thing you are waiting for.
- Match heal time to cut size. Smaller cubes (cut for a hard cheese) have more exposed surface area and benefit from a longer heal; larger cubes heal quickly and over-resting will dry them out.
- Track pH if you are scaling up. For most stirred-curd styles, aim to begin stirring when the whey has dropped to roughly pH 6.3–6.4 — a useful safety net alongside the visual cues.
- Do not over-heal high-moisture styles. A 20-minute rest on a Havarti or washed-curd batch will leave you with a dry, tight-bodied cheese that resists the creaminess the style is meant to have.
Good to know
- Also known as
- Curd healing, curd rest, pre-stir healing
- Stage in cheesemaking
- After cutting the coagulum, before stirring and cooking the curds
- Typical duration
- 5–15 minutes, depending on cheese style and curd size
- Temperature
- Held at the setting temperature (often 86–100°F / 30–38°C)
- Key effect
- Cut surfaces firm up as a protein skin forms, curds shed additional whey, and pieces gain structure to survive stirring without shattering
- Visual cue
- Whey pools and clarifies at the surface; curd mass looks coherent and mat-like rather than angular and sloshy
- Equipment needed
- None beyond the vat — the curd simply sits undisturbed
- Applies to
- Most stirred-curd cheeses; soft-set and fresh cheeses usually skip or shorten the step
Also called
Curd Healing
Related

Confit
Cook slowly submerged in fat for silky tenderness and keeping

Cure
Draw out moisture with salt and time to preserve and concentrate

Pickle
Steep in acidic brine for bright, tangy, crunchy preservation

Ferment
Let friendly microbes transform food into tangy, complex flavor

Marinate
Soak in a seasoned mix to flavor and tenderize before cooking

Brine
Soak in salt water so meat stays juicy and seasoned throughout

Dehydrate
Slowly dry out moisture to concentrate flavor and extend shelf life

Cold-Smoke
Perfume cured food with smoke without cooking it through