Prep & Assembly
Milk Frothing / Steaming
Aerating and heating milk with steam into glossy microfoam for coffee.
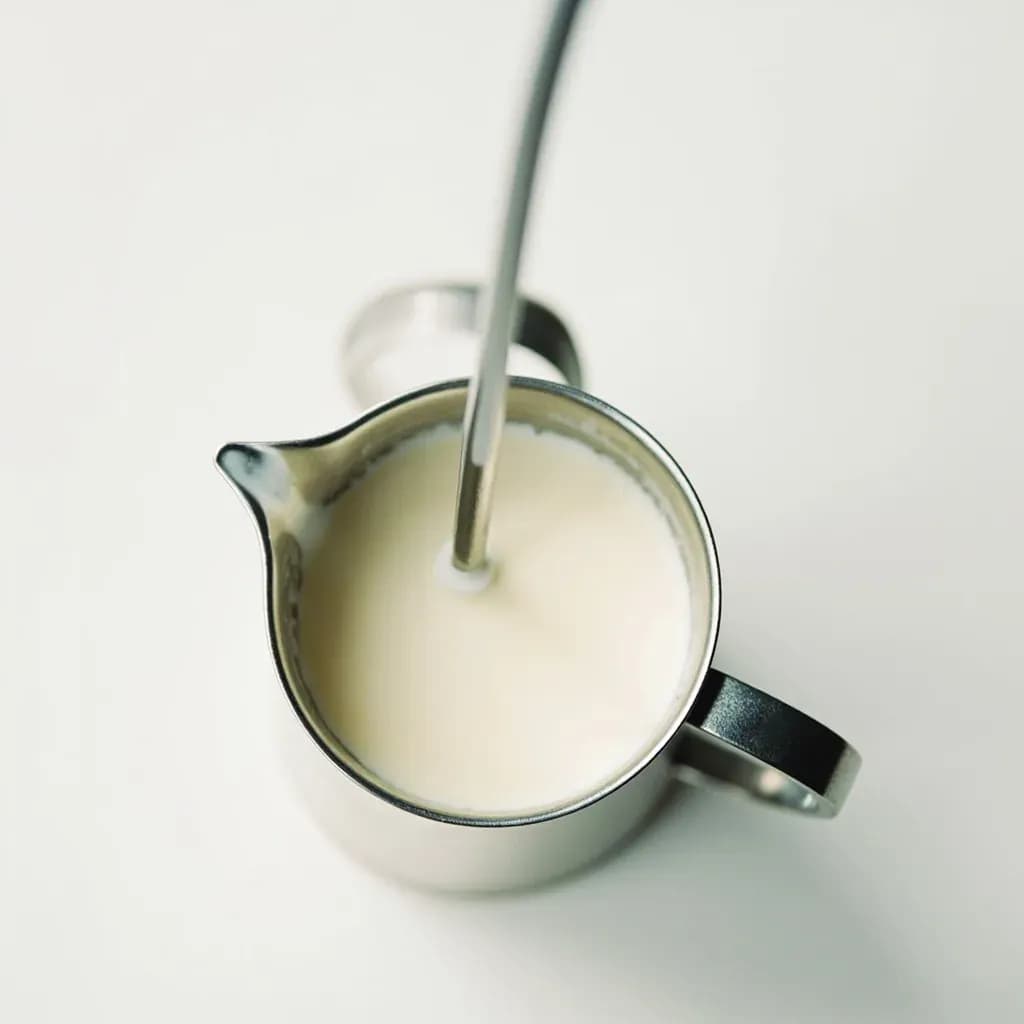
Milk frothing uses an espresso machine steam wand to inject air and heat into milk, creating glossy, paint-like microfoam. Positioning the wand to draw in air briefly then submerging it to whirl the milk builds fine, even bubbles rather than coarse foam. Well-steamed milk integrates with espresso for lattes, cappuccinos, and latte art.
Steaming and frothing milk is a wet-heat aeration technique in which pressurized steam from an espresso machine's wand simultaneously heats milk, injects a small amount of water (typically 5–10% by volume), and incorporates air to create foam. The work happens in two phases: a brief 'stretch' that pulls air into the milk at the surface, followed by a longer 'spin' that submerges the tip and uses a vortex to break those bubbles down into a uniform texture. The wand does the work of a knife and a whisk at once, and the barista's job is mostly to listen, watch, and time the transition between the two.
What separates good steamed milk from bad is bubble size. Microfoam has bubbles so small — fractions of a millimeter — that the foam reads as a single, glossy liquid, the 'wet paint' look that supports latte art and gives a flat white its silky mouthfeel. Macrofoam, by contrast, has visible 1–3 mm bubbles and sits as a distinct cap on top of the drink, the way a traditional Italian cappuccino is meant to look. Both depend on the same milk proteins — whey denatures and stabilizes bubbles first, then casein — and on milk fat, which is why whole milk (around 3.25% fat) is the easiest to coax into stable foam and why skim is technically capable but thin-tasting.
The technique matters well beyond espresso, though that is where it is most codified. The same physics apply to matcha lattes, hojicha lattes, hot chocolate, and turmeric drinks, and the steam wand is the fastest way to heat milk for any of them. Plant-based milks complicate the picture: their protein and fat structures differ from dairy, and not all of them foam reliably, which is why 'barista' blends with added proteins, fats, and stabilizers have become a category of their own.
- Difficulty
- Medium
Types & varieties
Wand tip kept at or just below the milk surface to introduce air; a gentle tearing-paper hiss should be audible.
Wand tip submerged slightly off-center to create a whirlpool that breaks down bubbles into glossy microfoam.
Very fine, velvety bubbles that integrate fully with the liquid — the basis for latte art and flat whites.
Lighter, drier foam with larger, distinct bubbles — stiff peaks possible, sits on top of liquid.
Mostly air with very little liquid — used for drinks where foam floats distinctly, e.g., traditional Italian cappuccino.
Glossy, pourable, paint-like — used for lattes, flat whites, cortados, and any drink topped with latte art.
How to do it
- 1
Prepare the setup
Fill a cold stainless steel pitcher about 1/3 full with cold, refrigerated milk. Purge the steam wand briefly into the drip tray to clear any condensed water from the line, then position the pitcher underneath.
- 2
Position the wand
Hold the pitcher handle with one hand and tilt the pitcher so the steam tip sits just below the milk surface, off-center, near the side opposite the handle. This off-center placement is what creates the vortex once you start spinning.
- 3
Stretch — introduce air
Open the steam valve fully. The tip should produce a soft, tearing-paper hiss for 3–7 seconds as air is drawn down into the milk. Lower the pitcher slightly as the milk level rises to keep the tip at the surface. This is the 'stretch' phase and the only point in the process where you want to hear air.
- 4
Spin — texturize
Once you have enough air, drop the tip about 1–2 cm below the surface. A quiet, hissing vortex should form, integrating the foam into the milk and breaking bubbles down. Hold this position for 15–25 seconds, adjusting the depth to keep the whirlpool steady without re-introducing air.
- 5
Heat to target
Keep spinning until the pitcher becomes too hot to comfortably hold, around 150–155°F (65–68°C). Use a thermometer for the first dozen attempts to calibrate the feel, then trust your hand. Shut the steam valve fully before removing the pitcher.
- 6
Purge and wipe the wand
Purge steam briefly into the drip tray to clear milk from inside the tip, then wipe the wand with a damp cloth. Skipping this step leaves dried milk films that clog the tip and taint the next drink.
- 7
Tap, swirl, and pour
Firmly tap the pitcher on the counter 2–3 times to pop any large bubbles, then swirl the milk until it has a glossy, paint-like sheen. Pour immediately — microfoam begins to separate after about 30 seconds, and the window for clean latte art is short.
The science of milk foam
Milk foams because two kinds of proteins do different jobs at different temperatures. Whey proteins (about 20% of milk's protein) denature first, beginning around 140°F (60°C); they unfold and migrate to the air–liquid interface, where they lower surface tension and stabilize new bubbles. Casein proteins (the other 80%) take over at slightly higher temperatures, lending body and viscosity that keep the foam from collapsing. Milk fat complicates this in useful ways: it slows drainage from bubble walls and makes the foam taste richer, but very high fat content (above about 4%) and ultra-pasteurization both reduce foam stability. The result is that whole, minimally processed milk gives the most forgiving, glossy microfoam; skim foams easily but feels thin; heavy cream barely foams at all. Hard water and very old milk (rising acidity) also destabilize foam, which is why baristas care about both water quality and freshness.
Plant-based milks and foam stability
Non-dairy milks do not foam the same way dairy does, because their proteins and fats come from different sources and lack casein's stabilizing structure. The practical hierarchy, as of current barista practice:
- Oat milk (especially barista blends with ~3% fat and added enzymes or diphosphates) is the most reliable — it stretches, spins, and holds art well, with a neutral, sweet flavor.
- Soy milk foams generously thanks to its high protein content, but can curdle when hot acidic espresso meets cold soy milk; serve promptly and look for barista blends with added stabilizers.
- Almond milk foams loosely and separates quickly; look for barista versions with added protein or emulsifiers.
- Coconut milk tends to split and tastes strongly of coconut, which can dominate the drink; better as a deliberate flavor than a neutral base.
- Pea-protein milks foam surprisingly well and are increasingly common, though they can carry a beany or vegetal note.
Common uses
Tips & pitfalls
- Always purge the steam wand for a second before steaming and after; it prevents milk residue from clogging the tip and contaminating the next drink.
- Start with cold milk in a cold pitcher; warmer milk foams faster but gives less working time and tastes cooked.
- Listen for a gentle tearing-paper hiss during the stretch — silence means the tip is too deep, a screech means it is too high.
- Keep the pitcher tilted so the wand is off-center; this creates the vortex that integrates foam into liquid rather than leaving it floating on top.
- Stop at 150–155°F. Milk above roughly 160°F scalds, tastes flat and cloyantly sweet, and will not hold microfoam.
- After steaming, tap the pitcher firmly on the counter and swirl to pop large bubbles and homogenize the texture — never skip this if you want latte art.
- Use a pitcher sized to the drink (12 oz for a single latte, 20 oz for doubles, 32 oz for batches); an oversized pitcher kills the vortex.
- Wipe the steam wand with a damp cloth immediately after every use; dried milk on the wand creates off-flavors and sanitary problems.
Good to know
- Type
- Wet-heat aeration technique using pressurized steam
- Primary equipment
- Espresso machine with steam wand (or dedicated steam/frothing device)
- Target temperature
- 140–160°F (60–71°C); most baristas aim 150–155°F / 65–68°C
- Volume increase
- Roughly 10–25% from starting volume, depending on drink style
- Two-phase process
- Stretching (air incorporation) followed by spinning (texturizing)
- Best milk for microfoam
- Whole milk (≈3.25% fat) — proteins and fat produce the most stable, glossy foam
- Foam size
- Microfoam ≈ 0.1 mm bubbles; macrofoam (cappuccino-style) 1–3 mm
- Origin
- Italy, early 20th century; tied to lever and piston espresso machines (e.g., La Pavoni, 1905)
- Difficulty
- Moderate; consistent microfoam and pour patterns take weeks of practice
Also called
Steaming Milk · Milk Steaming
Dishes that rely on it

Related

Whisk
Beat ingredients smooth and aerated with a looping wire motion

Sift
Pass dry ingredients through mesh to aerate and remove lumps

Strain
Pour through mesh to separate solids from liquid for a smooth result

Filter
Pass liquid through fine material to clarify out the smallest particles

Rice
Press cooked potatoes through small holes for fluffy, lump-free texture

Mash
Crush soft cooked food into a rustic, creamy purée

Grind
Crush food into a coarse to fine texture, from spices to meat

Grate
Shred food into fine bits against a sharp-toothed surface