Transform & Preserve
Quick Pickling
Steeping vegetables in a hot vinegar brine for fast, tangy refrigerator pickles.
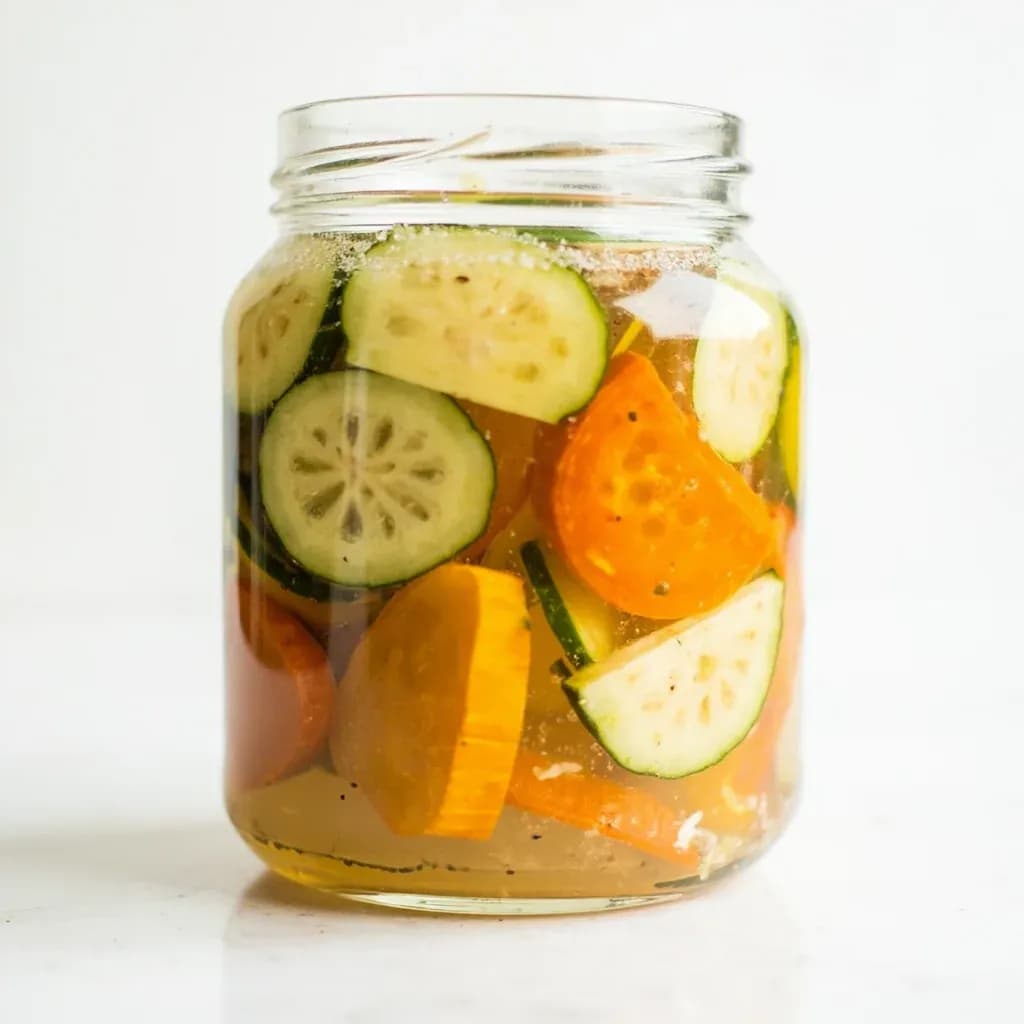
Quick pickling pours a hot brine of vinegar, water, salt, and sugar over sliced vegetables, which take on tangy flavor within hours and keep for weeks refrigerated. Unlike fermentation, it relies on acid rather than microbial action, so it is fast and predictable. Aromatics like garlic, dill, and peppercorns customize the flavor.
Quick pickling is the fastest path from raw vegetable to tangy, refrigerator-ready condiment. A hot brine of vinegar, water, salt, and (usually) sugar is poured over fresh produce in a jar, cooled, and refrigerated; the acid denatures surface enzymes and drops the pH of the tissue enough to inhibit spoilage organisms, while the heat of the brine blooms whole spices and softens alliums and ginger without actually cooking the vegetables. The result keeps the snap of the raw produce and a clean, bright flavor that fermentation and canning, with their weeks of waiting or hours of heat processing, cannot match on a weeknight.
What separates quick pickling from its siblings is what is left out. There is no lactic fermentation, so the tang comes entirely from added acetic acid rather than from native bacteria converting sugars; and there is no water-bath processing, so the pickles must live in the refrigerator for their entire (1–2 month) life. In return you get pickles that are ready in as little as 30 minutes for thin slices, fully developed by 24–72 hours, and made in the same glass jars you already own.
This combination of low equipment, fast turnaround, and forgiving technique is what makes quick pickling one of the highest-leverage skills in a home kitchen. It is a reliable way to use up vegetables at their peak, to tame the richness of fatty or fried foods, and to build an entire condiment shelf from a single saucepan, a bag of carrots, and a bottle of vinegar.
- Difficulty
- Easy
Types & varieties
Cucumbers with fresh dill, garlic, and sometimes a grape or oak leaf for snap; the American refrigerator staple.
Sweeter brine with mustard seed, celery seed, and turmeric; sliced cucumbers or mixed vegetables.
Thin-sliced red onion in a vinegar-salt-sugar brine; ready in roughly 30 minutes and the workhorse garnish for tacos, salads, and sandwiches.
Latin American and Spanish pickle of jalapeños, carrots, onions, and cauliflower in a hot vinegar-oil brine with bay, oregano, and peppercorns.
Italian mixed-vegetable pickle — cauliflower, carrot, pepper, celery — often with chili and a finishing slick of olive oil.
Japanese light pickle; vegetables briefly salted or steeped in seasoned rice vinegar or rice-bran brine for same-day pickles.
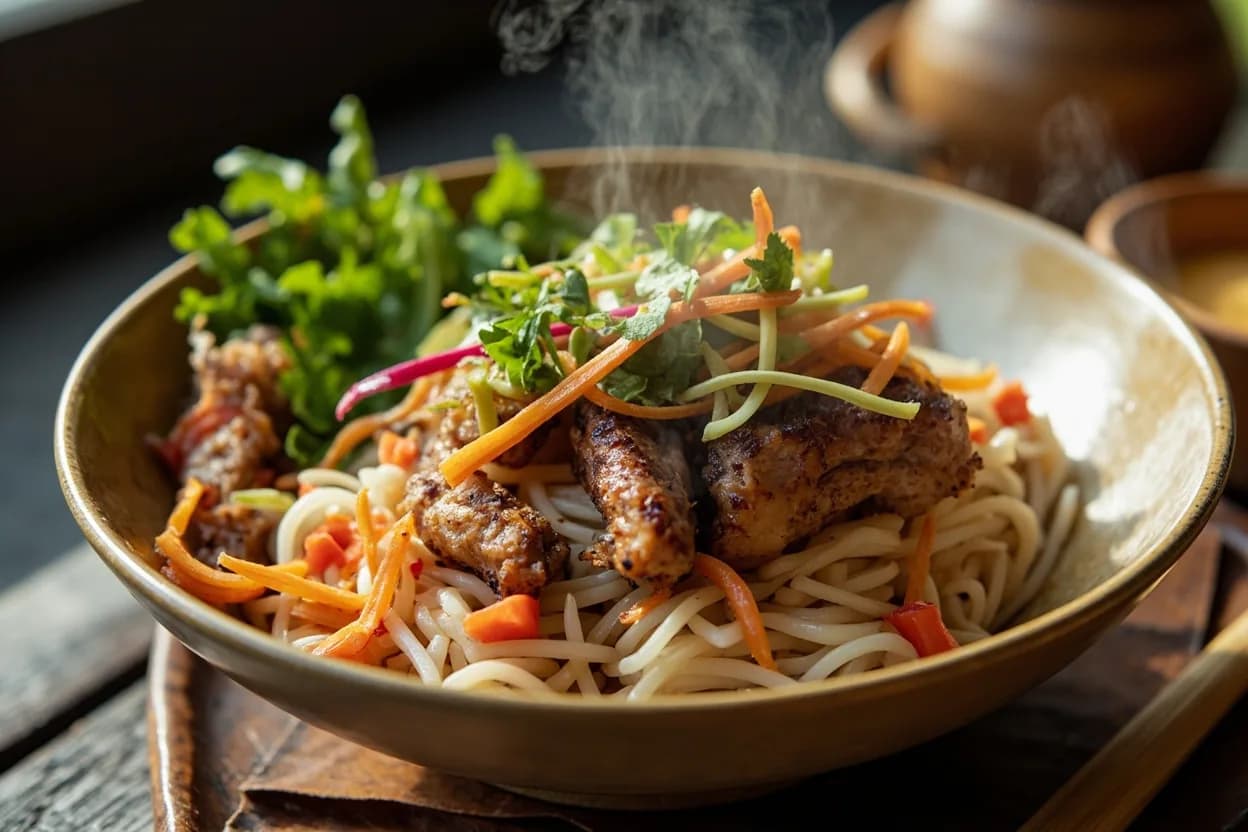
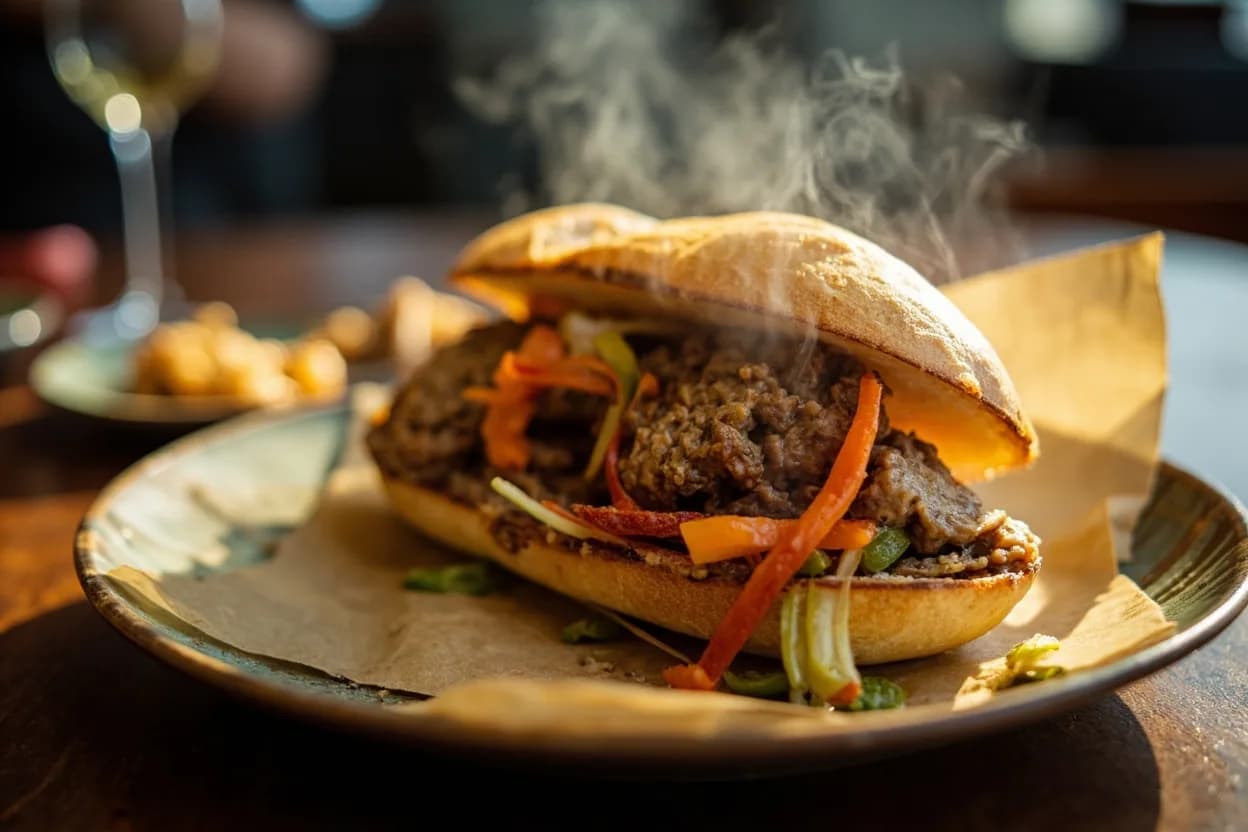
Vietnamese quick pickle of julienned carrot and daikon in a lightly sweet vinegar brine; the classic banh mi accompaniment.
Filipino pickle of green papaya and carrot in a sweet-sour vinegar brine with garlic and ginger.
Sliced jalapeños with onion, garlic, Mexican oregano, and peppercorns; doubles as a nacho, taco, and pizza topping.
Whole or sliced beets in spiced vinegar; produces a vivid magenta brine that stains everything it touches.
How to do it
- 1
Prepare the vegetables
Choose firm, fresh produce and wash it thoroughly. Trim the blossom end (opposite the stem) off cucumbers — it carries softening enzymes that can ruin texture. Cut into the shape you want — thin rounds for fast pickles, spears or halves for slower penetration, matchsticks for slaws — keeping pieces uniform in size so they pickle at the same rate.
- 2
Make the brine
In a small saucepan, combine the vinegar, water, kosher or pickling salt, and any sugar. Add whole spices (peppercorns, mustard seed, coriander, bay leaves, allspice) and any hard aromatics like sliced garlic or ginger. Heat over medium, stirring, just until the salt and sugar fully dissolve and the liquid reaches a bare simmer. Do not reduce it — you want full volume and balanced acidity.
- 3
Pack the jar
Place fresh herbs (dill, oregano) and any soft aromatics into a clean glass jar, then add the prepared vegetables. Pack them snugly but do not crush them, leaving about ½ inch of headspace at the top.
- 4
Pour the hot brine
Pour the hot brine over the vegetables, covering them completely. Tap the jar gently on the counter to release trapped air bubbles, then top up with brine so every piece is fully submerged.
- 5
Cool and seal
Let the jar cool to room temperature on the counter, uncovered or loosely covered. Cap it, label with the date, and move to the refrigerator.
- 6
Rest and taste
Start tasting at 30 minutes for thin-sliced vegetables, 4 hours for medium cuts, and 24–48 hours for spears or larger pieces. Flavor deepens and the texture firms up further over the first three days.
Building a balanced brine
Think of the brine as a four-part seasoning liquid, not a single recipe. Once you can adjust each part independently, the technique transfers to every vegetable in the produce drawer.
- Acid: vinegar is the preserving agent. Start with 5% white or apple cider vinegar at a 1:1 ratio with water; push toward all-vinegar for sharp pickles (onion, jalapeño) and toward 1:2 for gentler ones (cucumber spears, fennel).
- Salt: about 1–2% by volume of the finished brine — roughly 1 to 2 teaspoons of kosher salt per cup of combined vinegar and water, depending on the brand (Morton runs denser than Diamond Crystal). Salt seasons, draws moisture out of the vegetables, and helps preserve texture.
- Sugar: optional but worth understanding. Even a teaspoon per cup of brine softens the acid and rounds out the flavor; bread-and-butter and atchara brines go much sweeter, near ¼ cup per cup of liquid.
- Spice and aromatics: whole spices (peppercorns, mustard seed, coriander, allspice, bay) go into the saucepan to bloom in the hot brine; fresh herbs (dill, oregano) and soft aromatics (garlic, ginger) go into the jar so they keep their character.
How quick pickling differs from fermentation and canning
The three methods are often confused because they all produce a pickle, but they work on completely different principles and have different storage requirements.
- Fermented (lacto) pickles: vegetables sit in a salt brine for days or weeks; native bacteria convert sugars to lactic acid. The tang develops slowly, the brine clouds, and the pickles are probiotic. No vinegar is added.
- Canned pickles: vinegar-brined vegetables are sealed in jars and heat-processed in a boiling water bath to become shelf-stable for a year or more. The texture softens noticeably during the heat treatment.
- Quick (refrigerator) pickles: vinegar-brined vegetables are stored cold from the start, never heat-processed. The texture stays crisper, the flavor is tangy from day one, and the pickles must be eaten within a couple of months.
Common uses
Tips & pitfalls
- Trim the blossom end of cucumbers — the end opposite the stem contains softening enzymes that can turn a jar of pickles mushy within days.
- Start with firm, just-picked or refrigerated produce; limp or overripe vegetables will not crisp back up no matter how good the brine is.
- Use non-iodized salt (kosher or pickling salt). Iodized table salt clouds the brine and can darken the color of pale vegetables.
- Heat the brine only until the salt and sugar dissolve — a bare simmer, not a rolling boil. Reducing it throws off the acid-to-water balance you measured for.
- Pour the hot brine over the raw vegetables in the jar; the residual heat is enough to bloom whole spices and soften alliums without cooking the produce into softness.
- Keep everything submerged under the brine. Weigh vegetables down with a small piece of parchment, a glass fermentation weight, or even a clean lid disc — exposed tops spoil first.
- Taste the brine before pouring: it should be pleasantly salty, clearly sour, and either dry or lightly sweet. If it doesn't taste good in the saucepan, it will not taste good in the jar.
- Save the leftover brine. It can be re-used once or twice on a fresh batch of the same vegetable, or seasoned with a little oil and herbs to become a vinaigrette.
Good to know
- Category
- Acid-preservation technique (vinegar-based, refrigerator storage)
- Active preserving agent
- Acetic acid from vinegar — not lactic fermentation
- Vinegar acidity baseline
- 5% (50-grain) commercial vinegar; do not dilute below ½ cup of 5% vinegar per cup of water for low-acid vegetables
- Standard brine ratio
- 1:1 vinegar to water is a reliable starting point; range is all-vinegar (very sharp) to 1:2 vinegar:water (milder)
- Salt
- Kosher or pickling salt only — iodine in table salt clouds the brine and can darken color
- Ready to eat
- 30–60 minutes for thin slices; 4–24 hours for firmer cuts; best flavor at 24–72 hours
- Storage & shelf life
- Refrigerated at or below 40°F (4°C); 1–2 months, with quality peaking in the first 2–3 weeks
- Not shelf-stable
- Quick pickles are not water-bath processed and must be kept cold; convert to a tested canning recipe if long-term shelf storage is the goal
Dishes that rely on it
Related

Confit
Cook slowly submerged in fat for silky tenderness and keeping

Cure
Draw out moisture with salt and time to preserve and concentrate

Pickle
Steep in acidic brine for bright, tangy, crunchy preservation

Ferment
Let friendly microbes transform food into tangy, complex flavor

Marinate
Soak in a seasoned mix to flavor and tenderize before cooking

Brine
Soak in salt water so meat stays juicy and seasoned throughout

Dehydrate
Slowly dry out moisture to concentrate flavor and extend shelf life

Cold-Smoke
Perfume cured food with smoke without cooking it through