Prep & Assembly
Batard Shaping
Forming dough into a short, oval loaf with tight skin and tapered ends.
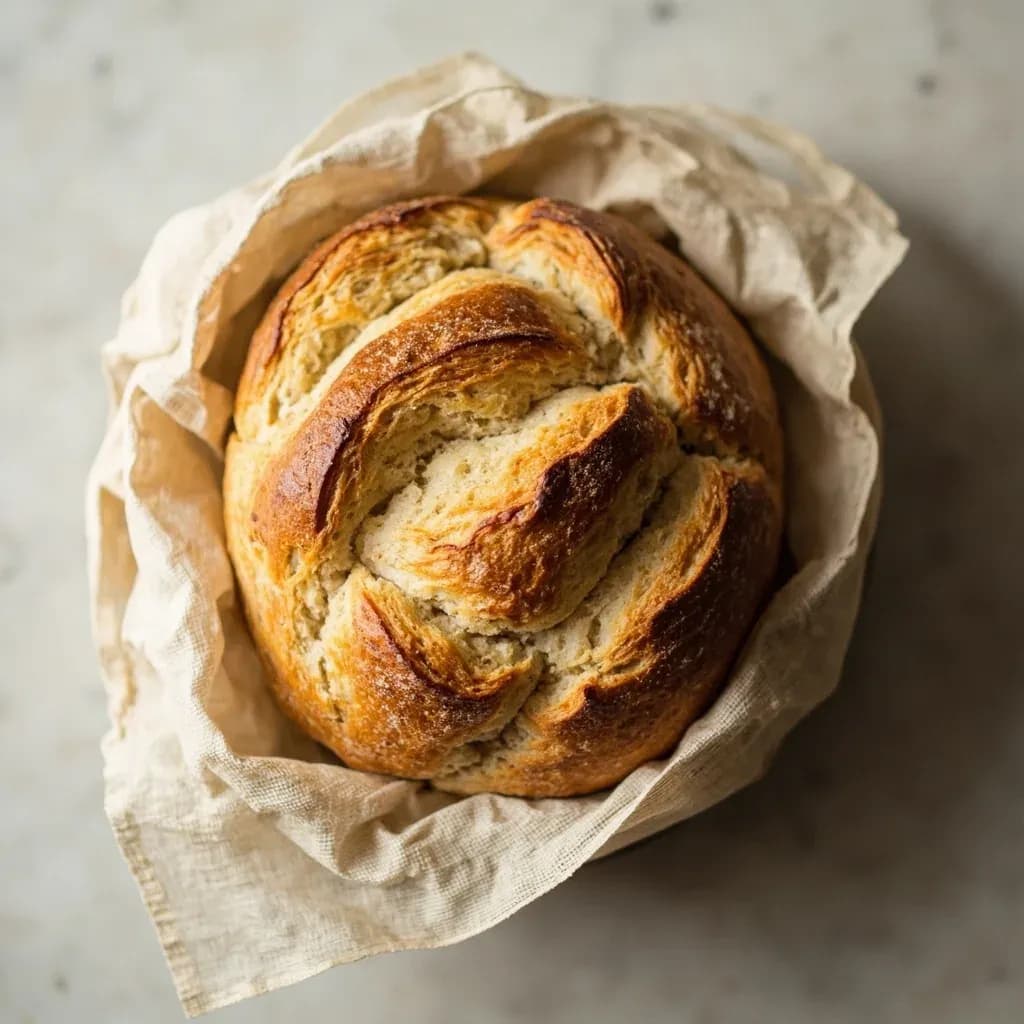
Batard shaping folds and rolls pre-shaped dough into a stout oval loaf shorter and thicker than a baguette. The baker builds surface tension by folding the dough toward itself and sealing the seam, then gently tapers the ends. Good tension gives the batard structure to rise and score with an open ear.
Batard shaping is the bread baker's compromise between the long baguette and the round boule — a short, oval loaf with gently tapered ends and a taut, drum-tight skin. The form matters because it directly controls how the dough behaves in the oven: a well-shaped batard holds its structure through oven spring, opens cleanly along a single scored slash, and slices into uniform ovals for sandwiches or table service. The mechanics are universal across hydration levels — pre-shape, rest, fold, elongate, tension, seam down — but the touch varies. Firmer doughs (60–65%) tolerate a confident, deliberate hand; wet country breads (75%+) demand a quicker, stiffer grip and almost always the support of a floured couche to keep the oval from slumping.
The real goal of the technique is surface tension. Every fold, drag, and cup of the hand is in service of stretching the outer gluten layer into a smooth, elastic skin that traps the gas produced during proofing. A loose, slack skin will burst at the seam or split randomly in the oven; a properly tensioned skin directs the rise upward and outward along the score line, producing the prized raised "ear" of a well-baked loaf. Because the batard's long axis guides both the blade and the oven's expansion, it is also the most forgiving shape for scoring — easier to read than a round boule and more stable than a baguette's long, narrow profile.
- Difficulty
- Medium
Types & varieties
Plump oval with two softly tapered ends; the workhorse shape for sourdough and country loaves.
More elongated and pointed at both ends than a classic batard; popular for pain à l'ancienne and Italian filone-style loaves.
Free-form batard baked directly on a stone or steel without a banneton; rougher, more rustic appearance.
Individual-sized batards, 200–350 g, used for dinner rolls and sandwich buns.
Batard cut in a wheat-sheaf pattern just before baking; shaping is identical, the form is created with shears.
Batard split lengthwise along the top before baking to open like a book; sometimes filled before closing.
How to do it
- 1
Prepare the bench and dough
Lightly flour (or, for high-hydration doughs, mist with water) a clean work surface. Tip the bulk-fermented dough out without punching it down. Divide into pieces with a bench scraper if making multiple loaves.
- 2
Pre-shape into rounds
With floured hands, gently coax each piece into a loose round by folding the edges toward the center on all four sides, then flipping seam-side down. Round the bottom by cupping your hands and dragging gently. Do not degas aggressively — you are setting the stage, not finishing.
- 3
Bench rest
Let the pre-shaped rounds rest uncovered (or lightly dusted with flour) for 20–30 minutes. This relaxes the gluten so the final shape holds without springing back. Skipping this step is the single most common cause of a tight, fought final shape.
- 4
Flip and flatten
Flip a rested round so the smooth (formerly bottom) side is down and the seam is up. Gently pat it into a rough rectangle about 2–3 cm thick, preserving as much gas as possible.
- 5
Letter-fold
Fold the top third down to the center, then the bottom third up and over, like folding a letter. Press lightly to seal the seam. This builds the layered structure that will open cleanly in the oven.
- 6
Initial elongate
Flip the folded dough seam-side down. With cupped hands at the center, gently roll outward in both directions to begin elongating into an oval roughly 20–25 cm long.
- 7
Build tension and taper
Continue rolling from the center outward, letting your pinkies catch the dough at the ends to draw them into tapered points. Drag the loaf across a bare patch of bench a few times — friction tightens the skin without deflating the interior.
- 8
Set in couche or banneton
Place the batard seam-side down on a well-floured couche (with a fold of the couche bunched alongside to support the side) or in a banneton. If using a couche, pinch a pleat between the loaves to keep their shape.
- 9
Final proof
Proof at room temperature until puffy and jiggly (timing depends on dough temperature and yeast activity), or retard in the refrigerator overnight for deeper flavor, a drier skin, and easier scoring.
- 10
Score and bake
Transfer the proofed loaf to a baking stone, steel, sheet pan, or preheated Dutch oven. Score with a lame in a long central slash, crosshatch, or wheat-ear pattern, then bake with steam for the first 10–15 minutes to maximize oven spring and ear formation.
Adapting the technique to hydration
The skeleton of batard shaping — pre-shape, rest, letter-fold, elongate, tension — is constant, but the pressure and pace shift with dough hydration. Lean 60–65% doughs behave like clay: they hold a deep crease, accept a firm fold, and need genuine friction on the bench to build skin. Push them hard, drag them long, and they will reward you with a clean ear and a sculptural loaf.
At 70–75%, the same folds must be quicker and lighter. The dough will stick to anything floured, so mist the bench with water instead, keep hands damp, and use a couche for support through the final proof. Above 75%, treat the dough as a fragile balloon: the final shape may need to be set in one quick, decisive motion, and the couche or banneton becomes non-negotiable. In every case, the test of a well-shaped batard is the same — flip it seam-side up, and the loaf should sit puffy and round, not pancaked or deflated.
- 60–65% hydration: firm folds, heavy bench drag, easy handling.
- 70–75% hydration: quicker, lighter hand; mist the bench, use a couche.
- 75%+ hydration: minimal handling, generous couche, or shape directly in a banneton.
- Always flip seam-side up to check — a puffy, domed top signals good tension.
Scoring patterns and what they do
The batard's long axis gives the baker a generous canvas, and the score line is where shaping meets baking. A single confident slash down the center, held at roughly 30°, will open as a raised "ear" on the side opposite the blade — the mark of a properly tensioned, well-proofed loaf. Crosshatch and S-curves trade a bit of ear height for visual drama, and the wheat-ear épi cuts make the loaf the centerpiece of the table.
- Single long slash (30° angle) — produces the classic raised ear.
- Crosshatch — two or three slashes at roughly 45° to each other, good for rustic country breads.
- S-curve — a wavy single cut, decorative, less aggressive oven spring.
- Épi de blé — shears snipped at an angle to form a wheat sheaf; shape first, cut at the bench or just before loading.
Common uses
Tips & pitfalls
- Pre-shape gently into a loose round first, then bench rest 20–30 minutes — skipping the rest causes the dough to spring back and fight the final shape.
- Use the absolute minimum of flour on the bench and on your hands; too much flour prevents the seam from sealing and ruins skin tension.
- Always shape seam-side down and keep the smooth, taut face up — a seam facing up will burst open in uncontrolled ways during baking.
- For tight tension, cup both hands around the dough and drag it gently across an unfloured (or barely floured) surface — friction tightens the skin without deflating the crumb.
- If the dough fights back, it isn't rested enough; cover and wait another 10 minutes rather than forcing it.
- Chill shaped loaves 30–60 minutes (or overnight retard) before scoring — a cold, dry skin gives a cleaner cut and better oven spring.
- Score along the long axis with a confident single slash; an angle of about 30° produces the classic raised 'ear'.
- Common mistake: deflating the dough during pre-shaping — keep hands light and treat the dough like a balloon.
- Common mistake: shaping too tightly — the loaf needs room to expand in the oven, and over-tight shaping can split the side seam.
Good to know
- Also called
- Bâtard (French); sometimes 'torpedo' when more elongated
- Shape
- Short oval, roughly 20–30 cm (8–12 in) long, with tapered ends and a round cross-section
- Origin of name
- French bâtard meaning 'bastard' — a hybrid between the baguette and the round boule/miche
- Key principle
- Surface tension on a taut outer skin; seams always face down
- Typical doughs
- Lean country breads — sourdough, pain de campagne, pain au levain; works with enriched doughs too
- Hydration range
- 60–78%; higher hydration needs a stiffer hand to avoid deflation
- Standard weight
- 750–1000 g dough for a full batard; 350–500 g for individual loaves
- Scoring
- Single long central slash (classic ear), crosshatch, S-curve, or wheat-ear pattern; depth 5–10 mm
Also called
Shaping Batards
Related

Whisk
Beat ingredients smooth and aerated with a looping wire motion

Sift
Pass dry ingredients through mesh to aerate and remove lumps

Strain
Pour through mesh to separate solids from liquid for a smooth result

Filter
Pass liquid through fine material to clarify out the smallest particles

Rice
Press cooked potatoes through small holes for fluffy, lump-free texture

Mash
Crush soft cooked food into a rustic, creamy purée

Grind
Crush food into a coarse to fine texture, from spices to meat

Grate
Shred food into fine bits against a sharp-toothed surface