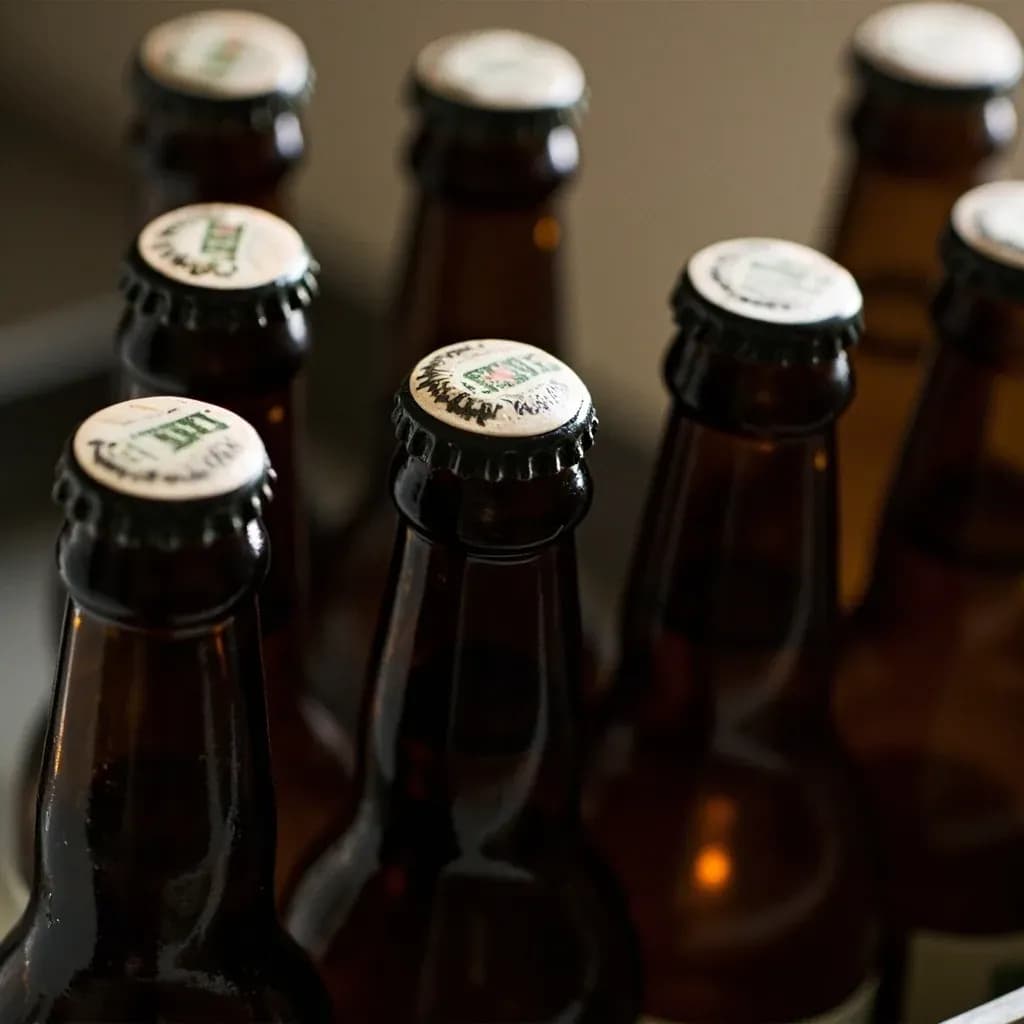
Transform & Preserve
Bottle Conditioning
Carbonating beer naturally by fermenting it inside the sealed bottle.
Bottle conditioning adds a small dose of fermentable sugar and live yeast at bottling so a final fermentation occurs in the sealed bottle, producing natural carbonation and a fine sediment. It is traditional for many craft and Belgian beers and gives a softer carbonation than forced gas. Accurate priming sugar and conditioning time and temperature are critical to avoid flat or over-pressurized bottles.
Bottle conditioning is a secondary fermentation carried out in the sealed bottle that produces natural carbonation without forced CO2. The brewer adds a measured dose of priming sugar — most often corn sugar at 3 to 5 grams per liter — to finished beer just before bottling. Residual yeast ferments that sugar inside the bottle, and because the bottle is sealed, the CO2 produced has nowhere to go but into solution under pressure.
The technique matters because it is the source of the soft, fine carbonation and the slowly evolving flavor associated with traditional styles such as Belgian Trappist ales, British bottle-conditioned bitters, German hefeweizens, and méthode champenoise sparkling wines. It is also the simplest path to natural carbonation for the homebrewer, requiring no keg, tank, or regulator. The trade-offs are time (most beers need two to three weeks at conditioning temperature, and many styles benefit from months of further aging) and the thin layer of yeast sediment most bottles leave behind, which is poured off or accepted as a hallmark of the method.
Three variables govern the outcome: the priming-sugar dose sets final pressure, the conditioning temperature sets how fast the yeast works, and the headspace left in each bottle slightly buffers that pressure. Get any of them wrong and the result is flat or a bomb. Get them right and the carbonation integrates with the beer's flavor in a way forced CO2 rarely matches.
- Difficulty
- Hard
Types & varieties
Priming sugar added at packaging; residual yeast carbonates over 2–3 weeks. The default method for most homebrew and many craft releases.
Extended conditioning of months to years, common in Belgian strong ales, Trappist, and barleywines. Deepens and integrates flavors far beyond simple carbonation.
Bottle primed with a small portion of actively fermenting wort instead of sugar. Traditional German and Czech method that introduces fresh yeast and a touch of malt character.
Sparkling wine technique: secondary fermentation in bottle, followed by riddling and disgorgement to remove sediment before final dosage and corking.
Bottled under pressure captured from the tail end of primary fermentation; uses no added sugar and relies on yeast finishing its fermentation in the sealed vessel.
A fresh yeast culture — often a wine or champagne strain — pitched at bottling for predictable carbonation. Common in Belgian-inspired beers and some ciders.
Same principle in a cask rather than a bottle. Underpins traditional British real ales served by gravity or hand pump.
How to do it
- 1
Sanitize everything
Soak bottles, caps, the bottling bucket, tubing, and any tools in a no-rinse sanitizer such as Star San or iodophor for the manufacturer's recommended contact time. Drain and air-dry; do not rinse with tap water.
- 2
Calculate priming sugar
Determine total beer volume and the target volumes of CO2 for the style. Weigh the appropriate amount of corn sugar (typically 3–5 g/L for about 2.5 volumes) or substitute another fermentable sugar at an equivalent weight, adjusting for its fermentability.
- 3
Dissolve the priming sugar
Bring about 1 cup (250 mL) of water to a boil, remove from heat, and stir in the priming sugar until fully dissolved. Cool to room temperature before adding to the beer.
- 4
Confirm fermentation is complete
Take a hydrometer reading two days apart; when it is stable and near the style's expected final gravity, the beer is ready to package. Siphon it off the trub into a sanitized bottling bucket, minimizing splashing and oxygen pickup.
- 5
Add the priming solution
Pour the cooled sugar solution into the beer in the bottling bucket. Stir gently and evenly with a sanitized spoon for 1–2 minutes — enough to distribute the sugar without aerating the beer.
- 6
Fill the bottles
Using a bottling wand or spigot, fill each bottle to within about 1 inch (2.5 cm) of the top. Keep the headspace consistent from bottle to bottle so carbonation develops evenly.
- 7
Seal the bottles
Cap with crown caps using a bench capper, or close swing-top bottles firmly. Confirm each seal is tight; a poor seal will leak pressure and leave the beer flat.
- 8
Condition the bottles
Store upright in a dark area at 65–75°F (18–24°C) for ales or 50–55°F (10–13°C) for lagers. Leave undisturbed for at least 2 weeks; 3 weeks is safer.
- 9
Check carbonation
After 7–10 days, refrigerate one bottle for 24 hours, then open it to gauge carbonation. If undercarbonated, give the batch another week and retest before opening the rest.
- 10
Age or serve
Once carbonated, move bottles to long-term cool, dark storage, or chill fully upright for 1–2 days before serving to let yeast settle. Pour carefully, leaving sediment in the bottle unless the style calls for rousing the yeast.
Style context
Bottle conditioning is not just a packaging choice; for many traditional styles it shapes the finished beer. The styles below are defined, in part, by what happens in the bottle — not just by what was brewed into them.
- Belgian Trappist ales, dubbels, tripels, and barleywines: months to years of bottle age soften alcohol, integrate hop bitterness, and develop the dried-fruit, caramel, and oxidative notes that are a defining part of the style.
- Lambic and gueuze: the long, slow refermentation with wild yeast and bacteria cultures inside the bottle is the entire point of the method. Blending young and aged lambics creates a secondary fermentation in bottle that no other technique can imitate.
- British bottle-conditioned ales: the soft, fine carbonation is considered a defining texture, and a small amount of yeast character in the bottle is welcome.
- German hefeweizens and many bocks: bottle-conditioned specifically to keep yeast in suspension, where it continues to contribute banana, clove, and bread notes as the beer sits.
- Hard cider: the same priming-sugar math carbonates cider naturally and lets residual yeast round out the fruit character.
Reading the sediment
A thin layer of creamy or powdery yeast at the bottom of a bottle-conditioned beer is not a flaw. It is the working culture that produced the carbonation, and how you handle it depends on the style.
- Most bottle-conditioned beers: pour slowly down the side of a tilted glass and stop when the yeast begins to move, leaving the sediment in the bottle.
- Hefeweizens, Belgian witbiers, and gueuze: rouse the yeast into the pour for a cloudy, flavor-active glass. The yeast itself is part of the experience.
- Sparkling wines made by méthode champenoise: disgorgement removes the sediment before the bottle is sold, so the wine pours clear. Home versions of this style require riddling and disgorging to match.
- If a bottle is intensely yeasty throughout and the beer is fresh, fermentation may still be active. Chill and let it rest upright for 24–48 hours before opening to reduce gushing.
Common uses
Tips & pitfalls
- Weigh priming sugar rather than measuring by volume, and calculate the dose from a brewing-software recipe or a priming-sugar chart based on beer temperature and target volumes of CO2. Spoonfuls of corn sugar are not interchangeable from batch to batch.
- Dissolve priming sugar in a small amount of boiling water before adding it to the bottling bucket. Dry sugar sinks and creates hot spots of overcarbonation in individual bottles.
- Stir the priming solution in gently. Splashing introduces oxygen that can oxidize malt and hop character, especially in pale and hop-forward beers.
- Use only pressure-rated glass bottles with a consistent wall thickness. Repurposed commercial bottles with twist-off caps or thin-walled decorative glass are not safe at conditioning pressures.
- Leave the same headspace — about 1 inch (2.5 cm) — in every bottle. Variable headspace leads to variable carbonation, and a bottle filled nearly to the cap is at much higher risk of leaking or bursting.
- Keep the conditioning temperature steady. Big swings cause yeast to flocculate and stall, leaving the beer undercarbonated even when the sugar dose was correct.
- Open one test bottle after a week to check progress before trusting the rest. Underprimed batches can simply be given more time. If bottles are overprimed, chill them thoroughly to drop the pressure, then open very slowly over a sink with the bottle pointed away from you — never shake, jostle, or open a bulging bottle without caution.
- The leading cause of bottle bombs is too much priming sugar, not too much yeast. Double-check the math, especially when scaling up a recipe or switching sugar types.
Good to know
- Also called
- In-bottle fermentation, natural conditioning, bottle refermentation
- Mechanism
- Residual or added yeast ferments priming sugar inside a sealed bottle; the CO2 produced has nowhere to escape and dissolves into the beer under pressure
- Typical priming sugar
- Corn sugar (dextrose), about 3–5 g per liter of beer
- Target carbonation
- 2.0–3.0 volumes of CO2, depending on style
- Conditioning temperature
- 65–75°F (18–24°C) for ales; 50–55°F (10–13°C) for lagers
- Conditioning time
- 2–3 weeks minimum; many styles condition for months to years
- Storage position
- Upright during conditioning and for 1–2 days before serving to compact the yeast
- Primary risk
- Over-priming causes overcarbonation and bottle explosion (the dreaded bottle bomb)
Also called
Carbonation Conditioning · natural carbonation
Dishes that rely on it
Related

Confit
Cook slowly submerged in fat for silky tenderness and keeping

Cure
Draw out moisture with salt and time to preserve and concentrate

Pickle
Steep in acidic brine for bright, tangy, crunchy preservation

Ferment
Let friendly microbes transform food into tangy, complex flavor

Marinate
Soak in a seasoned mix to flavor and tenderize before cooking

Brine
Soak in salt water so meat stays juicy and seasoned throughout

Dehydrate
Slowly dry out moisture to concentrate flavor and extend shelf life

Cold-Smoke
Perfume cured food with smoke without cooking it through