Transform & Preserve
Closed Transfer
Moving fermenting liquid between vessels without exposing it to air or oxygen.
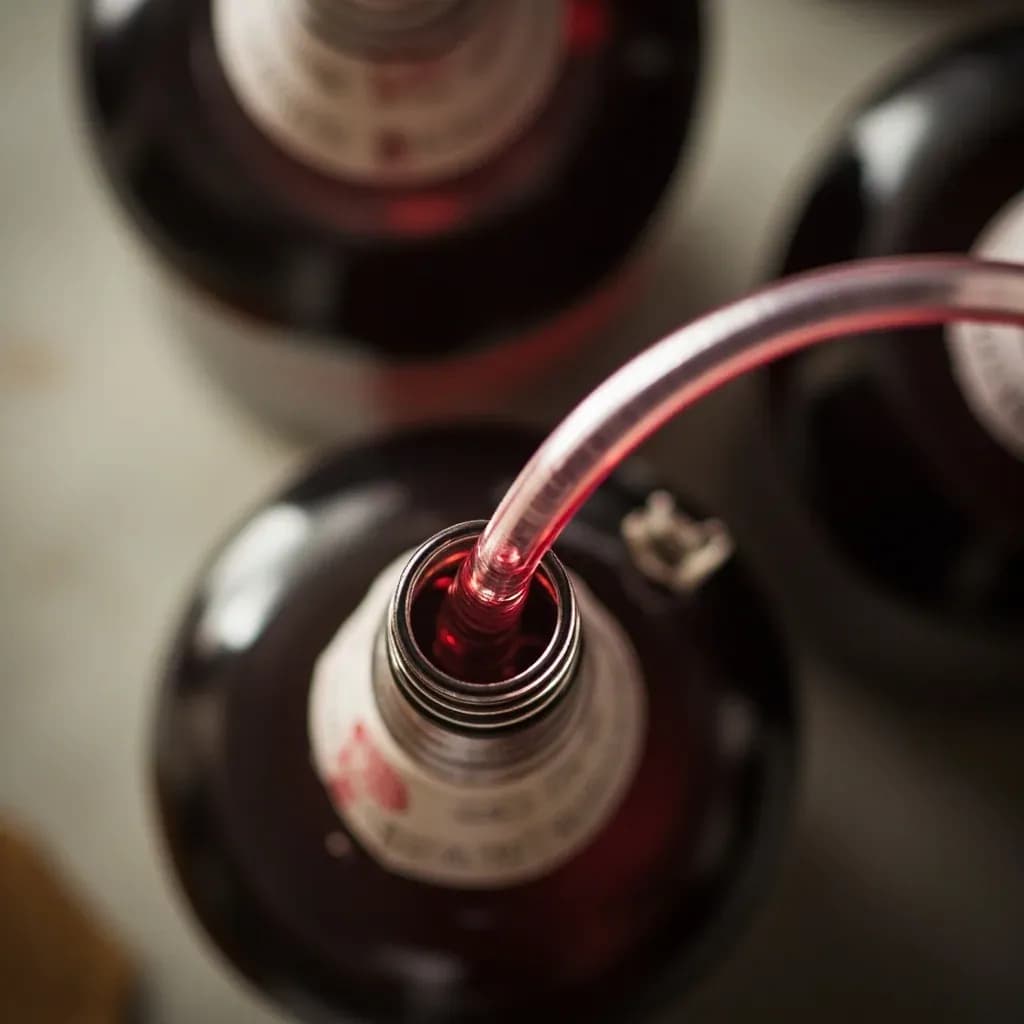
Closed transfer racks or moves wine, beer, or other ferments from one sealed vessel to another while minimizing contact with oxygen, often using siphon tubing or inert gas. Limiting oxygen exposure prevents oxidation and contamination that would dull flavor and color. It is a key practice in brewing and winemaking when racking off the lees.
Closed transfer is the practice of moving a fermenting or fermented liquid from one vessel to another while keeping it isolated from atmospheric oxygen. Instead of pouring, splashing, or racking through open air, the liquid is driven by gas pressure (usually CO2) through sealed lines into a receiving vessel that has been purged of air. The liquid never breaks surface, and the headspace it enters is essentially oxygen-free.
The technique matters because dissolved oxygen is one of the most aggressive staling agents in any ferment. In beer, even a few parts per billion of O2 produces cardboard, paper, and sherry-like notes within weeks. In wine, oxygen drives browning and premature aging as ethanol is oxidized toward acetaldehyde and phenolics break down. In kombucha and cider, it feeds acetobacter and turns a clean ferment into vinegar. Closed transfer is the practical answer brewers, vintners, and cidermakers reached for once brite tanks, canning lines, and affordable CO2 hardware made oxygen exclusion measurable rather than aspirational.
Mechanically it is simple: clean hardware, a sealed source, a purged receiver, and a gentle pressure differential. The skill lies in the discipline, not the equipment. A single dry, unsanitized fitting or a single splash plume into the receiver can undo everything the rest of the setup is trying to protect.
- Difficulty
- Hard
Types & varieties
Pressurize the source fermenter (or use its own fermentation pressure) and push liquid through a line to a purged receiver; the standard homebrew method.
Rack by gravity from a racking cane, but flood the receiver with CO2 first and keep a positive flow of CO2 over the surface during transfer; the classic winery approach.
Fill a keg while back-pressuring it with CO2 to keep internal pressure above the liquid's vapor pressure; the backbone of draft and canning lines.
Use a peristaltic or rotary lobe pump between vessels; necessary for larger volumes or when elevation differences rule out gravity.
Use a spunding valve on the source to hold fermentation pressure, then vent through a transfer line; popular for moving already-carbonated lagers and wild ales off the yeast.
Move bottle-conditioned or bulk-aged ferments into serving bottles through a spigot and tube under a CO2 blanket, avoiding the splash of a traditional bottling bucket.
How to do it
- 1
Prepare and sanitize
Clean and then sanitize with a no-rinse acid sanitizer every piece that will contact the liquid: transfer line, disconnects, the receiving keg or tank, the racking cane, and any pump head. Assemble while everything is still wet from sanitizer so no surface drips dry and dirty.
- 2
Chill the receiving vessel (for beer)
Put the empty keg or brite tank in a fridge or ice bath overnight so the walls are at or below fermentation temperature. Cold contact surfaces mean dramatically less foaming and less O2 ingress on every bubble.
- 3
Double-purge the receiver with CO2
Connect CO2 to the receiver's gas post, pressurize to 10–15 psi, vent fully, and repeat. A single purge leaves roughly 20% air in a keg headspace; a double purge drops residual oxygen to well under 1%.
- 4
Pressurize the source
Seal the fermenter and apply 2–3 psi of CO2 through its gas post, or use any natural fermentation pressure still on it. Confirm a positive reading on a gauge or steady bubbling at the source's vent.
- 5
Connect the transfer line
Attach a sanitized line from the source's racking valve or outlet to the receiver's liquid post. Keep the line full of sanitizer or CO2 as you connect so you do not introduce a slug of air at the moment of hookup.
- 6
Transfer under pressure
Open the source valve and crack the receiver's gas (vent) post just enough to maintain steady flow. Aim the line outlet down the side wall of the receiver or under a small standing pool of liquid to avoid a splash plume. Keep differential pressure at 2–5 psi.
- 7
Stop on the lees
When the source is nearly empty, close the source valve before the trub, lees, or yeast cake starts moving. A small amount of liquid left behind is cheaper than the off-flavors that come from racking heavy sediment.
- 8
Pressure-burst and seal
Cap the receiver to its target serving or aging pressure (typically 10–12 psi for draft beer, 0–5 psi for still wine, roughly 15–25 psi for lightly sparkling or pet-nat transfers). Disconnect the line, then bleed and re-pressure the source to release the line before removal.
- 9
Verify and store
Brush every fitting with a soap-and-water solution and look for bubbles indicating slow leaks. Move the sealed vessel to cold storage or its aging spot, and record gravity, volume, and pressure if you are tracking carbonation or aging.
Why oxygen is the enemy
Most finished ferments are deliberately anaerobic: the yeast, bacteria, or culture that made them does not want oxygen, and neither does the drinker. Once the yeast has done its work, residual O2 begins a slow chain of oxidation reactions that degrade flavor compounds. In beer, hop oils and fatty acids oxidize into cheesy, papery, or cardboard off-notes; melanoidins fade; color drifts toward amber-red. In wine, ethanol is oxidized toward acetaldehyde (the bruised-apple, sherry note), phenolics polymerize and brown, and fruit aromatics flatten or shift toward nutty, tired tones. In kombucha, surface oxygen feeds acetobacter, which converts ethanol into acetic acid. Closed transfer attacks the problem at the moment the liquid is most vulnerable: when it is moving, foaming, and exposing fresh surface area to whatever gas sits above it.
- Hop-forward IPAs and pales show oxidation damage in as little as 2–4 weeks without closed transfer.
- Bottle-conditioned beer with a wet yeast cake tolerates more O2 than filtered, force-carbed keg beer because live yeast can scrub small amounts.
- Wine picks up O2 most aggressively at racking and bottling; both are prime closed-transfer moments.
- Kombucha is borderline — a little oxygen is acceptable in continuous-culture setups, but finished bottled kombucha should be filled under CO2 to prevent acetobacter bloom.
Choosing your equipment
The minimum kit for a homebrew-scale closed transfer is a ball- or pin-lock keg, a CO2 tank and regulator, a length of food-grade beer line (3/16" or 1/4" ID), and the appropriate disconnects. For a wine or mead maker, a carboy with a rubber bung and an airlock can serve as a pressure source when paired with a small CO2 feed; a stainless variable-volume tank is the pro upgrade. Pumps are only needed once volumes climb past a carboy or when distance or elevation makes a gravity siphon impractical.
- EVOH-lined beer hose is the standard — it is flexible, sanitizes easily, and has low O2 permeability.
- Stainless racking canes with a self-closing tip draw clear liquid off the top of lees without breaking seal.
- Peristaltic pumps are gentle and self-priming; rotary lobe pumps move more volume but are rougher on delicate ferments.
- Always carry a spare set of O-rings and disconnects; one torn beer O-ring is the most common cause of a 'mystery' leak.
Common uses
Tips & pitfalls
- Push, do not pull: pressurize the source and let gas drive the transfer rather than pulling a vacuum on the receiver, which can pull O2 in through seals you did not know were imperfect.
- Sanitize every fitting, hose, and disconnect — a single unsanitized surface can ruin hours of work and is the most common reason a 'closed' transfer oxidizes anyway.
- Use 3/16" or 1/4" ID EVOH-lined beer line; larger hose moves volume faster but splashes and foams far more.
- Aim the transfer line down the side wall or under a shallow pool of liquid in the receiver — never straight down at the surface, where it creates a foaming plume.
- Watch the receiver's pressure gauge; if it climbs above your target, pause or briefly vent the gas post — a stuck check valve is the usual culprit.
- Leave a small amount of liquid behind in the source if the trub or yeast cake is heavy; once that sediment breaks up, it releases staling compounds and yeast-derived sulfur notes.
- Do not try this with a basic plastic bucket fermenter — it is not airtight, will collapse or leak, and will defeat the whole point. Use a carboy with a rubber bung, a pressure-rated PET fermenter, or a stainless tank.
- If foaming is uncontrollable, drop the differential pressure to 1–2 psi and accept a slower transfer; rushing a closed transfer is the fastest way to oxidize one.
Good to know
- Also called
- Closed transfer, pressure transfer, counter-pressure transfer, closed racking
- Primary contexts
- Homebrewing, craft brewing, winemaking, cider, kombucha, mead, and any anaerobic fermentation
- Key principle
- Maintain a CO2 (or inert gas) blanket over the liquid throughout the move so dissolved O2 stays near zero
- Typical transfer pressure
- 2–5 psi to drive flow; never exceed the rating of the weakest vessel or disconnect (most cornies and draft parts are rated around 60–80 psi working)
- Recommended liquid temperature
- 32–40 °F (0–4 °C) for beer to minimize foaming and O2 pick-up; room temperature is fine for wine, mead, and kombucha
- Target dissolved oxygen
- Total packaged O2 ideally under 50 ppb for hop-forward beer, under 200 ppb for most wines
- Typical transfer time
- 5 gallons in 15–30 minutes; 15–30 gallons in 45–90 minutes, depending on hose diameter and pressure
- Difficulty
- Moderate — mechanically simple, but the payoff depends on strict sanitation and a leak-free gas system
Also called
Closed Racking · Oxygen-Free Transfer
Related

Confit
Cook slowly submerged in fat for silky tenderness and keeping

Cure
Draw out moisture with salt and time to preserve and concentrate

Pickle
Steep in acidic brine for bright, tangy, crunchy preservation

Ferment
Let friendly microbes transform food into tangy, complex flavor

Marinate
Soak in a seasoned mix to flavor and tenderize before cooking

Brine
Soak in salt water so meat stays juicy and seasoned throughout

Dehydrate
Slowly dry out moisture to concentrate flavor and extend shelf life

Cold-Smoke
Perfume cured food with smoke without cooking it through